Microsoft Defender for Endpoint: Getting Started with Deployment Using Intune
Devices today are diverse, mobile and therefore exposed to a wide range of threats. Traditional antivirus solutions detect known patterns but leave gaps when facing new techniques and stealthy attacks. What is needed is a solution that provides visibility into activities, detects attacks early and enables centralized and largely automated response. One such approach is to deploy Microsoft Defender for Endpoint with Intune.
Microsoft Defender for Endpoint (MDE) provides this coverage: the Endpoint Detection and Response (EDR) sensor collects device signals, Threat and Vulnerability Management (TVM) identifies vulnerabilities and misconfigurations, Attack Surface Reduction (ASR) rules minimize the attack surface, Web and Network Protection block risky connections and Automated Investigation and Remediation (AIR) supports automatic investigation and containment.
This article is the first part of a series on Microsoft Defender for Endpoint. The focus of this part is on how to deploy Microsoft Defender for Endpoint with Intune: onboarding, enabling the EDR sensor and applying a baseline configuration for Firewall, Antivirus and ASR rules.
Prerequisites and Licensing
Licensing
Microsoft Defender for Endpoint is available in three editions:
- Microsoft Defender for Endpoint P1 (included in Microsoft 365 E3)
- Microsoft Defender for Endpoint P2 (included in Microsoft 365 E5)
- Microsoft Defender for Business (included in Microsoft 365 Business Premium)
The following table outlines key differences across these editions: Microsoft Defender for Business frequently asked questions – Microsoft Defender for Business | Microsoft Learn
A comprehensive overview of Microsoft licensing packages and their features can be found at https://m365maps.com/.
Roles
To install and configure Microsoft Defender for Endpoint with Intune following the principle of least privilege, the following role is required:
| Role | Permission |
| Security Administrator | Create and manage security features in Microsoft 365 Defender and Microsoft Intune |
Deploying Microsoft Defender for Endpoint
Deploy Microsoft Defender for Endpoint with Intune
Microsoft Defender for Endpoint is integrated into Microsoft Intune through a connector. This requires configurations in both the Microsoft Defender portal and the Microsoft Intune admin center.
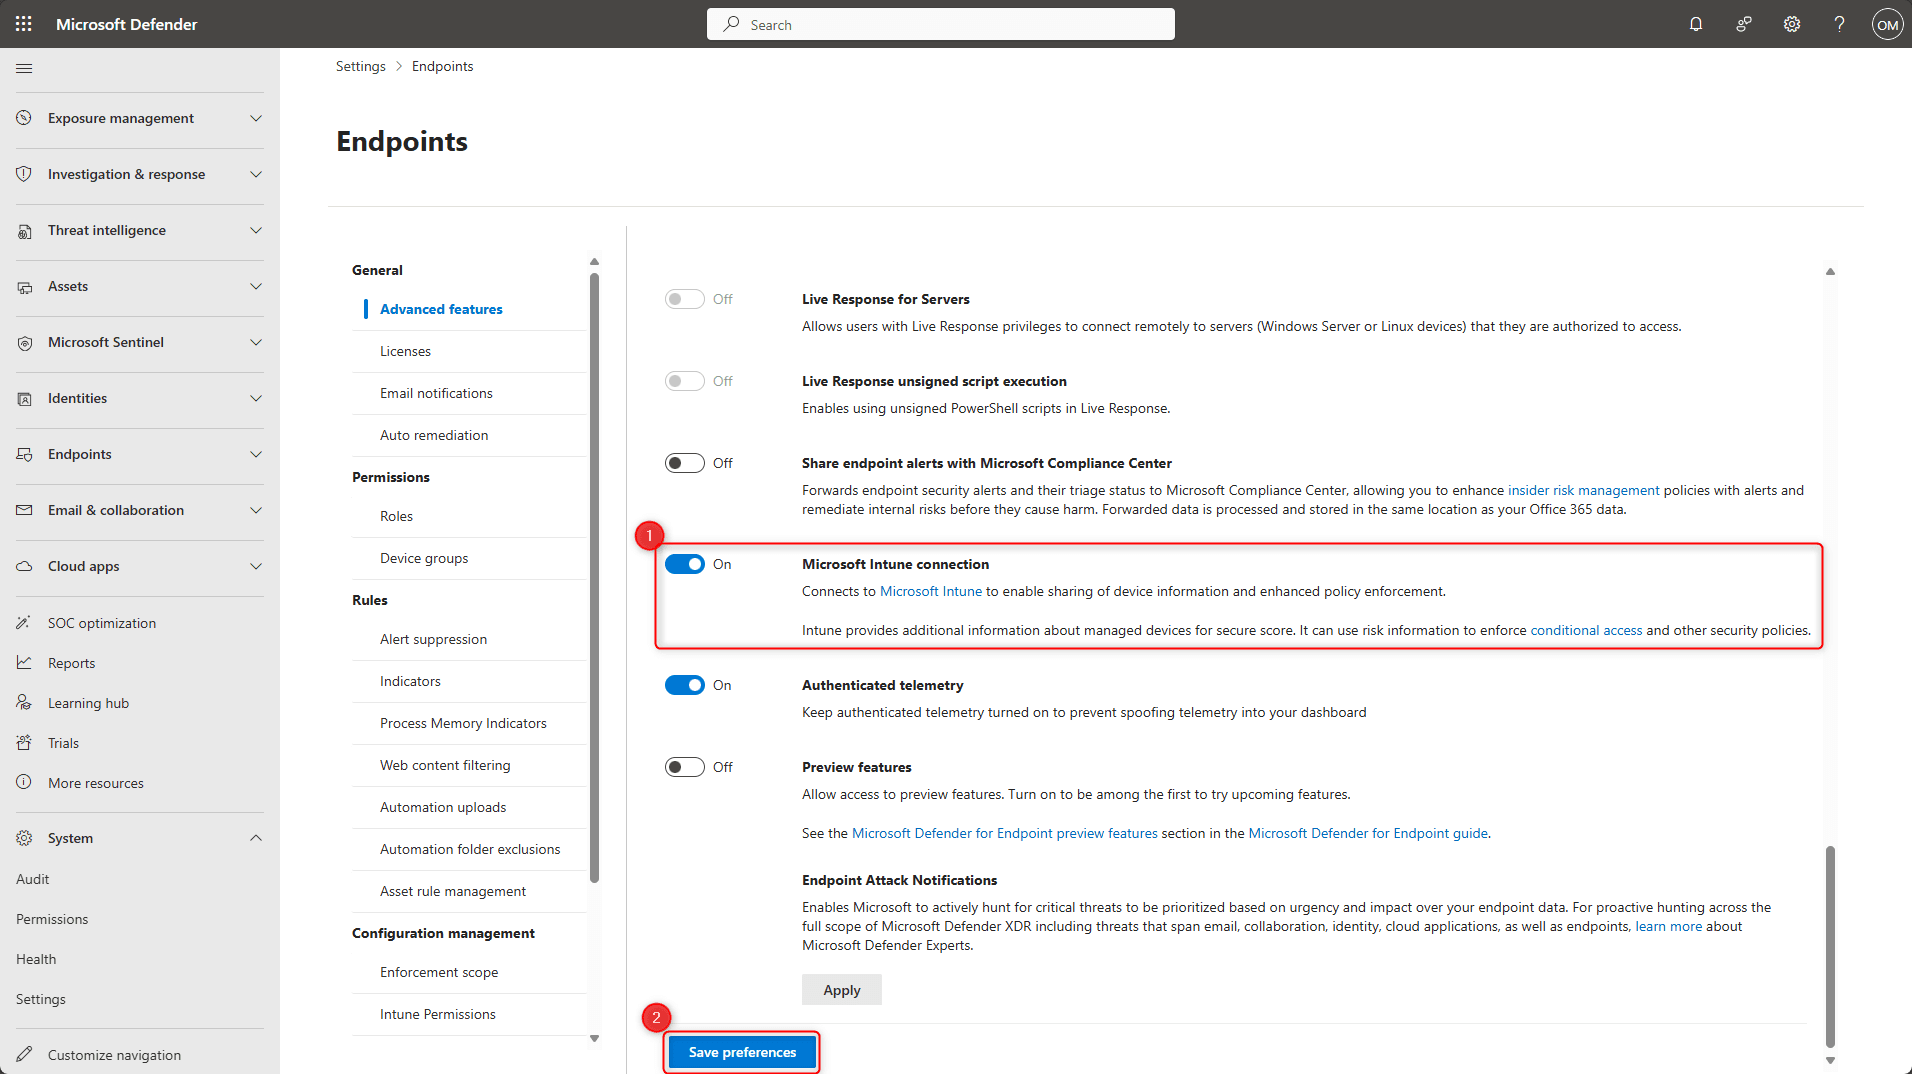
Sign in to the Microsoft Defender Portal (https://security.microsoft.com) and navigate to System > Settings > Endpoints > General > Advanced features.

Activate the option Microsoft Intune connection (1) and confirm the configuration by selecting Save preferences (2).
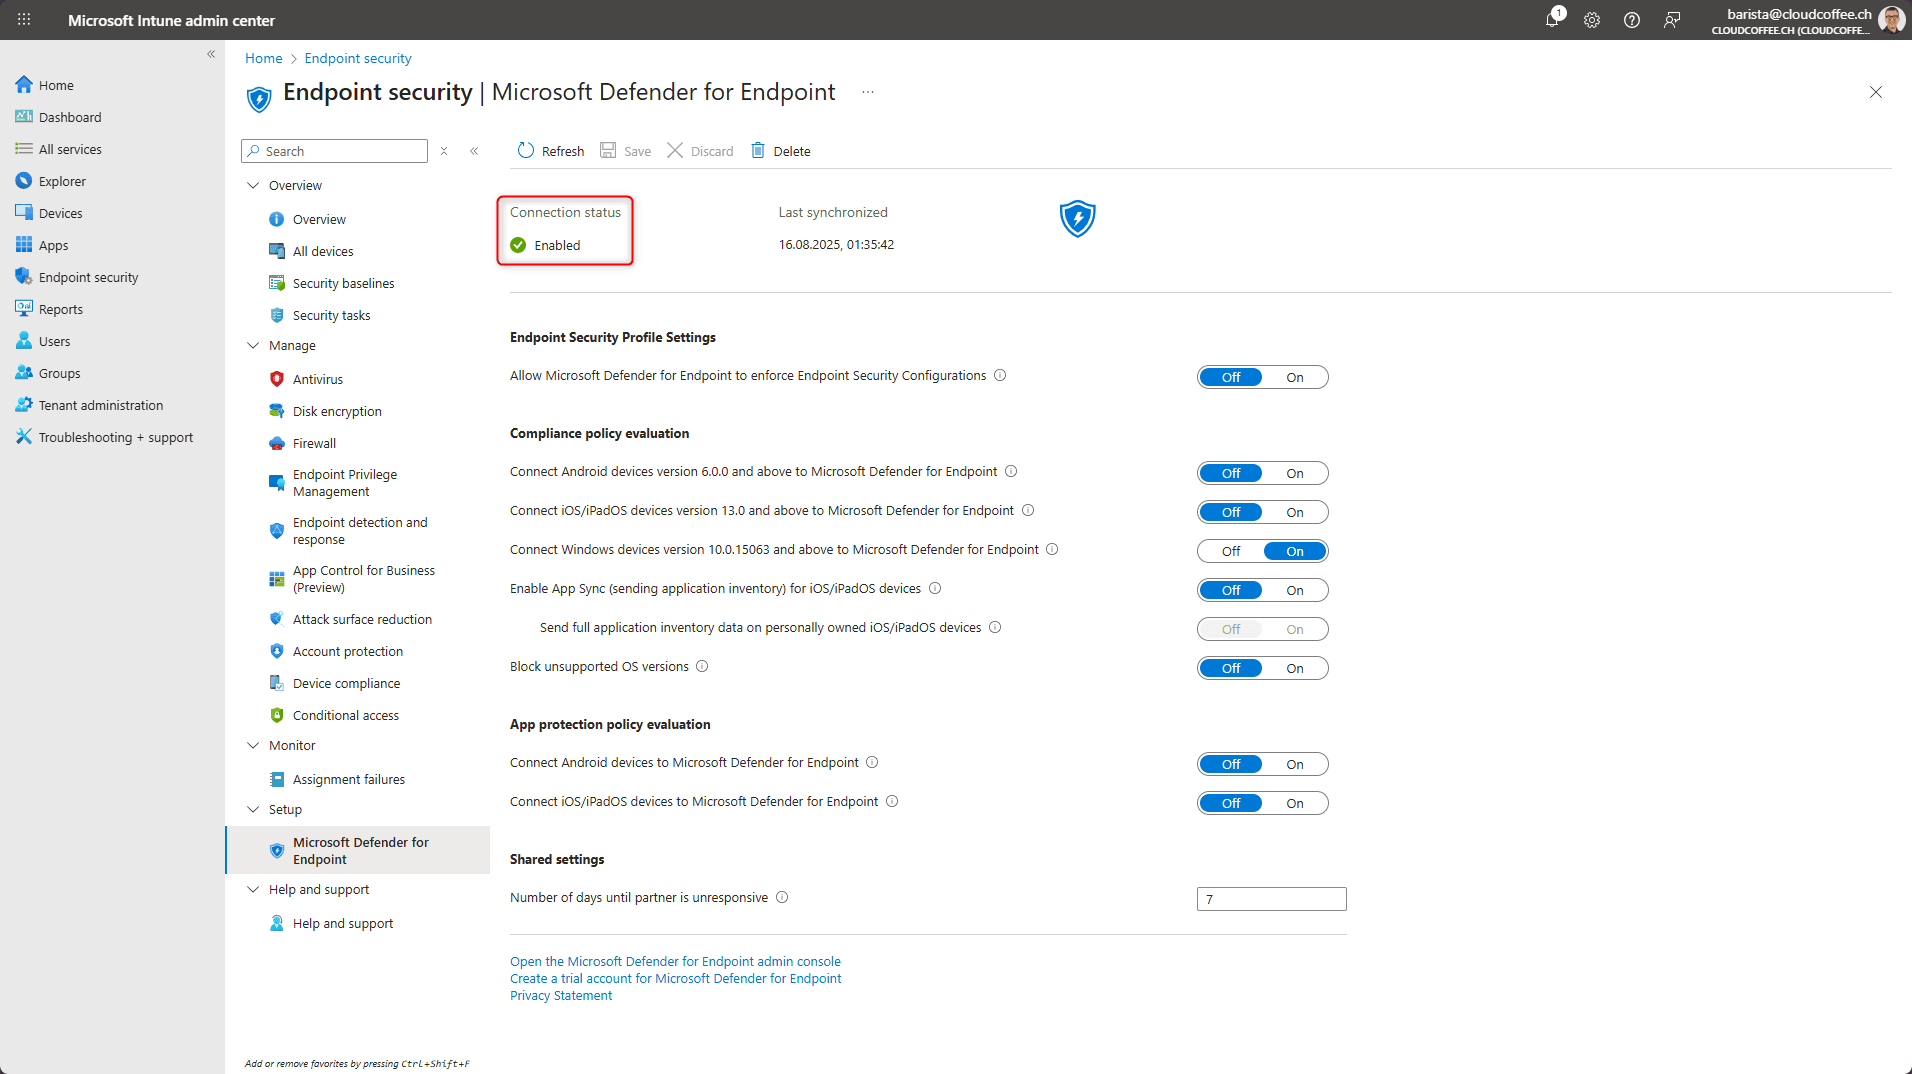
Sign in to the Microsoft Intune admin center (https://intune.microsoft.com) and navigate to Endpoint security > Setup > Microsoft Defender for Endpoint.

Select the option Connect Windows devices version 10.0.15063 and above to Microsoft Defender for Endpoint (1) and apply the configuration by choosing Save (2).

After enabling the option, the connection status is displayed as Enabled.
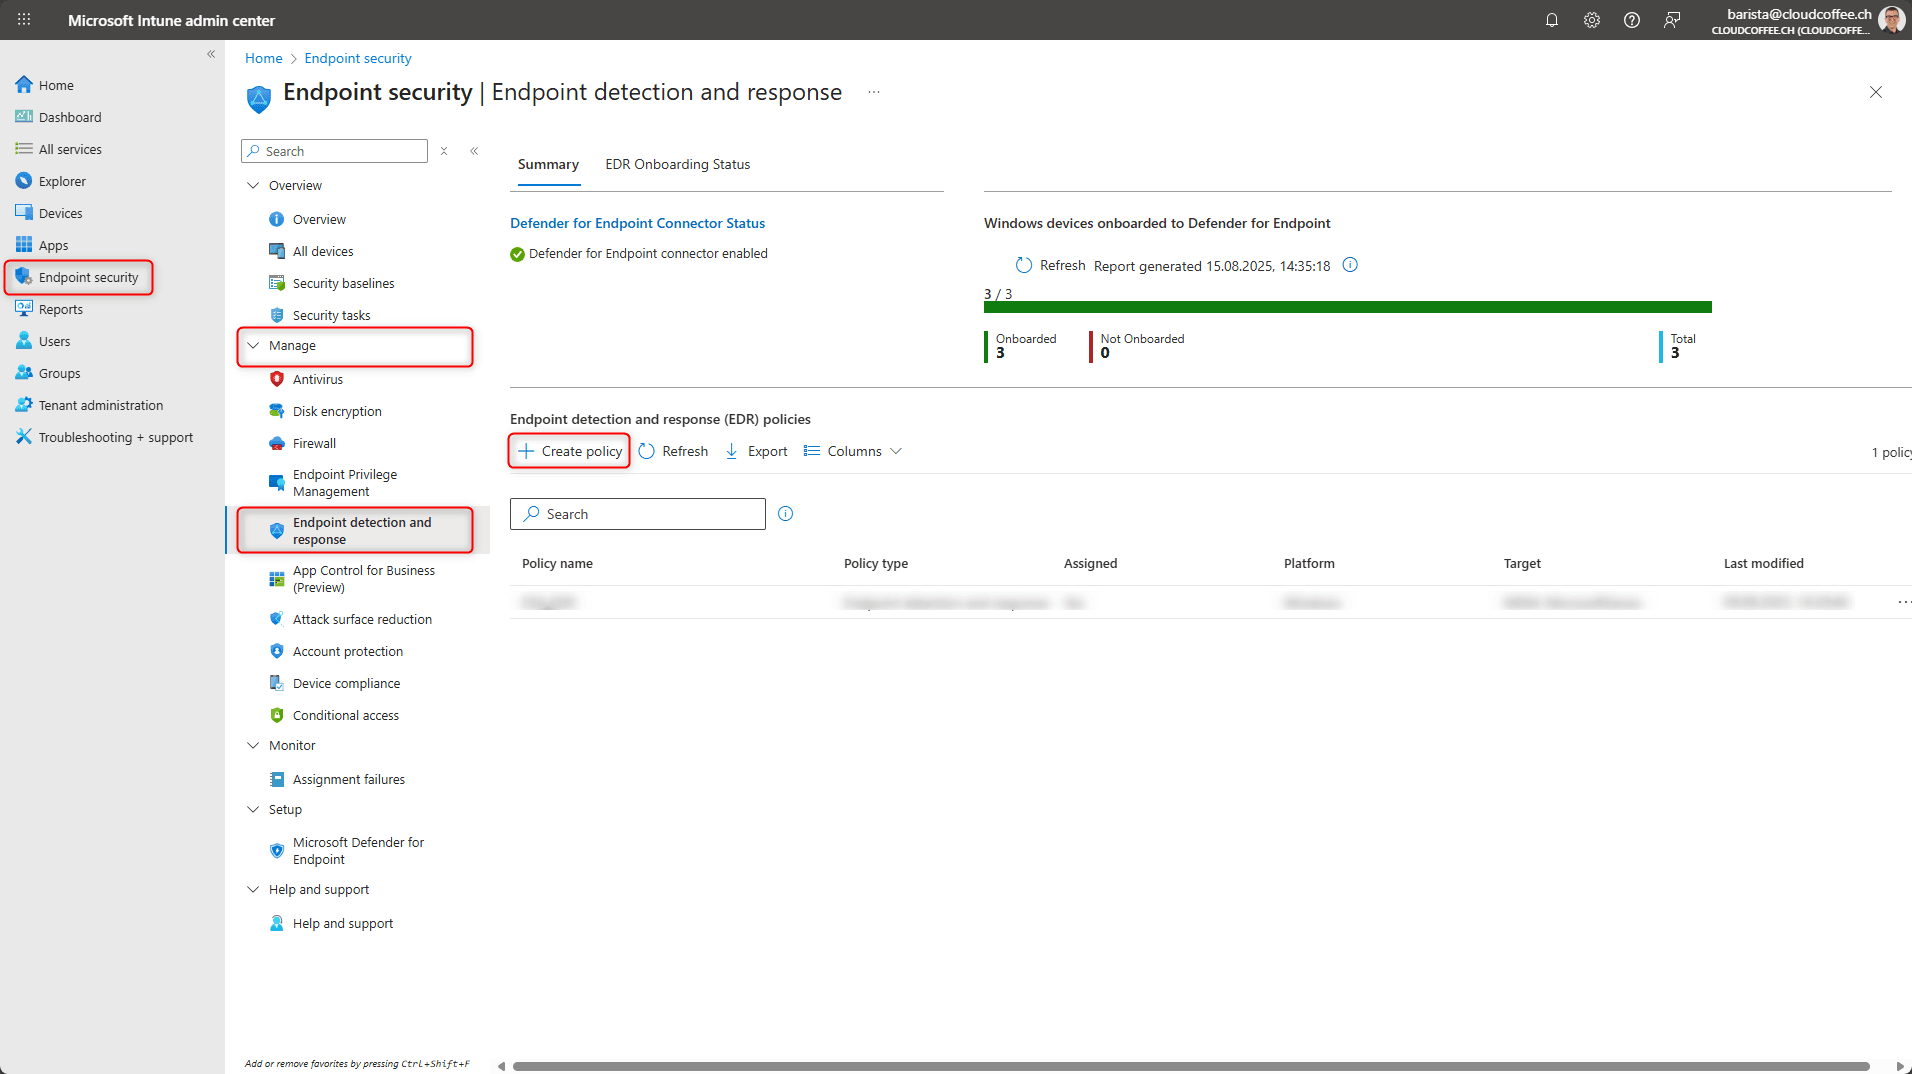
Under Endpoint detection and response, Microsoft Defender for Endpoint is enabled on the devices. This ensures that the device sensor is properly integrated and receives all required configurations from both Microsoft Defender and Microsoft Intune.
Go to Endpoint security > Manage > Endpoint detection and response > Create policy
Select Platform Windows and Profile Endpoint detection and response

Assign a Name to the policy, for example ESP_EDR

Configure the options as follows:
- Microsoft Defender for Endpoint client configuration package type: Auto from connector
- Sample sharing: All (Default)
- Telemetry reporting frequency: Not configured, as this setting is deprecated and no longer affects devices

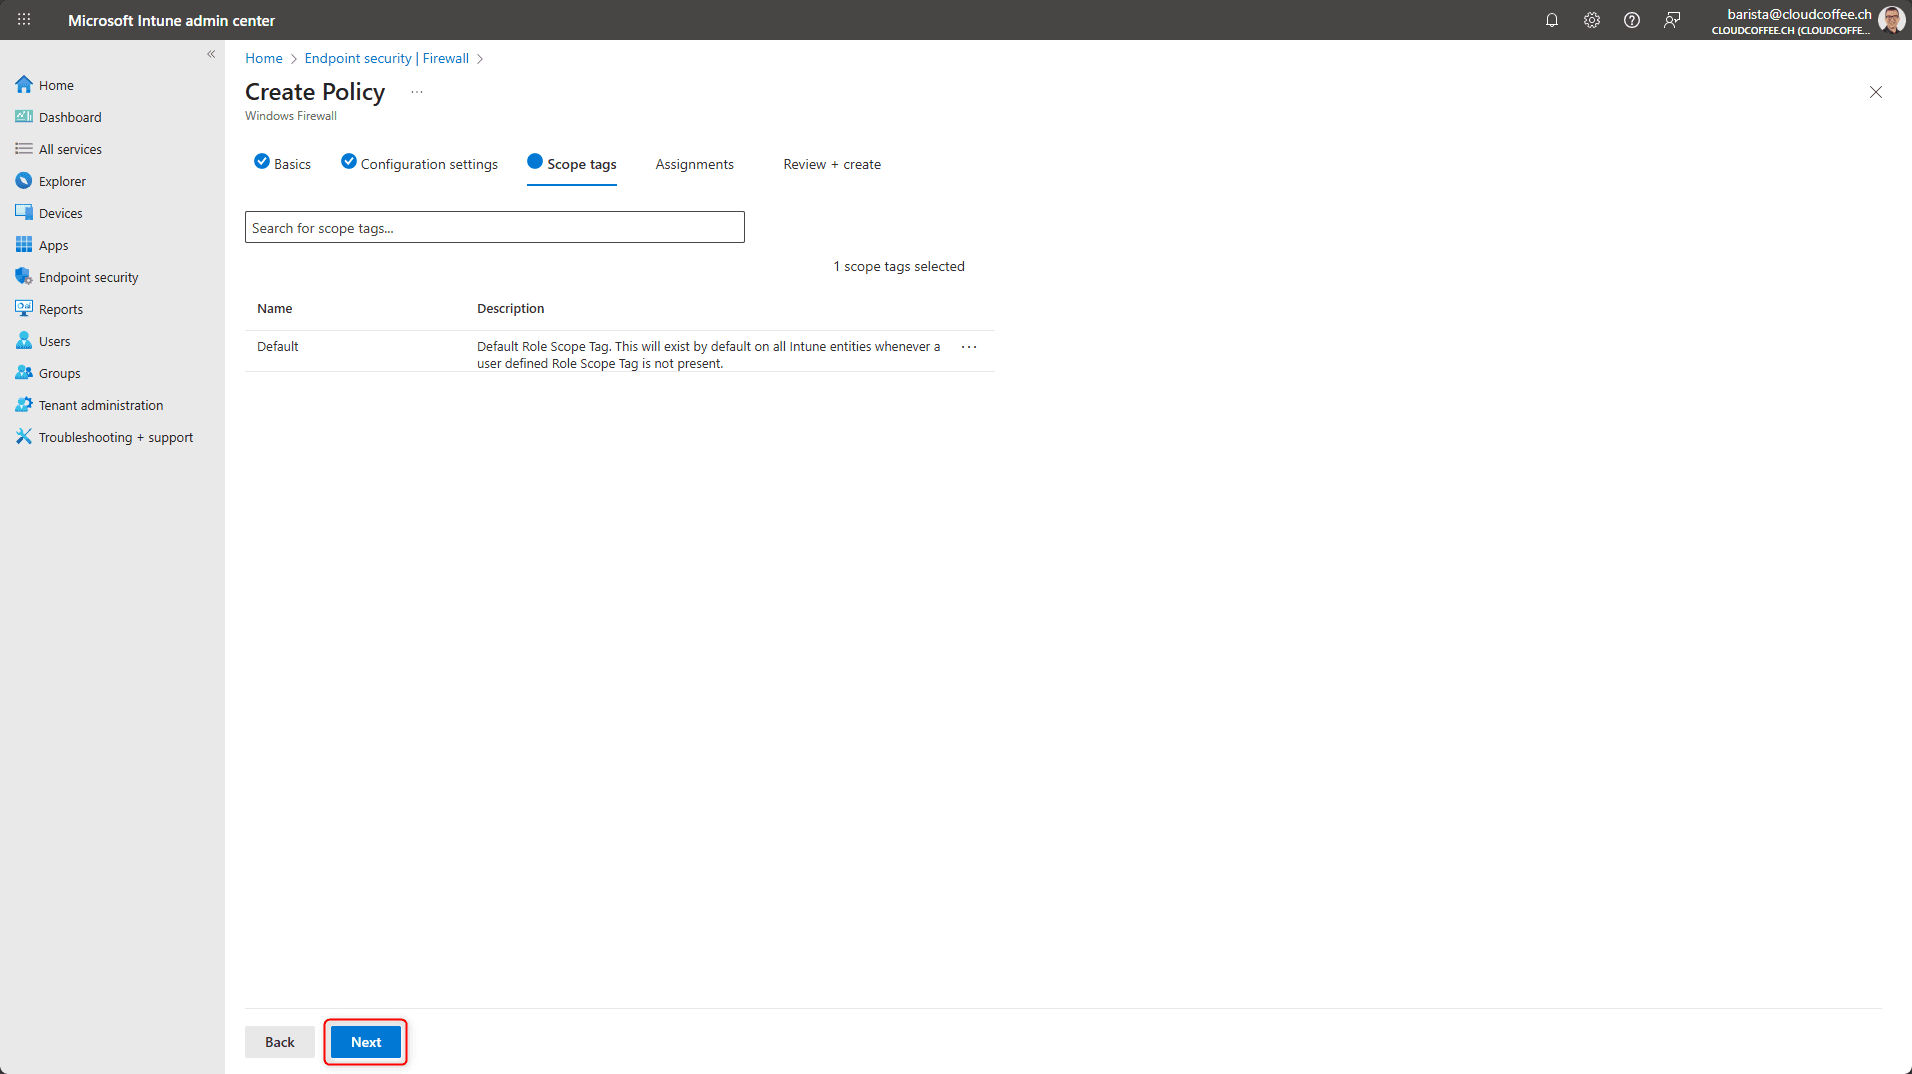
Configure Scope tags if required

Configure the device Assignment for which these settings should be applied

Review the settings and apply them by selecting Save

Configure Email Notifications
In the Microsoft Defender portal, email notifications can be configured for security-related alerts. These can be set either for detected threats via the Alerts option or for vulnerable devices via Vulnerabilities.
Sign in to the Microsoft Defender portal (https://security.microsoft.com) and navigate to System > Settings > Endpoints > General > Email notifications.

Configure Email Notifications for Alerts
In the Alerts section, email notifications can be configured for security-related alerts generated by Microsoft Defender for Endpoint. These include, for example, detected threats, blocked attack attempts and automated response actions. Notifications can be scoped to alert severities and sent to defined recipients.
In Alerts, select Add notification rule.

Name the email notification rule, for example Alerts_Notifications

The notification settings can be customized to meet organizational requirements. For the severity of email notifications, the levels Informational, Low, Medium and High are available. To avoid an excessive number of notifications and to focus administrator attention on truly security-relevant events, selecting the Medium and High levels has proven effective in practice.

Add email recipients
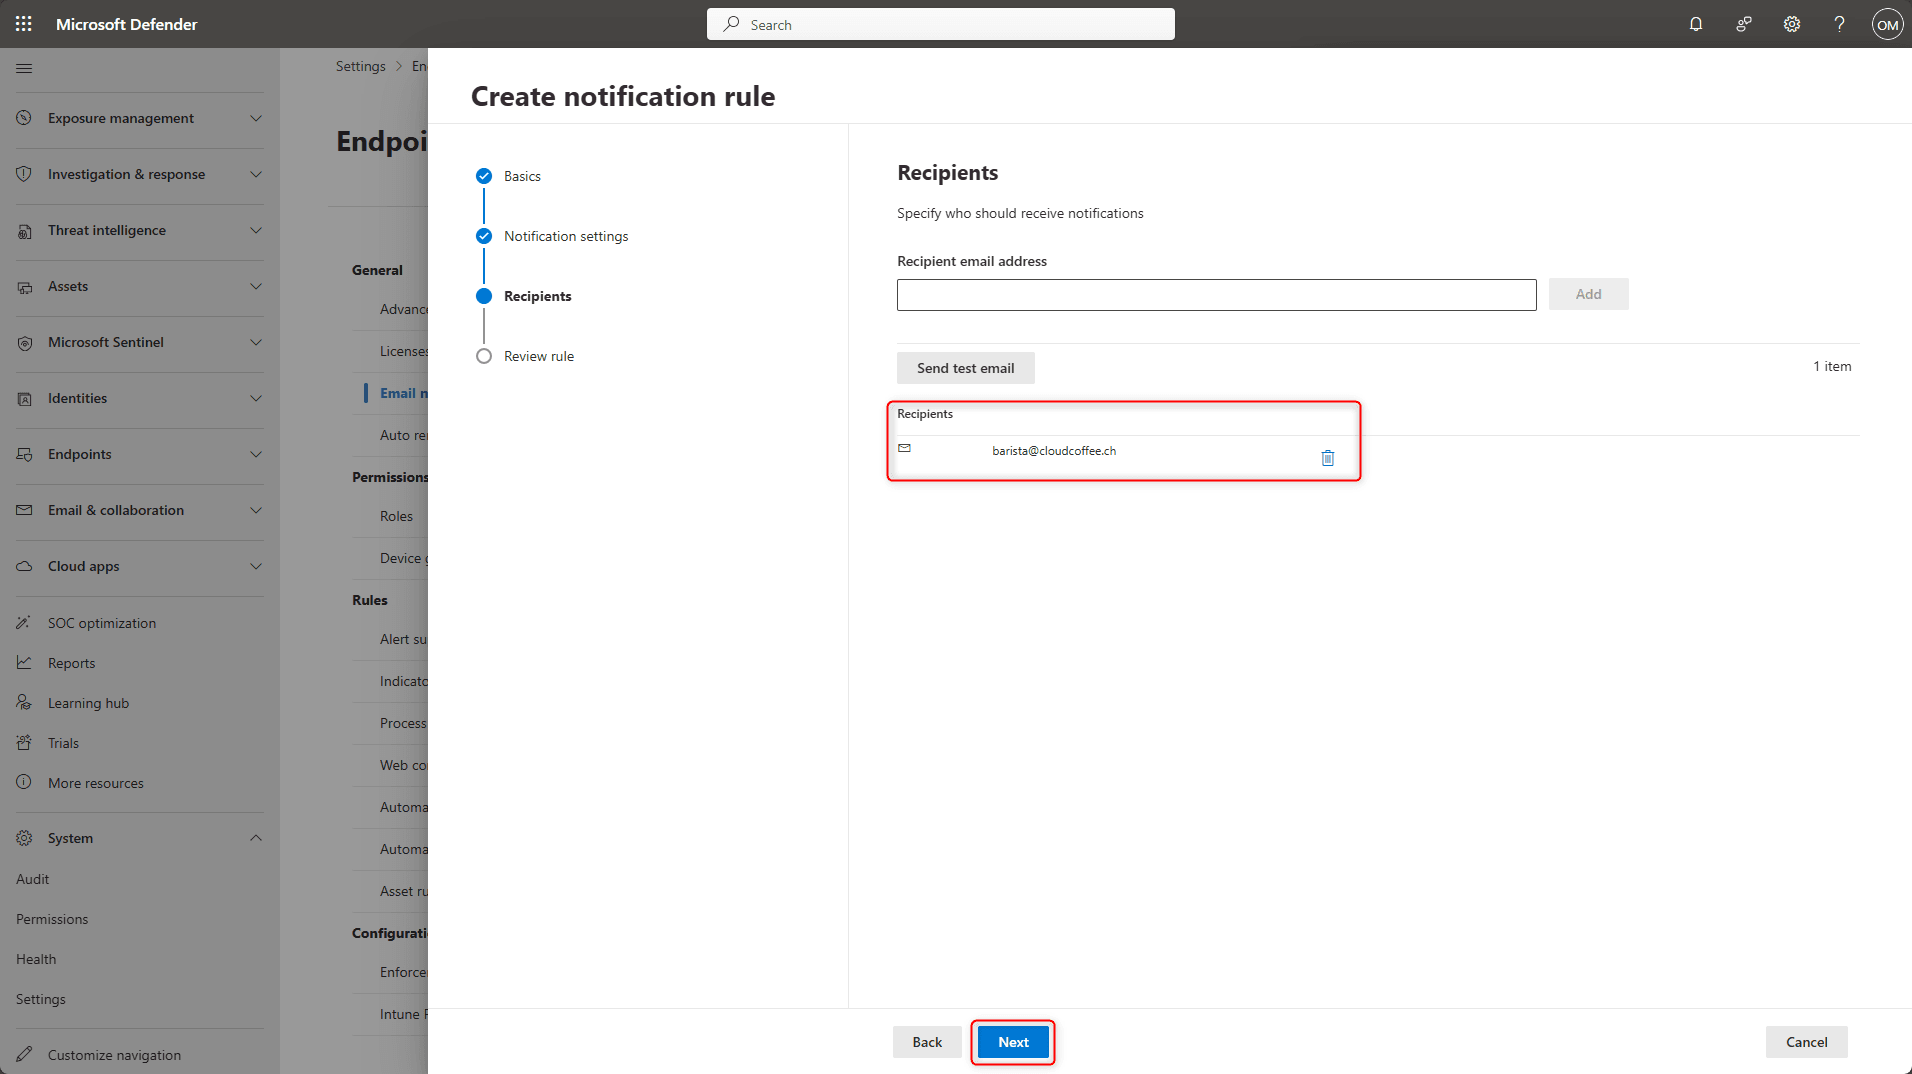
Review the settings and apply them by selecting Submit

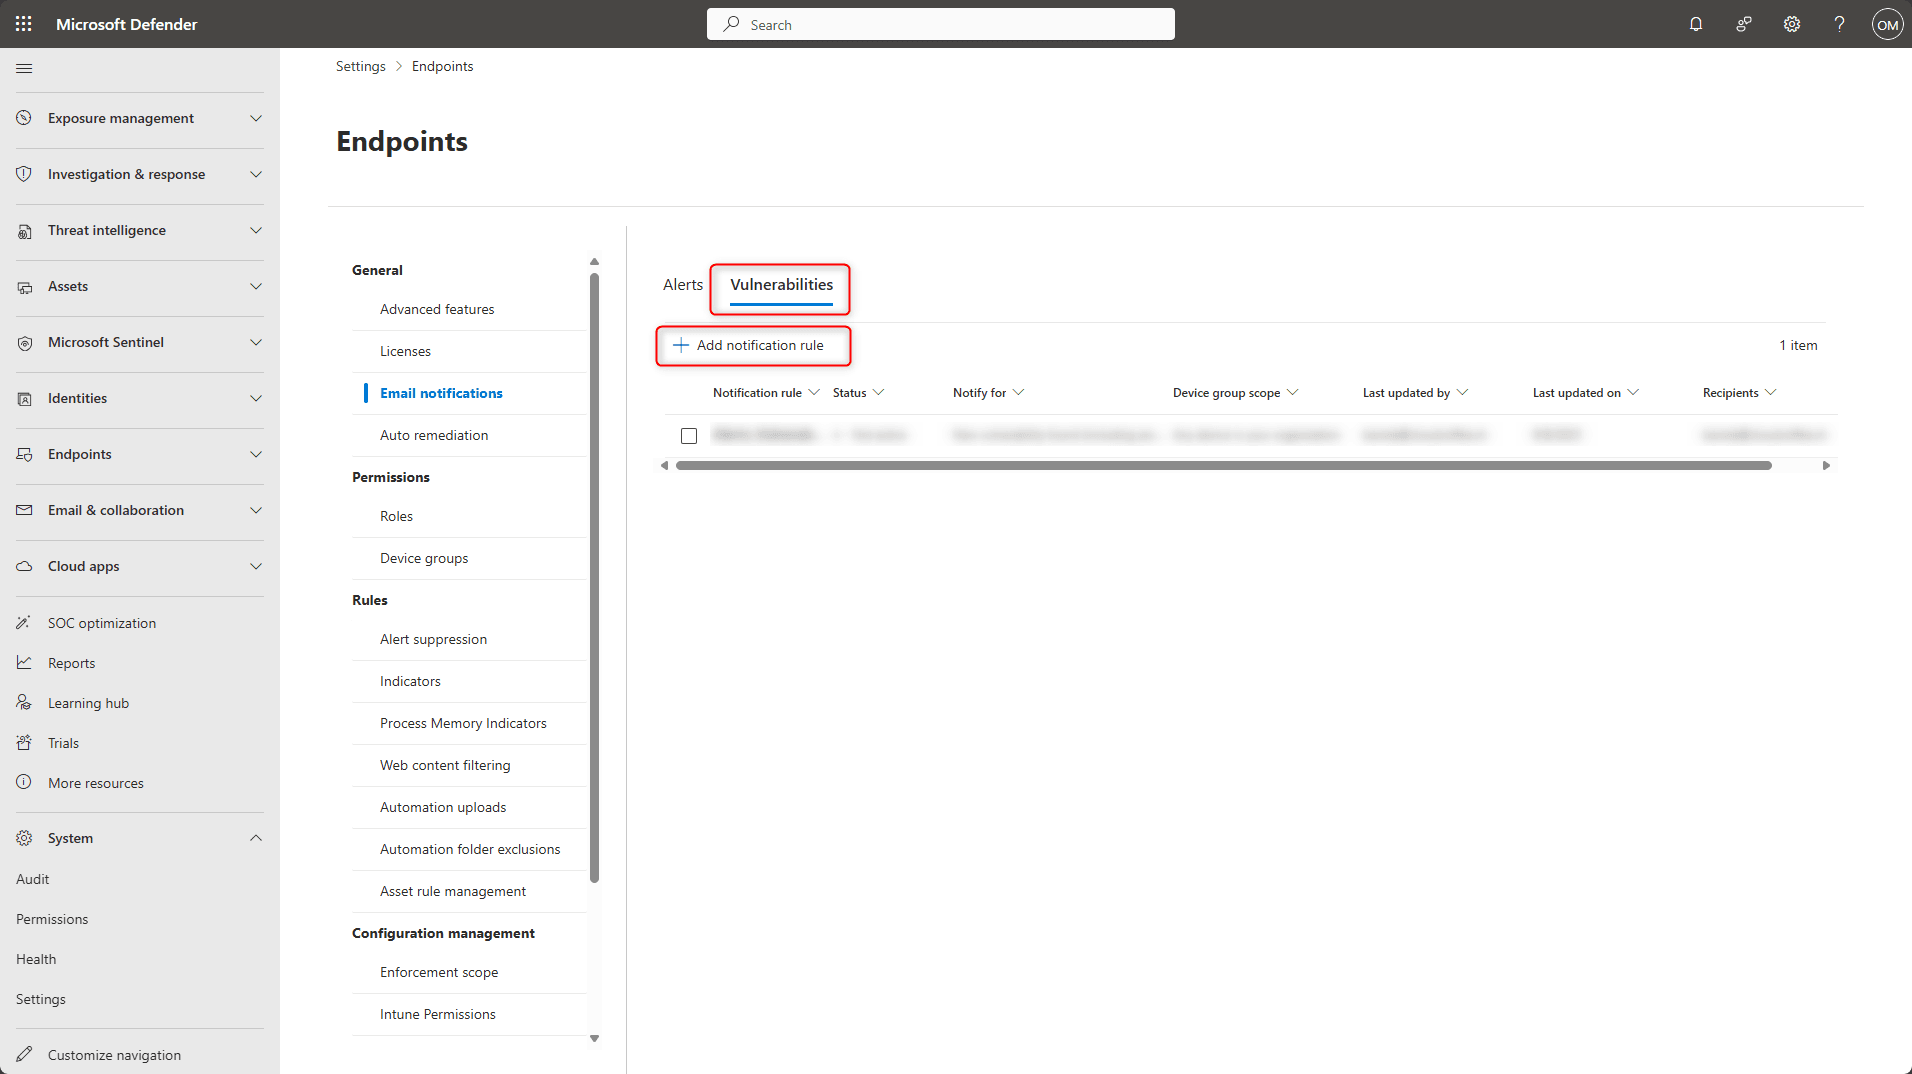
Configure Email Notifications for Vulnerabilities
In the Vulnerabilities section, email notifications can be configured for devices identified as being at increased risk. Microsoft Defender for Endpoint evaluates device health based on various signals, such as detected threats, vulnerabilities and deviations from security configurations. Once a device is classified as at risk, the defined recipients receive a notification. Using this feature requires a license for either Microsoft Defender for Endpoint P2 or Microsoft Defender for Business.
In Vulnerabilities, select Add notification rule
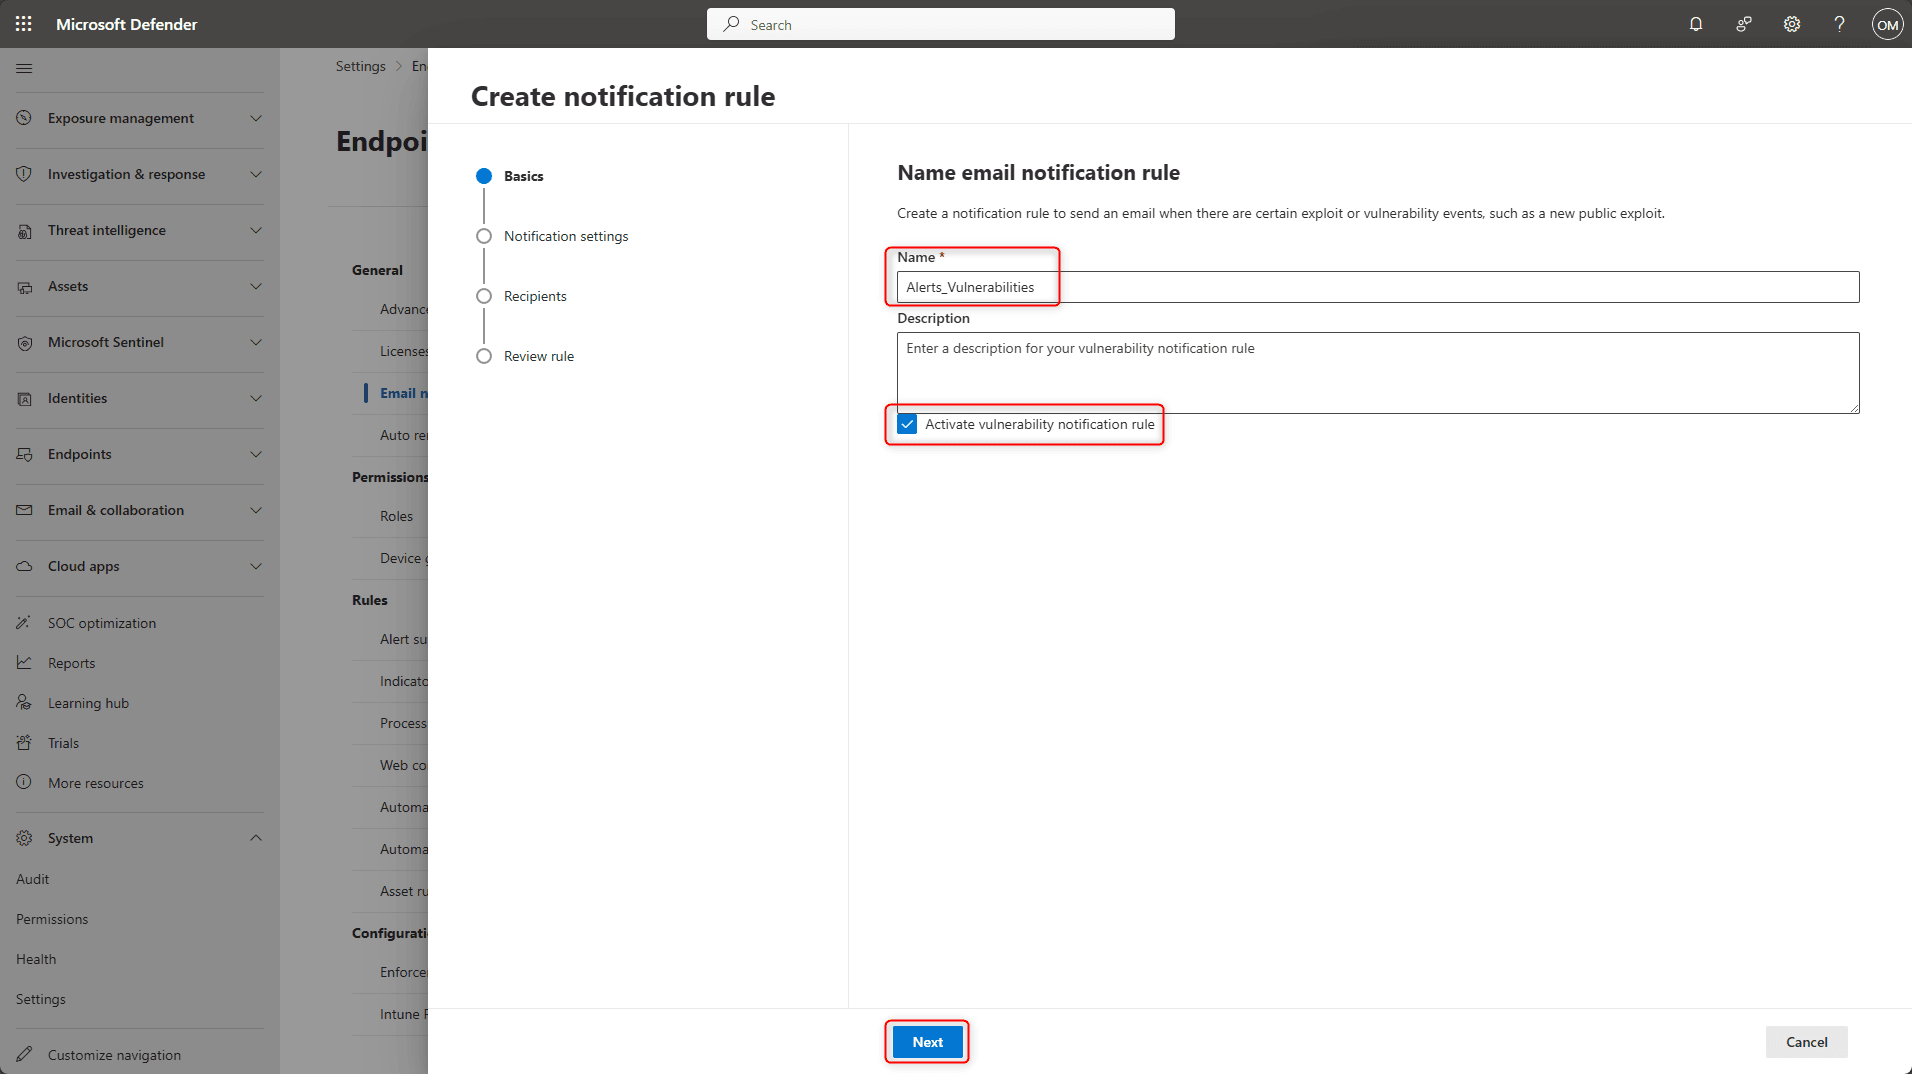
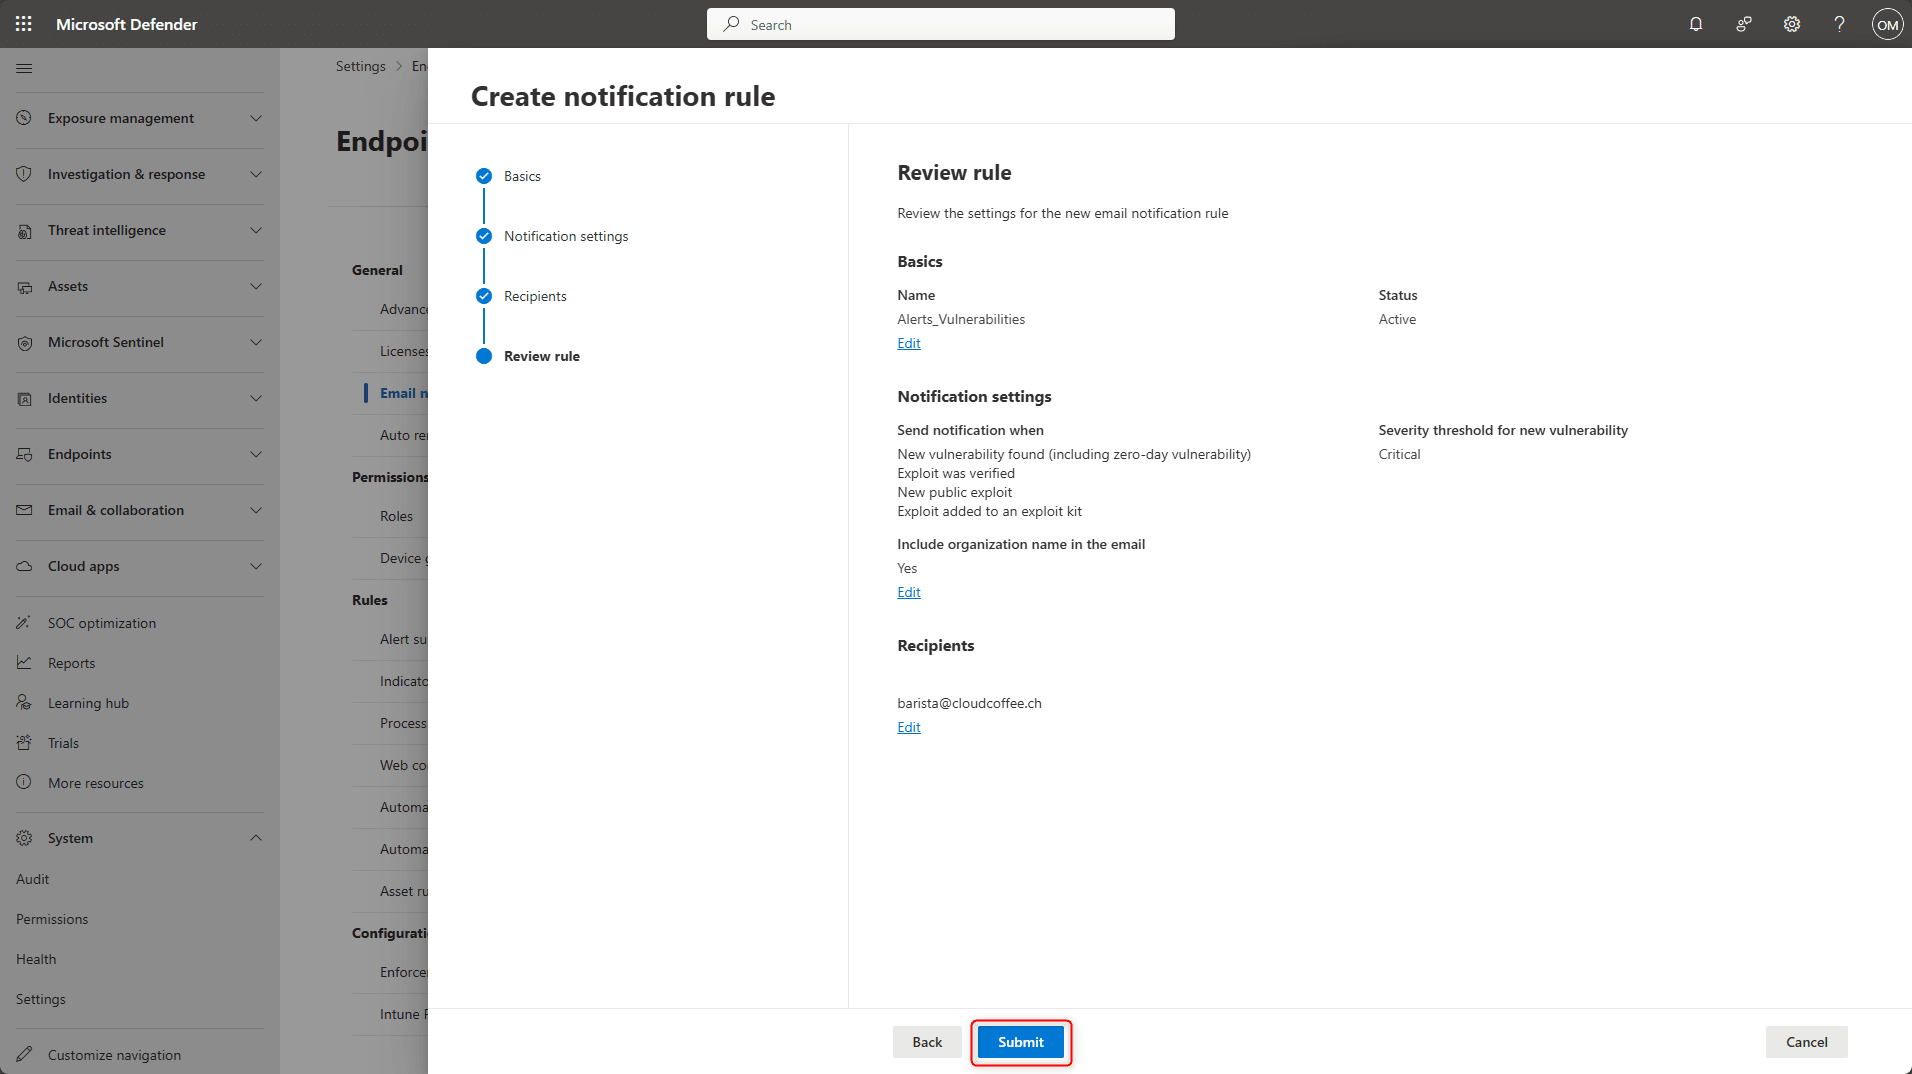
Name the email notification rule, for example Alerts_Vulnerabilities
Select Activate vulnerability notification rule
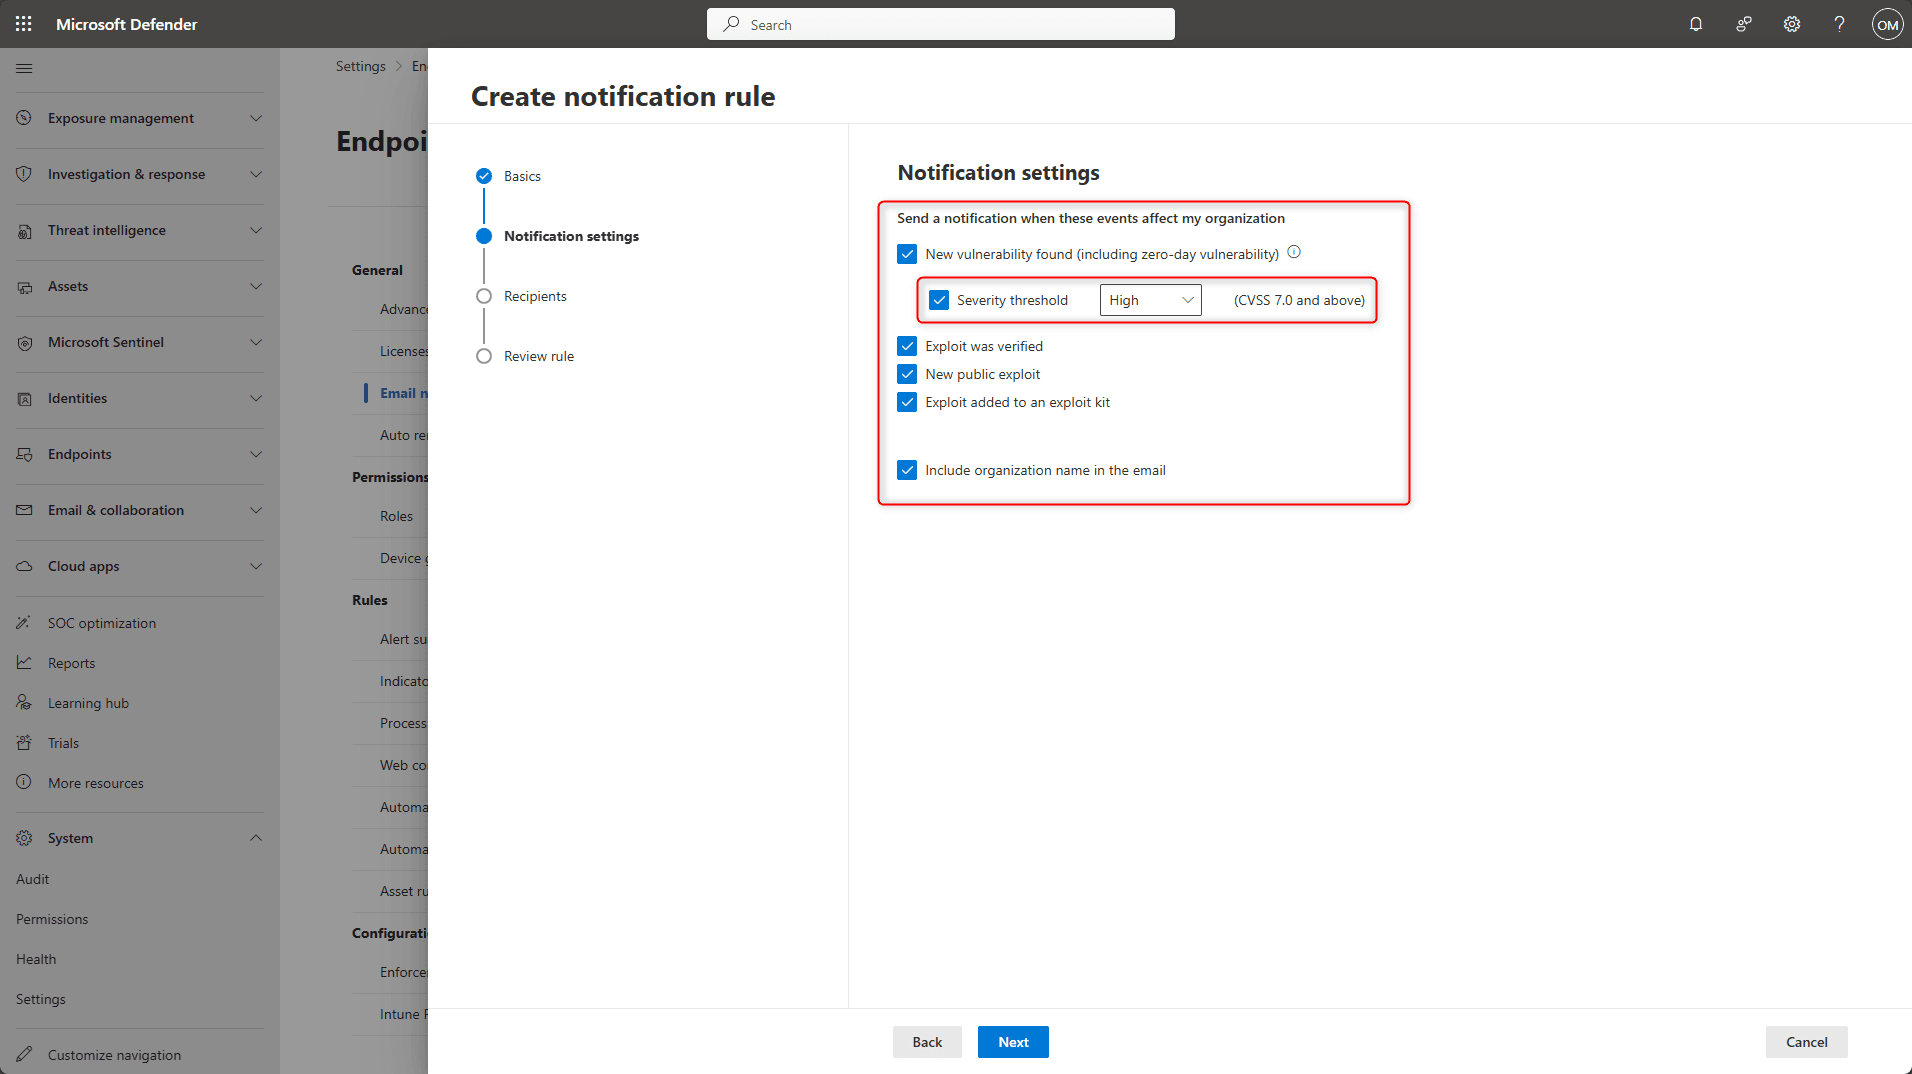
Email notifications can be customized to meet organizational requirements. The threshold is based on the Common Vulnerability Scoring System (CVSS), which rates vulnerabilities according to their severity. In practice, a threshold of 7.0 (High) has proven effective, as it ensures that only high or critical vulnerabilities are reported while preventing recipients from being overwhelmed with less relevant notifications.
Additionally, notifications can be sent for vulnerabilities with concrete indicators of active exploitation. The following options help classify the relevance of the alerts more accurately:
- Exploit was verified
Microsoft or a trusted partner has confirmed that a vulnerability is actively exploitable, meaning it can be abused in a reproducible way - New public exploit
Exploit code has been publicly released for a known vulnerability, making it reproducible - Exploit added to an exploit kit
The vulnerability has been integrated into a known exploit kit, i.e. an automated collection of exploits often used in drive-by downloads or malware campaigns.
Add email recipients
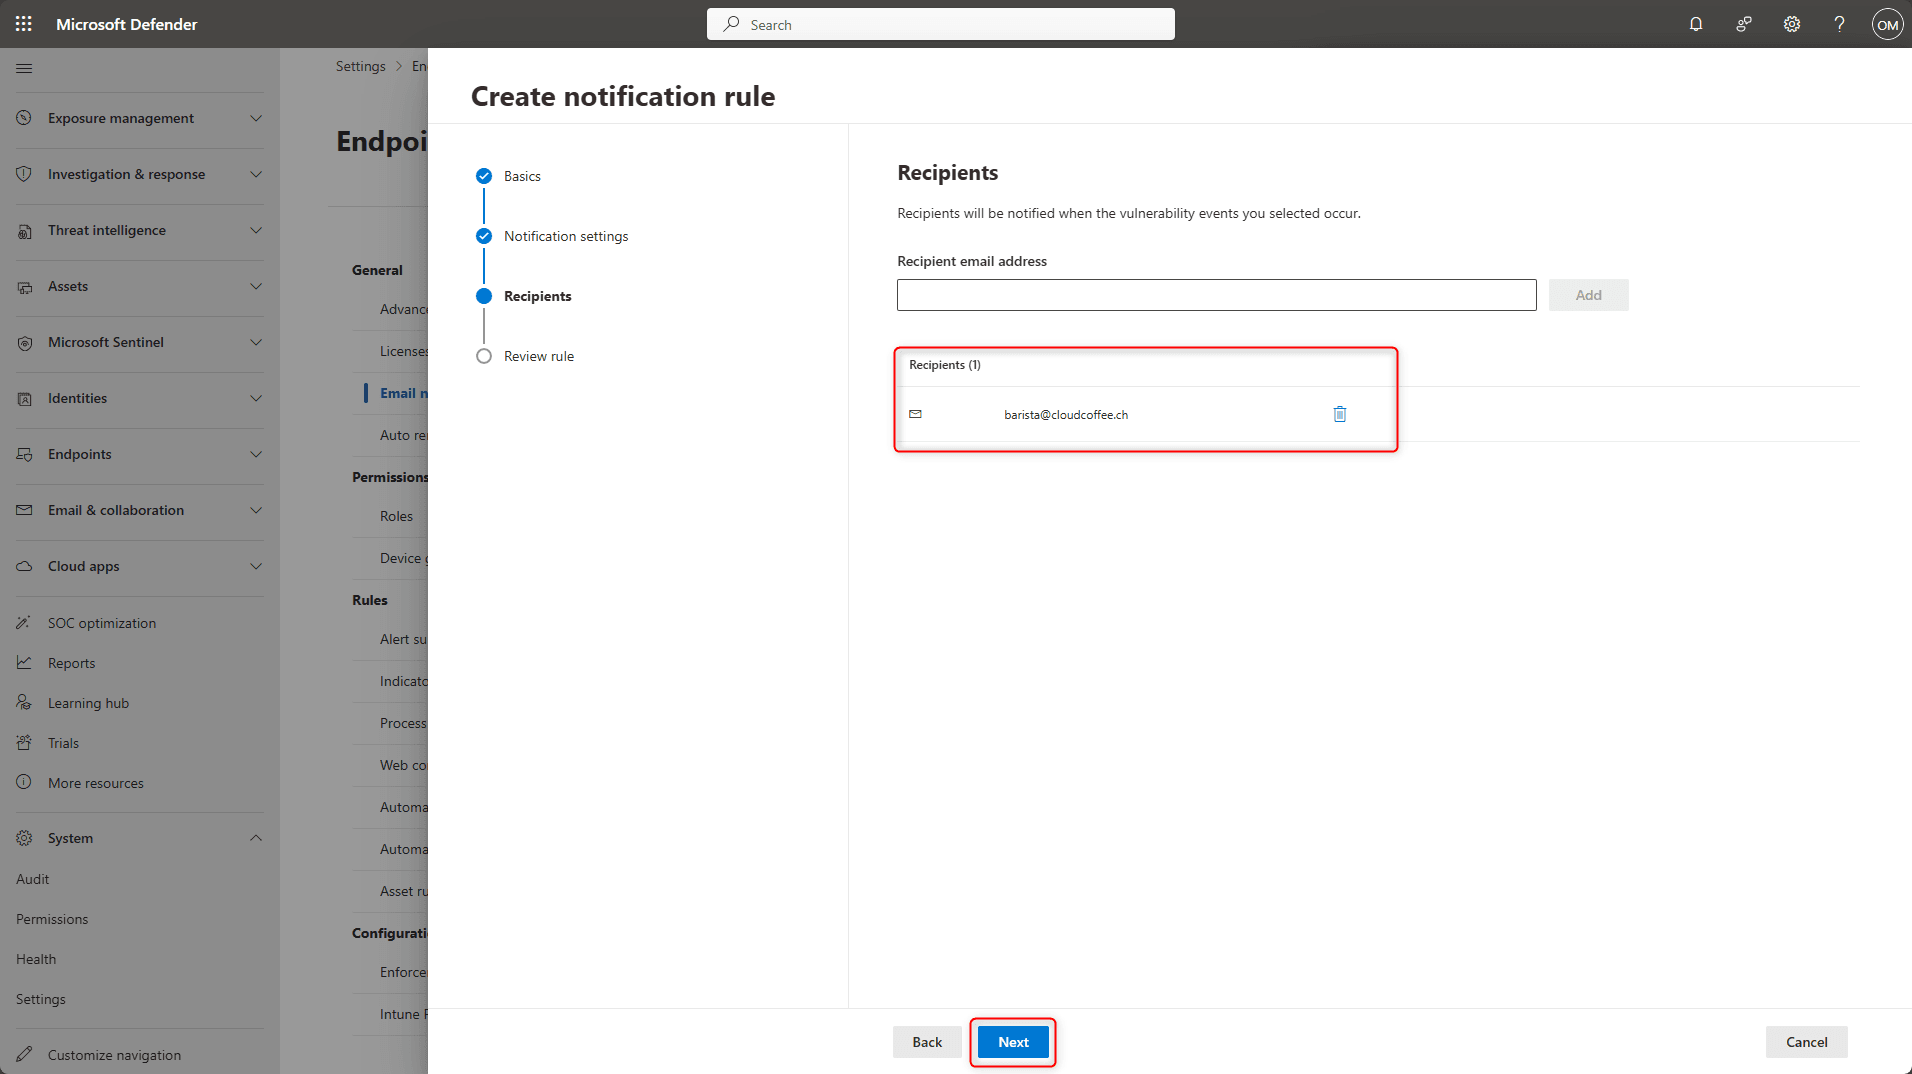
Review the settings and apply them by selecting Submit
Baseline Configuration for Microsoft Defender for Endpoint with Intune
Through Microsoft Intune, core protection features such as real-time protection (Next-Generation Antivirus, NGAV), Windows Firewall and Attack Surface Reduction (ASR) are configured and enabled.
Note for the following configuration:
In Intune, the value Not configured (1) means that the Default setting (2) is applied and does not, as is often incorrectly assumed, disable the feature.

Configure Next-Generation Antivirus (NGAV) with Intune
With a policy, Next-Generation Antivirus (NGAV) can be centrally configured on Windows devices. Protection features such as real-time protection and cloud-based detection can be defined and deployed.
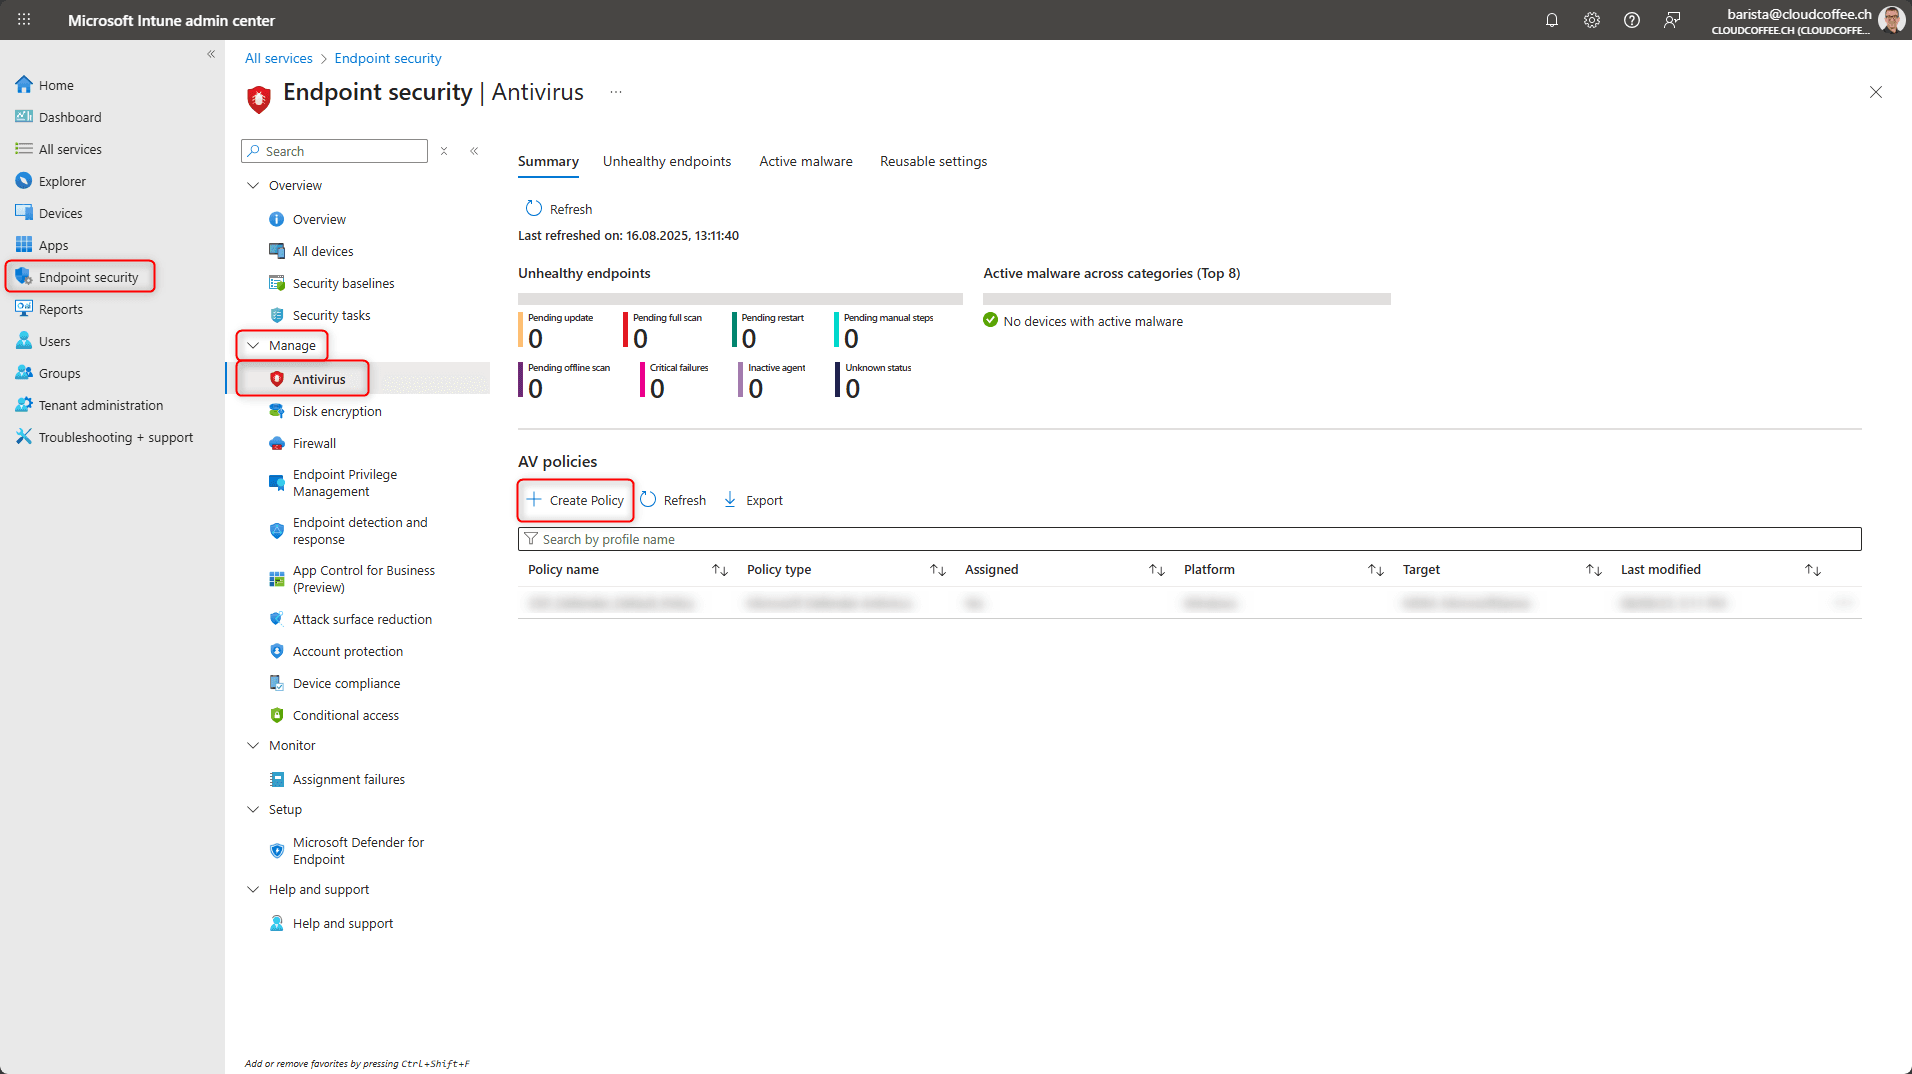
Sign in to the Microsoft Intune admin center (https://intune.microsoft.com) and go to Endpoint security > Manage > Antivirus > Create policy.
Select Platform Windows and Profile Microsoft Defender Antivirus

Name the Next-Generation Antivirus policy, for example ESP_Defender_Default_Policy

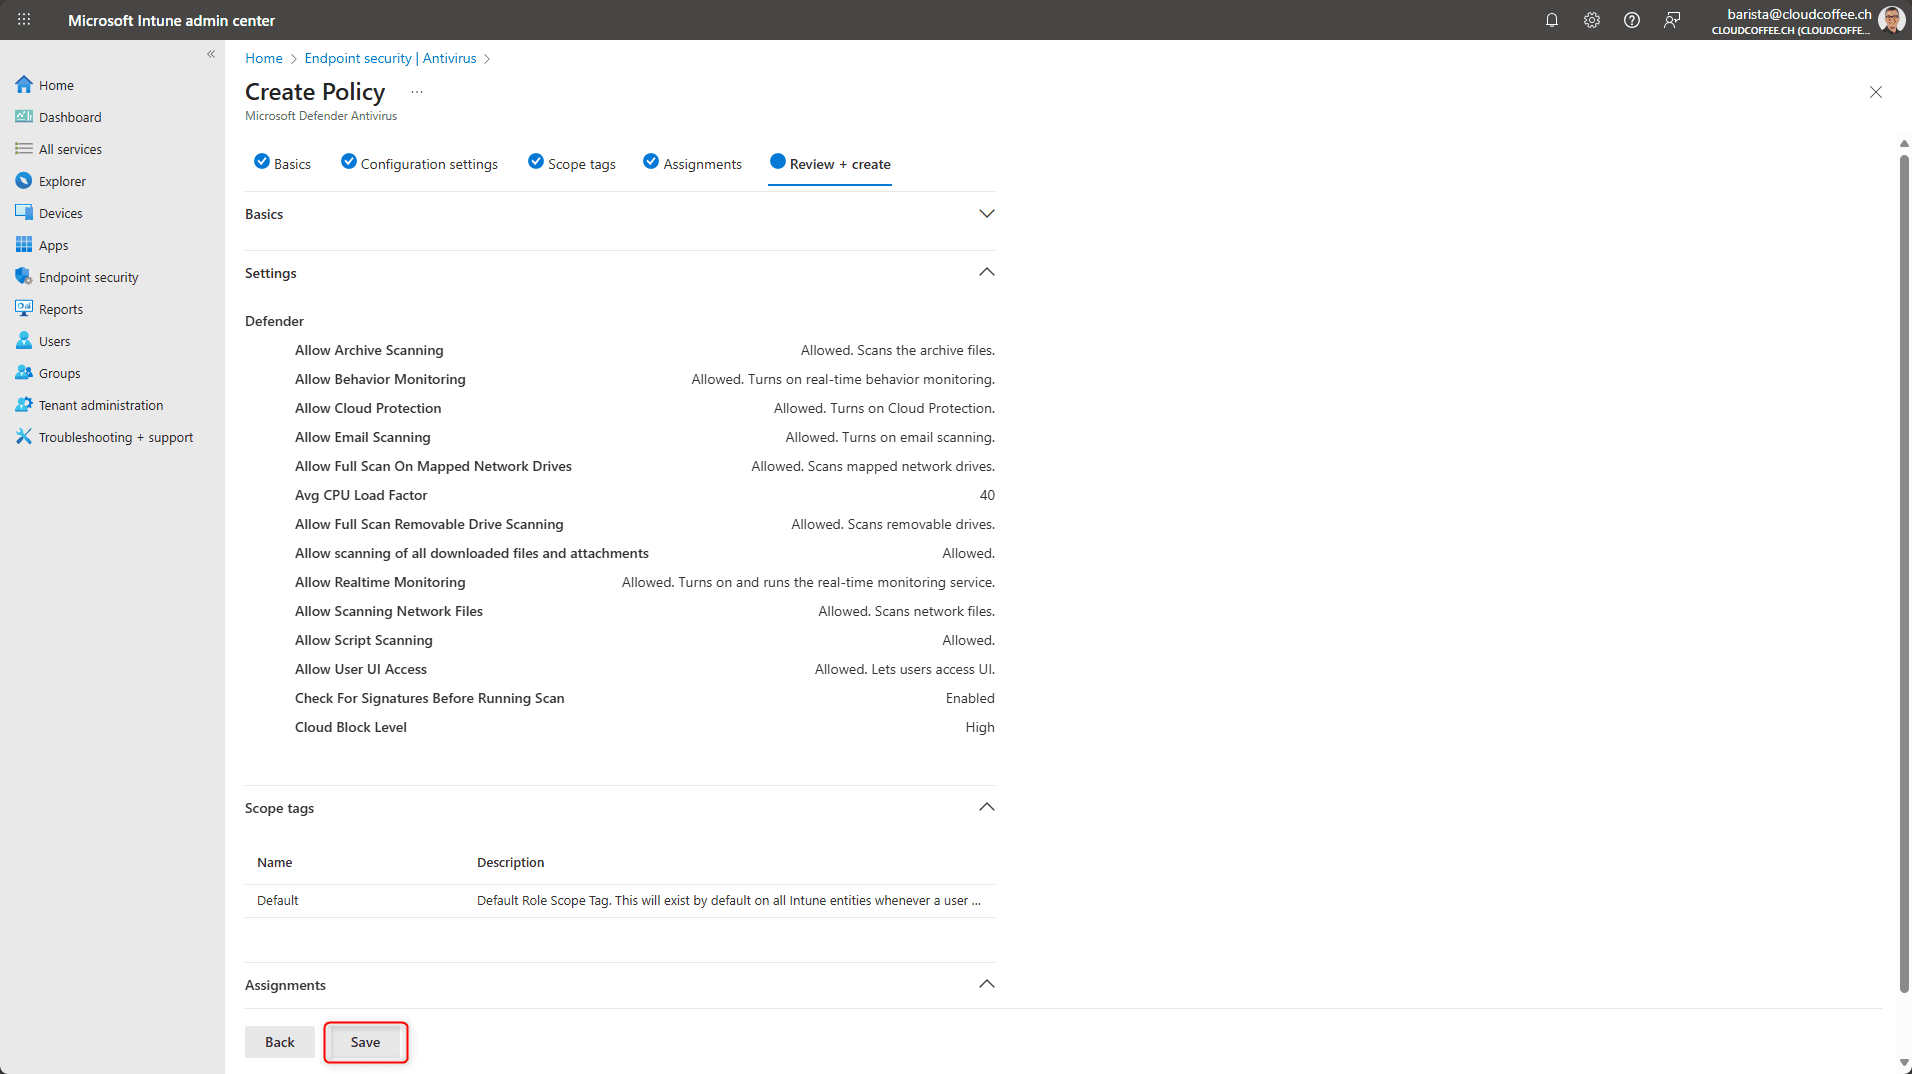
The settings for Next-Generation Antivirus (NGAV) can be customized to meet specific requirements. The following configurations have proven effective in practice.
| Configuration option | Value |
| Allow Archive Scanning | Allowed |
| Allow Behavior Monitoring | Allowed |
| Allow Cloud Protection | Allowed |
| Allow Email Scanning | Allowed |
| Allow Full Scan Removable Drive Scanning | Allowed |
| Allow scanning of all downloaded files and attachments | Allowed |
| Allow Realtime Monitoring | Allowed |
| Allow Scanning Network Files | Allowed |
| Allow Script Scanning | Allowed |
| Allow User UI Access | Allowed |
| Avg CPU Load Factor | Configured, 40% |
| Check For Signatures Before Running Scan | Enabled |
| Cloud Block Level | High |
| Cloud Extended Timeout | Configured, 50 |
| Days to Retain Cleaned Malware | 28 |
| Enable Network Protection | Enabled (block mode) |
| PUA Protection | PUA Protection on |
| Scan Parameter | Quick scan |
| Schedule Quick Scan Time | 750, corresponds to 12:30 PM |
| Signature Update Interval | 1 |
| Submit Samples Consent | Send all samples automatically |
| Disable Local Admin Merge | Disable Local Admin Merge |
| Allow On Access Protection | Allowed |

The settings for Threat Severity Default Action are intentionally left at Not configured. This allows the Microsoft Security team to manage these settings according to current security policies and best practices. This approach reduces configuration errors and ensures consistent, up-to-date protection.

Configure Scope tags if required

Configure the device Assignment to which these settings should be applied

Review the settings and apply them by selecting Submit
Windows Firewall
With a Microsoft Intune policy, the Windows Firewall is configured in a standardized way across devices. This allows rules for inbound and outbound connections as well as auditing options to be centrally defined and deployed.
Sign in to the Microsoft Intune admin center (https://intune.microsoft.com) and go to Endpoint security > Manage > Firewall > Create policy.

Select Platform Windows and Profile Windows Firewall

Name the Windows Firewall policy, for example ESP_Firewall_Default_Policy

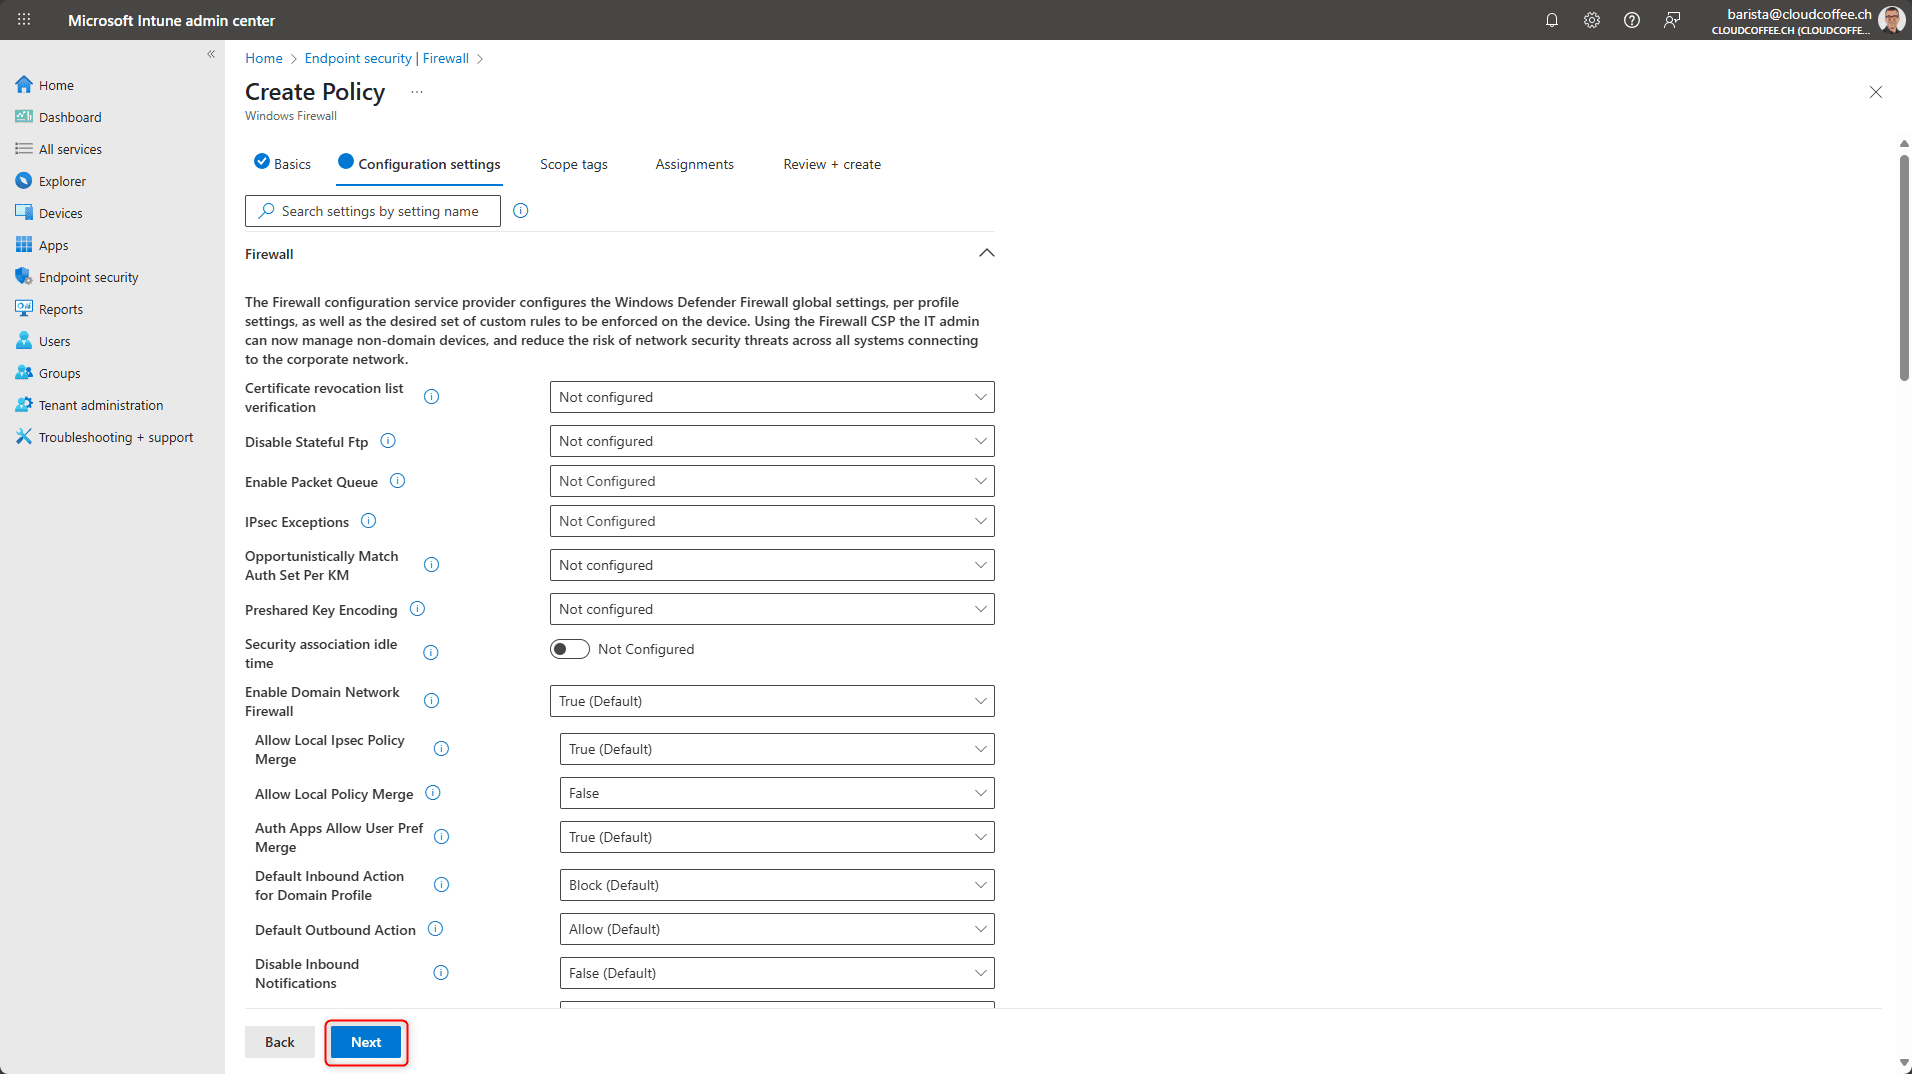
The settings for Windows Firewall can be customized to meet specific requirements. The following configurations have proven effective in practice.
Firewall Configuration
| Configuration option | Value |
| Enable Domain Network Firewall | True |
| Allow Local Policy Merge | False |
| Enable Private Network Firewall | True |
| Allow Local Policy Merge | False |
| Enable Public Network Firewall | True |
| Allow Local Policy Merge | False |
Auditing
| Firewall Configuration | Value |
| Object Access Audit Filtering Platform Connection | Success and Failure |
| Object Access Audit Filtering Platform Packet Drop | Success and Failure |
Configure Scope tags if required
Configure the device Assignment to which these settings should be applied.
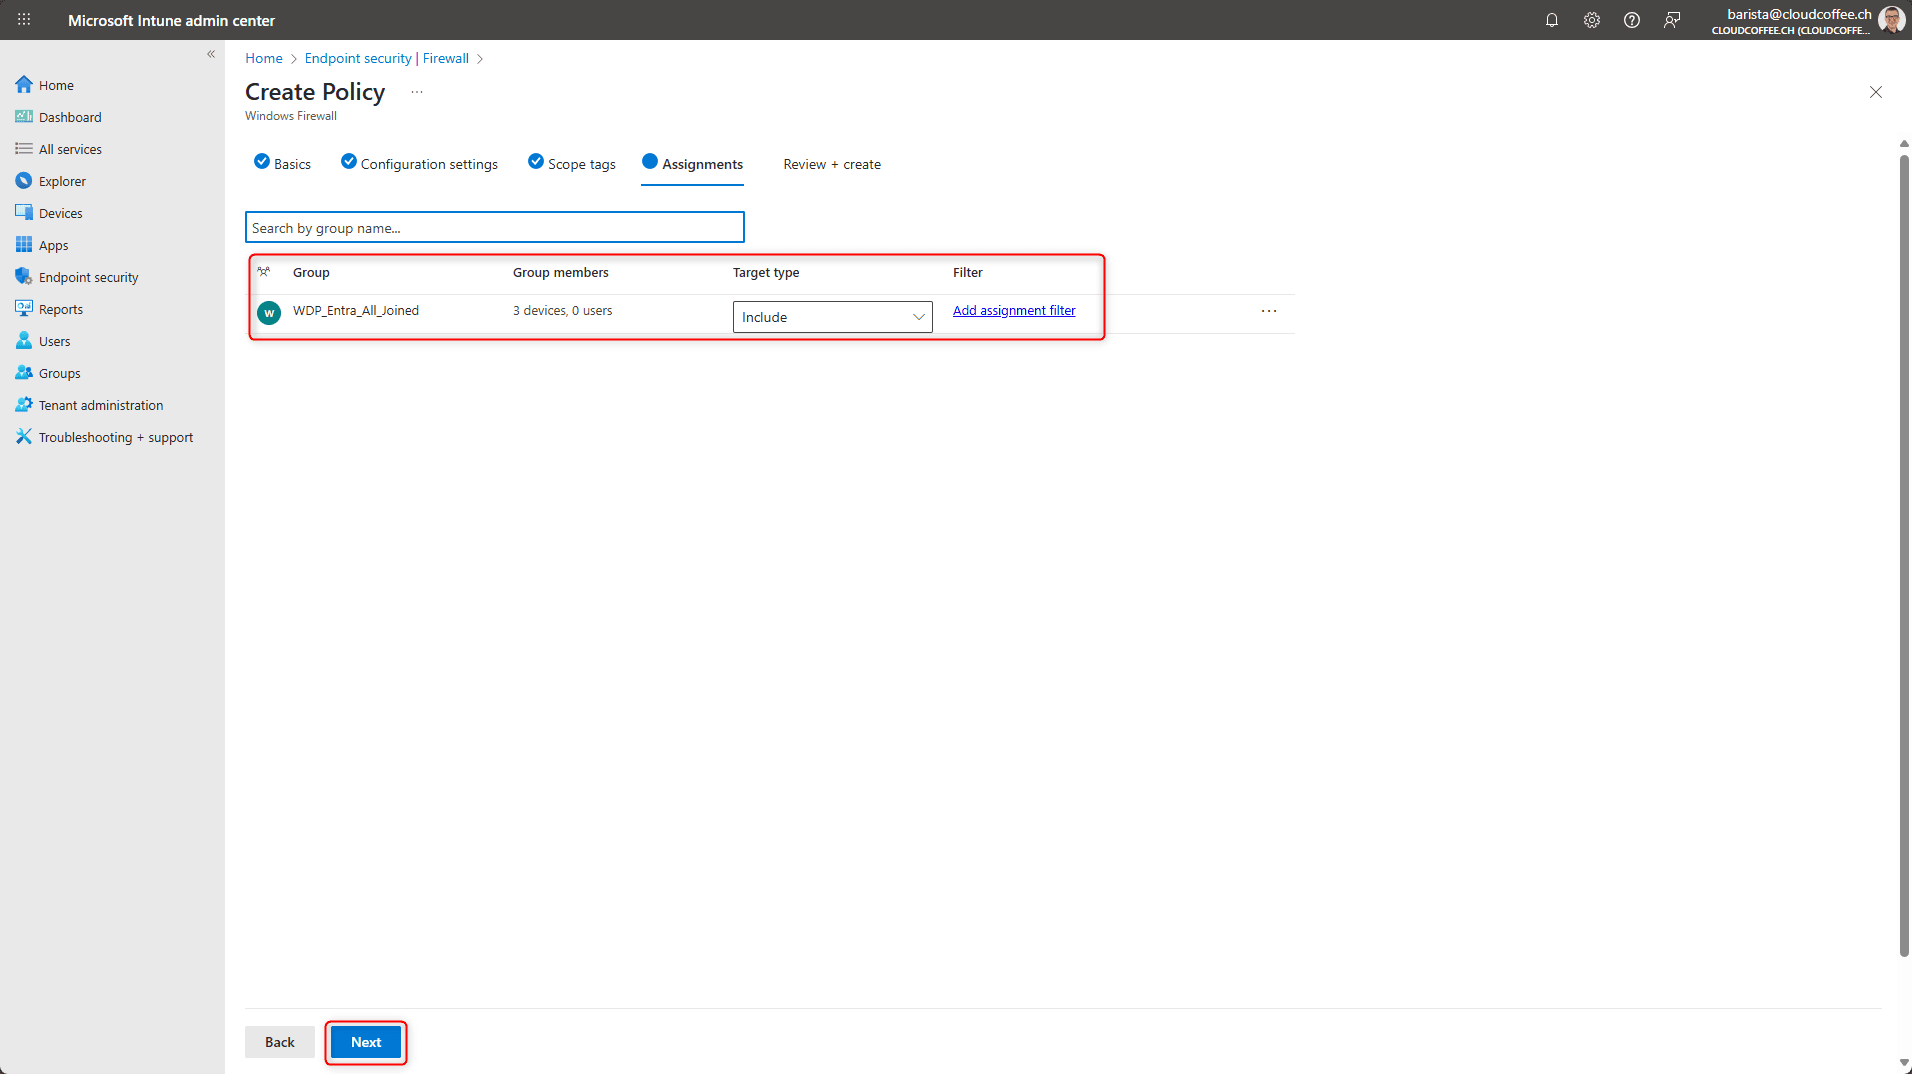
Review the settings and apply them by selecting Save.

Attack Surface Reduction (ASR)
Attack Surface Reduction (ASR) consists of a set of targeted protection rules that block known attack vectors before malware can become active. Using Attack Surface Reduction (ASR) requires a license for Microsoft Defender for Endpoint P2 or Microsoft Defender for Business.
In the baseline configuration shown here, Attack Surface Reduction (ASR) rules are initially enabled in audit mode. This approach makes it possible to analyze the impact of individual rules in advance and make informed decisions about their production deployment. Switching to block mode will be covered in a later part of this blog series.
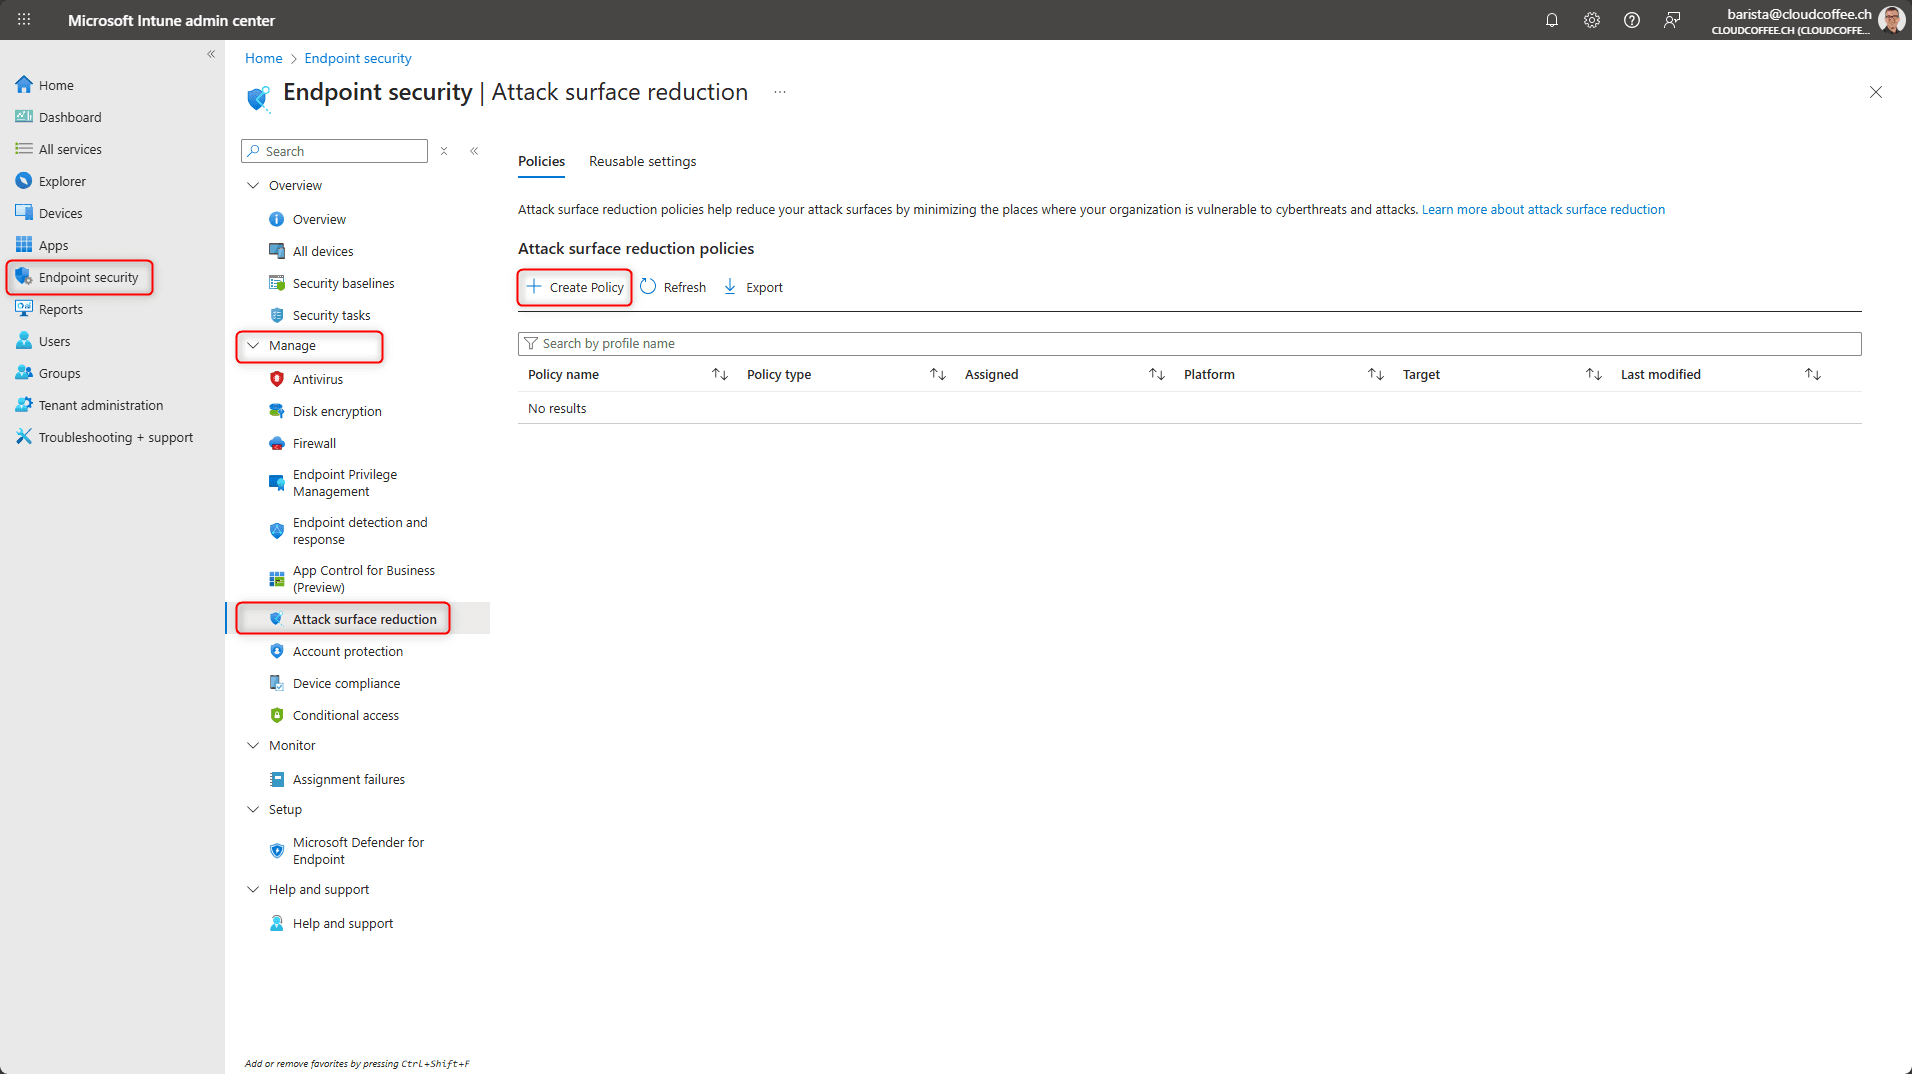
Sign in to the Microsoft Intune admin center (https://intune.microsoft.com) and go to Endpoint security > Manage > Attack surface reduction > Create policy.
Select Platform Windows and Profile Attack Surface Reduction Rules

Name the Attack Surface Reduction policy, for example ESP_ASR_Default_Policy.

Set all Attack Surface Reduction rules to Audit.
The audit option makes it possible to identify the potential impact of the rules without immediately blocking the execution of applications or scripts.

Configure Scope tags if required

Configure the device Assignment to which these settings should be applied.
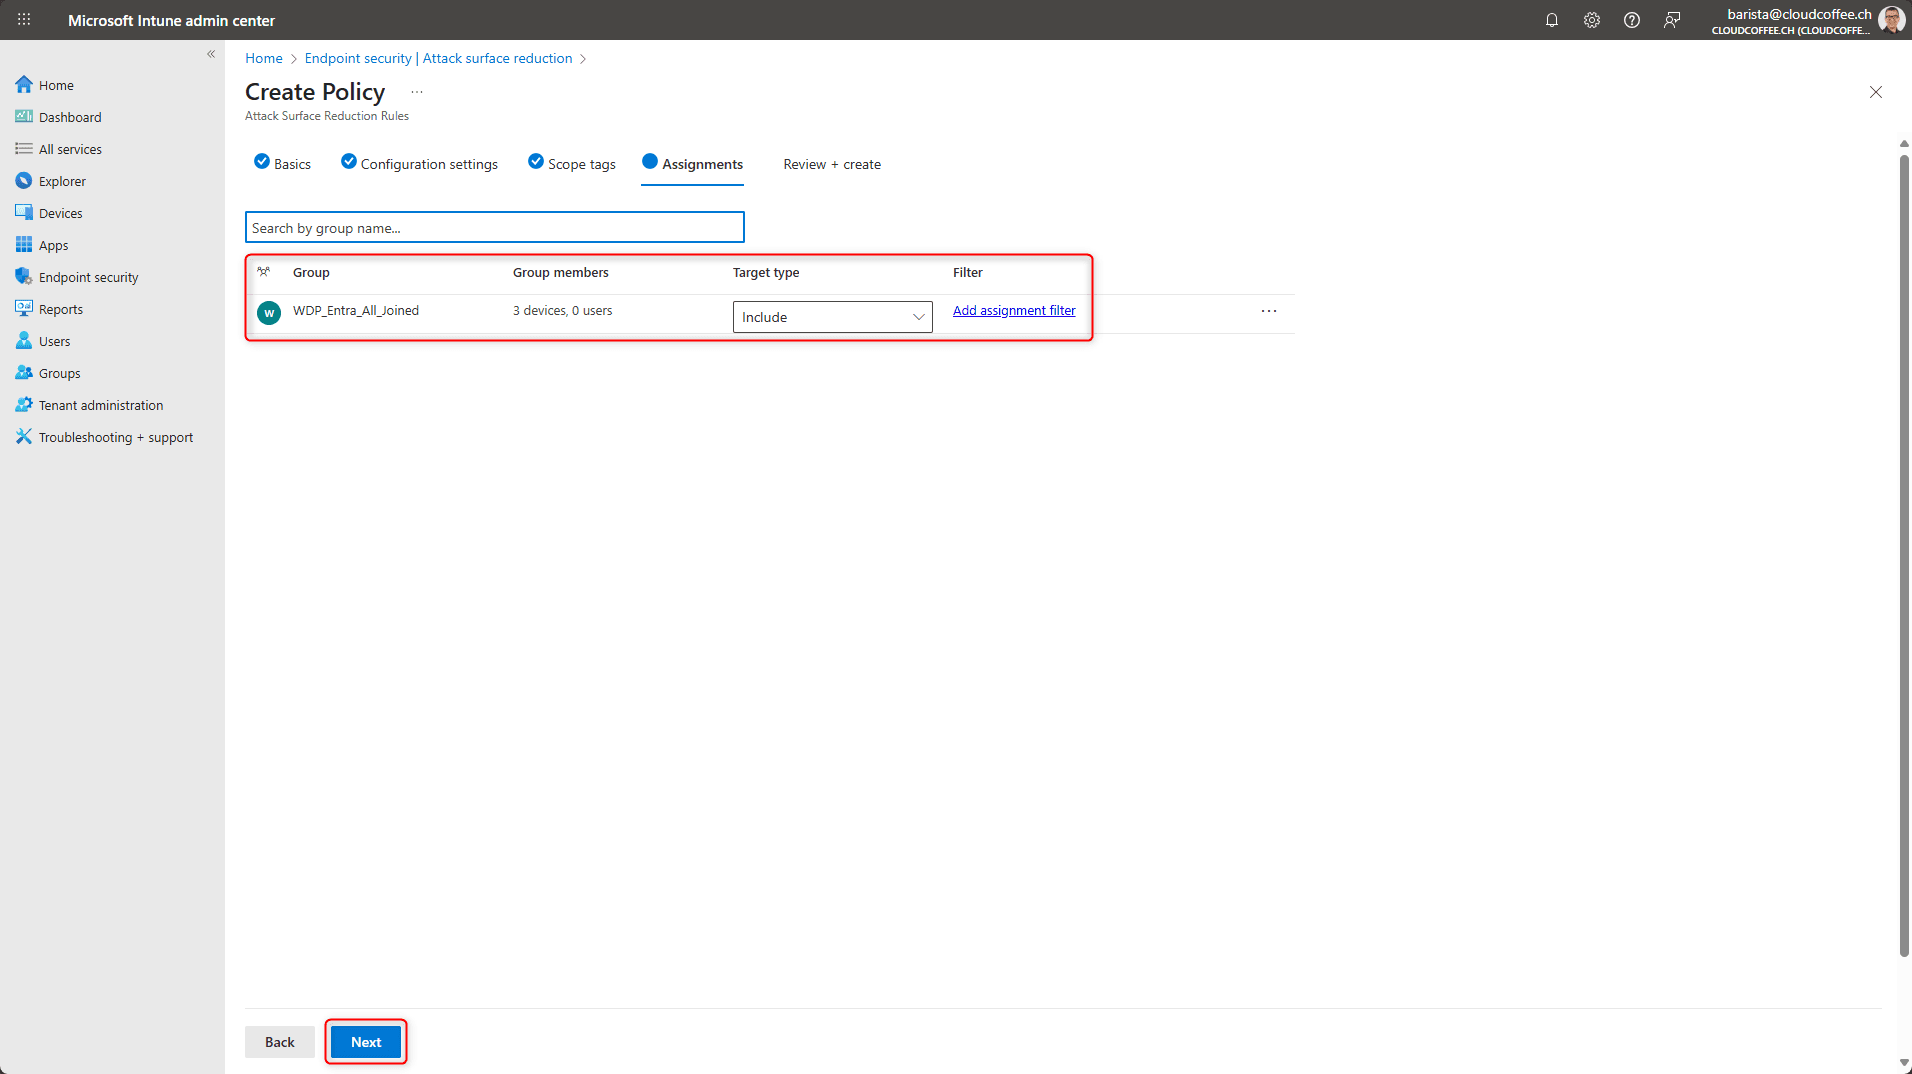
Review the settings and apply them by selecting Save.
Enable Tamper Protection with Intune
Tamper Protection reliably safeguards Microsoft Defender for Endpoint against unauthorized changes, even from local administrators or malware with elevated privileges. It prevents security-critical features such as real-time protection or cloud-delivered protection from being locally manipulated or disabled. Activation is performed in the Microsoft Defender portal for all managed devices. If required, Tamper Protection can be selectively disabled for specific device groups through an Endpoint security policy in Microsoft Intune, more on this here.
Sign in to the Microsoft Defender portal (https://security.microsoft.com) and navigate to System > Settings > Endpoints > General > Advanced features.
Enable the option Tamper Protection (1) and apply the configuration by selecting Save preferences (2).

Good to Know
Configure Microsoft Defender Antivirus Exclusions with Intune
A centrally managed exclusion list for Microsoft Defender Antivirus is administered through the previously created Endpoint security policy. Files, file extensions, paths and processes can be excluded.
Sign in to the Microsoft Intune admin center (https://intune.microsoft.com) and go to Endpoint security > Manage > Antivirus > Select policy.

Edit the policy and add the exclusions under Excluded extensions, Excluded paths and Excluded processes.

Disable Tamper Protection for Specific Device Groups with Intune
In certain scenarios, it may be necessary to disable Tamper Protection for specific device groups. Through an Endpoint security policy in Microsoft Intune, Tamper Protection can be disabled for these groups. This configuration should only be applied with appropriate risk assessment and for clearly scoped groups.
Sign in to the Microsoft Intune admin center (https://intune.microsoft.com) and go to Endpoint security > Manage > Antivirus > Create policy.
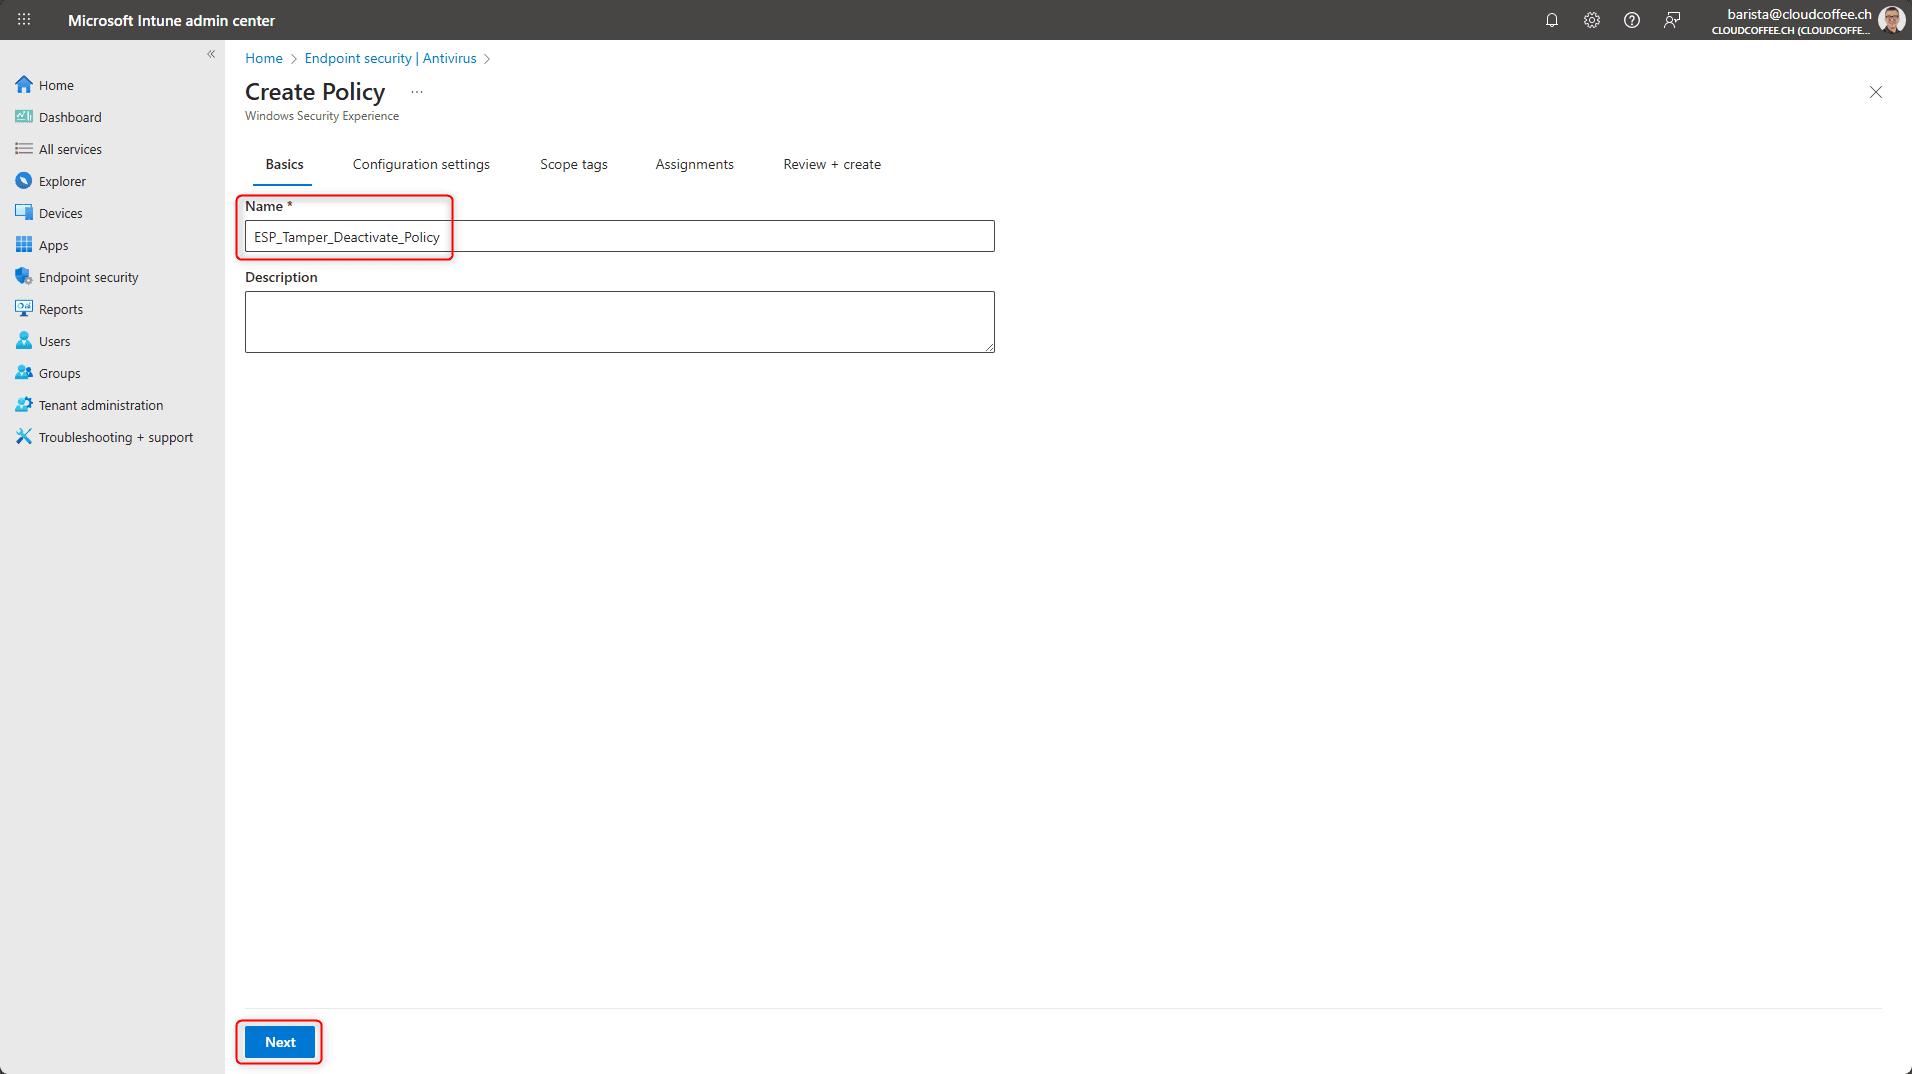
Select Platform Windows and Profile Windows Security Experience.

Name the Tamper Protection policy, for example ESP_Tamper_Deactivate_Policy
Set TamperProtection (Device) to Off

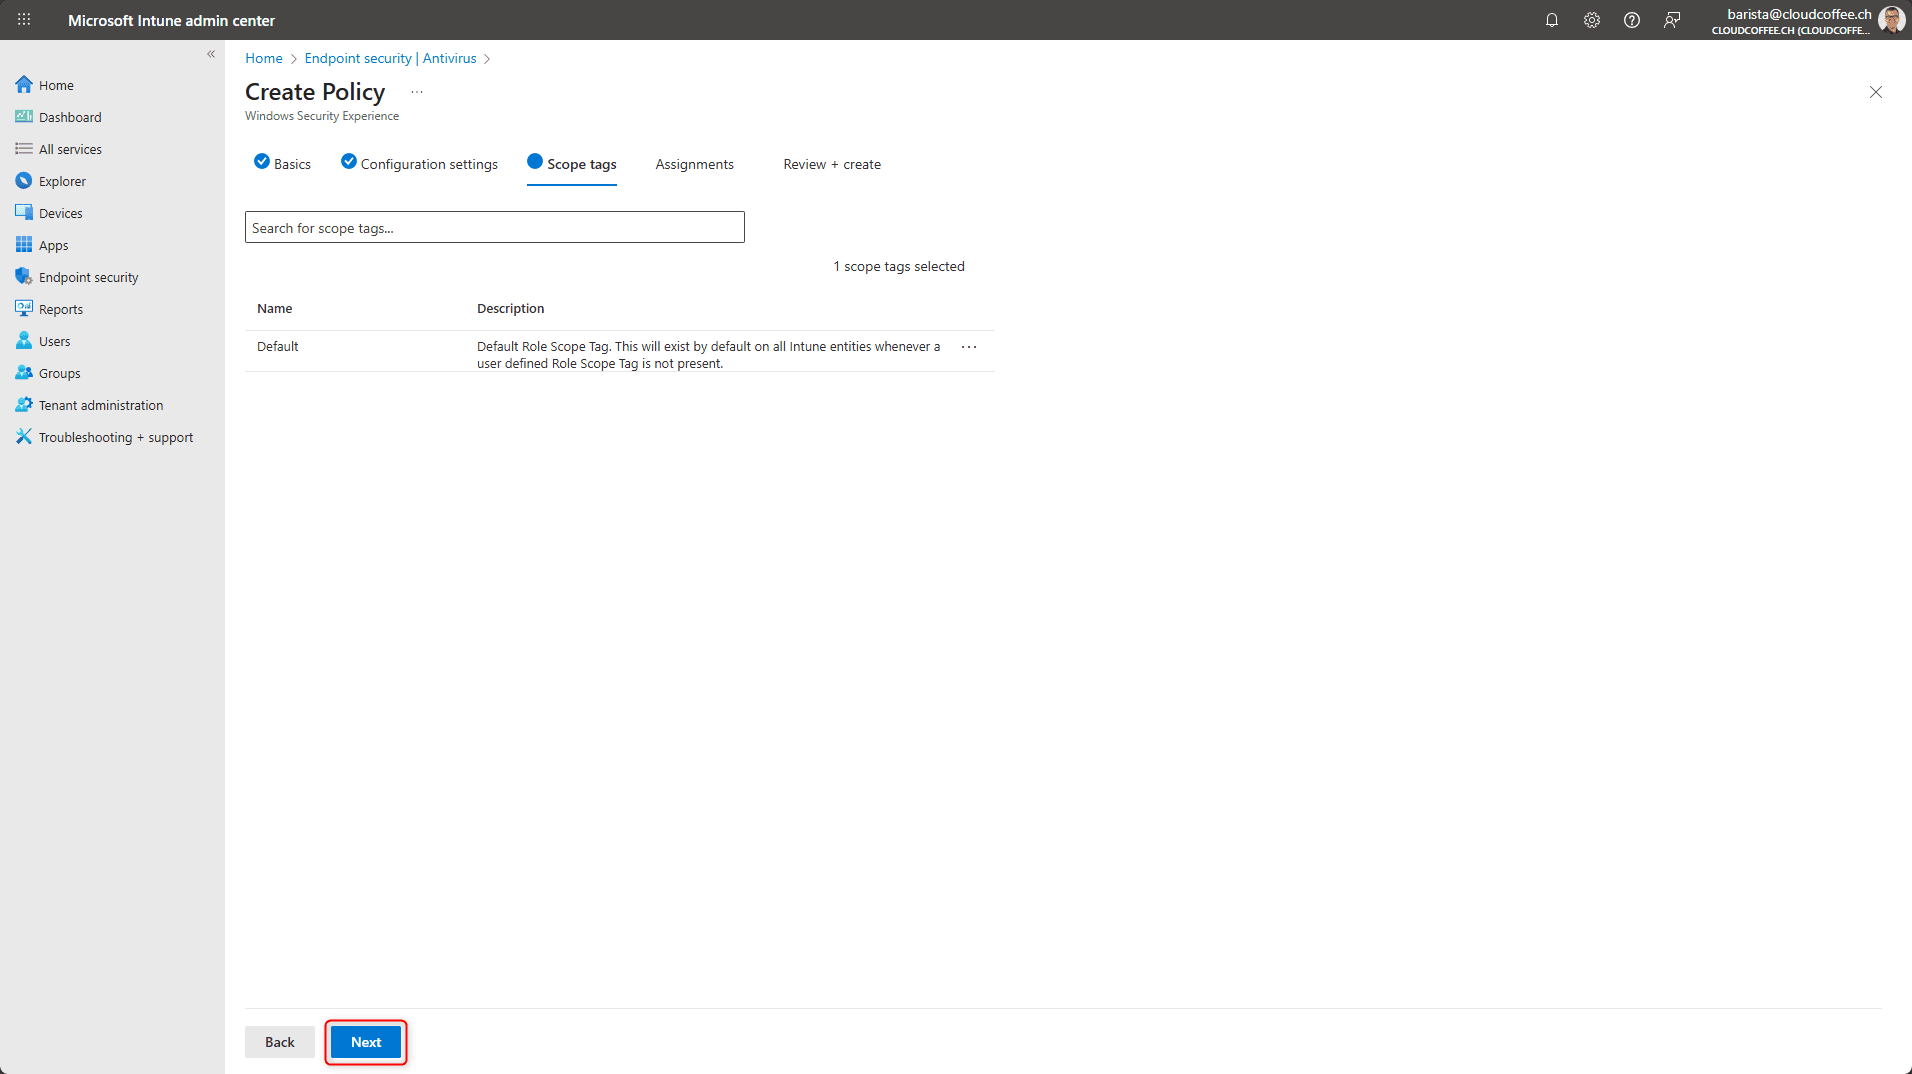
Configure Scope tags if required
Configure the device group Assignment for which Tamper Protection should be disabled

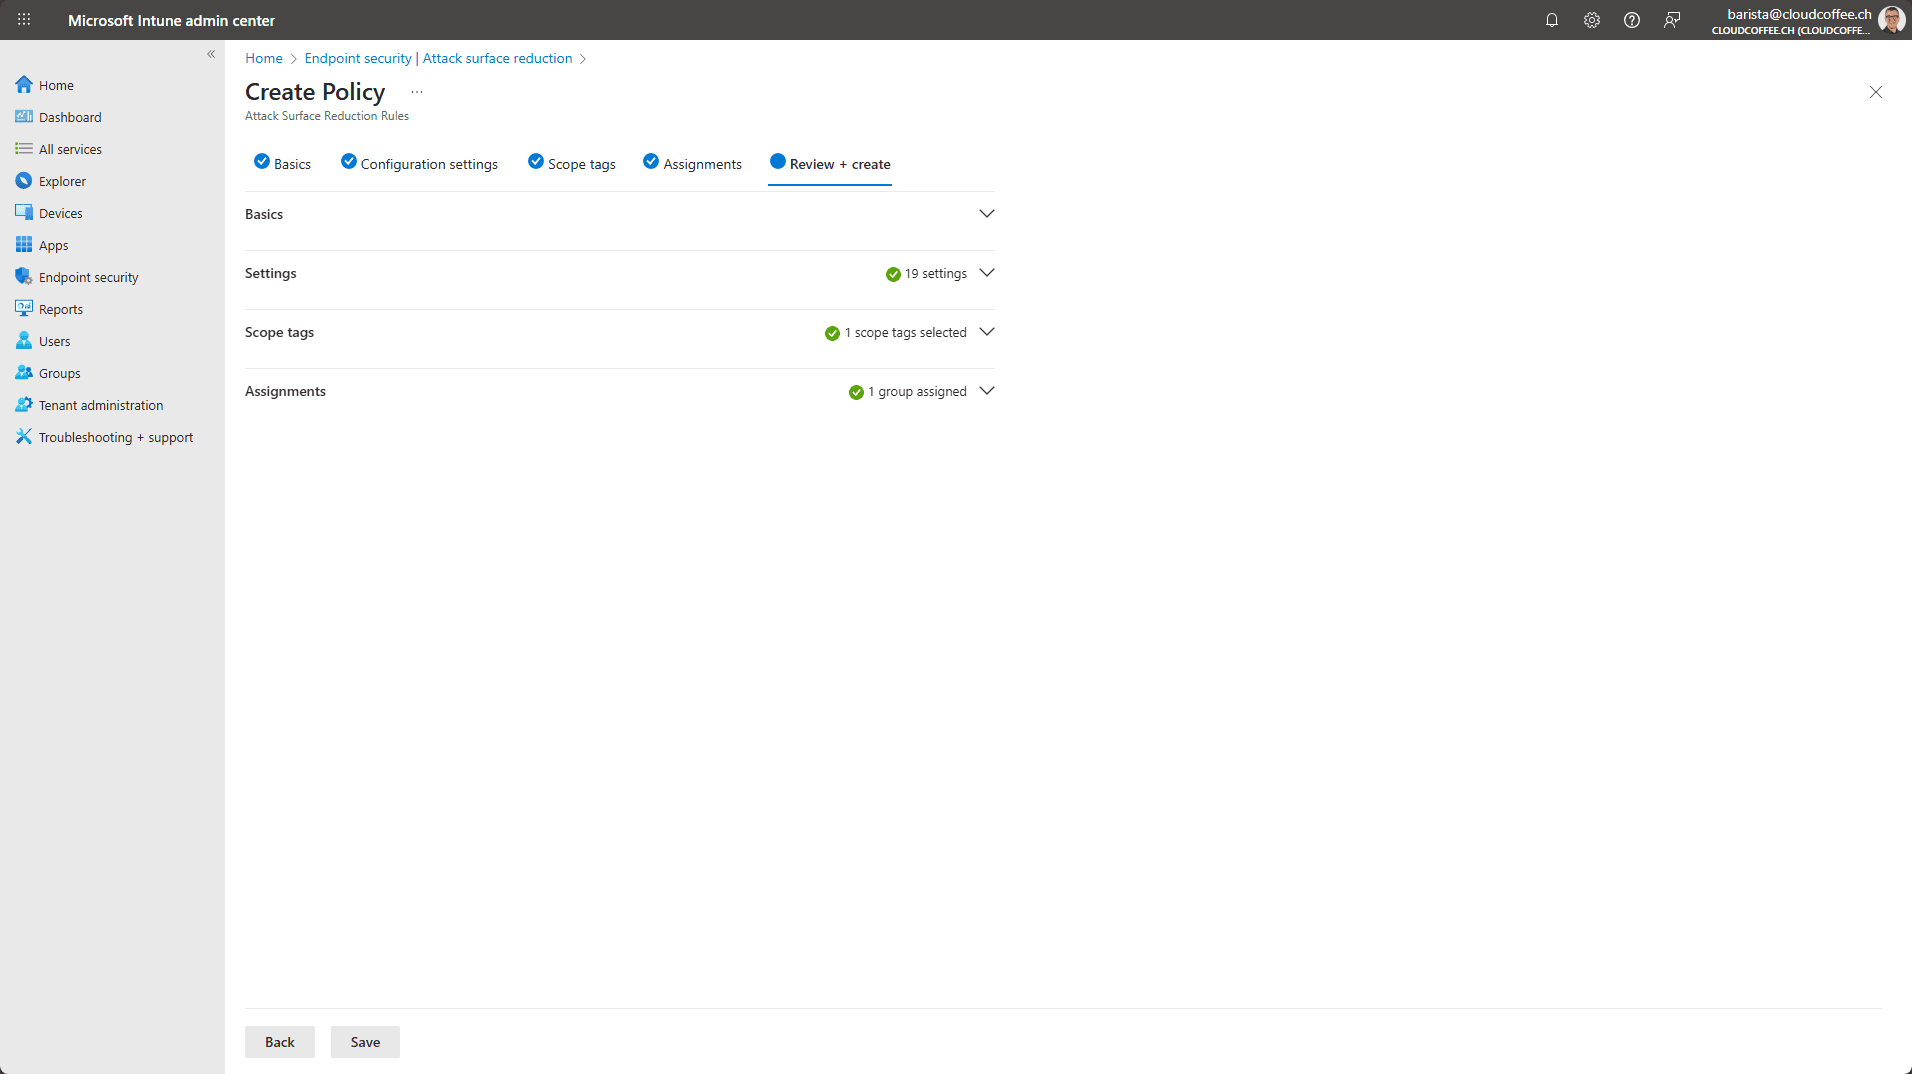
Review the settings and apply them by selecting Save.

Troubleshooting Mode in Microsoft Defender
Troubleshooting mode allows Microsoft Defender for Endpoint to be temporarily placed into a diagnostic state on a device. In this state, certain protection features, including Tamper Protection and policy enforcement, are temporarily disabled to enable targeted issue analysis.
The mode can be enabled for up to four hours and ends automatically afterward. During this time, the client accepts local changes and generates extended diagnostic data. Activation is performed through the Microsoft Defender portal.
Sign in to the Microsoft Defender portal (https://security.microsoft.com) and under Assets > Devices, select the affected device.

Open the context menu (1) via the three dots and select Turn on troubleshooting mode (2).

After enabling troubleshooting mode, local changes to Microsoft Defender settings on the device are possible for the next four hours, regardless of the policies assigned through Microsoft Intune.

Monitoring Windows Firewall
In the baseline configuration of Windows Firewall, logging of blocked and allowed connections is enabled. This provides central diagnostic data that can be analyzed when required.
Sign in to the Microsoft Defender portal (https://security.microsoft.com) and select Reports > Endpoints > Firewall.

The detailed diagnostic data for inbound and outbound connections is displayed.

Fresh content, explained with practical relevance. Stay up to date via LinkedIn and Bluesky.


No marketing. No noise. Just content.
If this post was helpful, a coffee brings back the rich aroma behind the writing.