SMB over QUIC and Azure Server: empowering secure and lightning fast file sharing
Last Updated on 28. December 2023
SMB over QUIC is a network protocol used by Windows. It allows secure, shared use of resources such as files on the network. To use SMB (Server Message Block) without QUIC, TCP port 445 is required. Some Internet providers block TCP port 445 for security reasons. Therefore, it is not possible to connect to a file share on Azure by SMB successfully.
To bypass the blocking of TCP port 445, there are several options to choose from, including the following:
- VPN (Virtual Private Network), e.g. AlwaysOnVPN
- Third party software, e.g. MyWorkDrive
- SMB over QUIC (Quick UDP Internet Connection)
Some ways to securely provision an SMB share on the Internet without TCP port 445 involve a lot of effort and complex configuration. SMB over QUIC is easy to configure and secure. During the transfer, the files is encrypted with SSL/TLS so that the communication between client and Azure File Share is secure at all times.
SMB over QUIC uses UDP port 443. For secure Internet traffic, UDP port 443 (SSL/TLS) is generally allowed. Using SMB over QUIC helps to bypass blocking of ports by Internet providers or public WLANs and to allow secure file access even in restrictive networks.
This post describes how to configure SMB over QUIC on an Azure virtual server.
Prerequisites and Licensing
Server resources
- Virtual server on Microsoft Azure with the operating system Windows Server 2022 Datacenter: Azure Edition and Windows Admin Center (WAC)
- Public DNS Record, e.g. fs9.cloudcoffee.ch
- Public certificate, in this tutorial a free certificate from Lets Encrypt is used
Client resources
- Windows 11
Attention: Windows 10 does not support SMB over QUIC
Deploy Windows Server 2022 Datacenter Azure Edition
File sharing is deployed on a virtual server running the Windows Server 2022 Datacenter Azure Edition operating system.
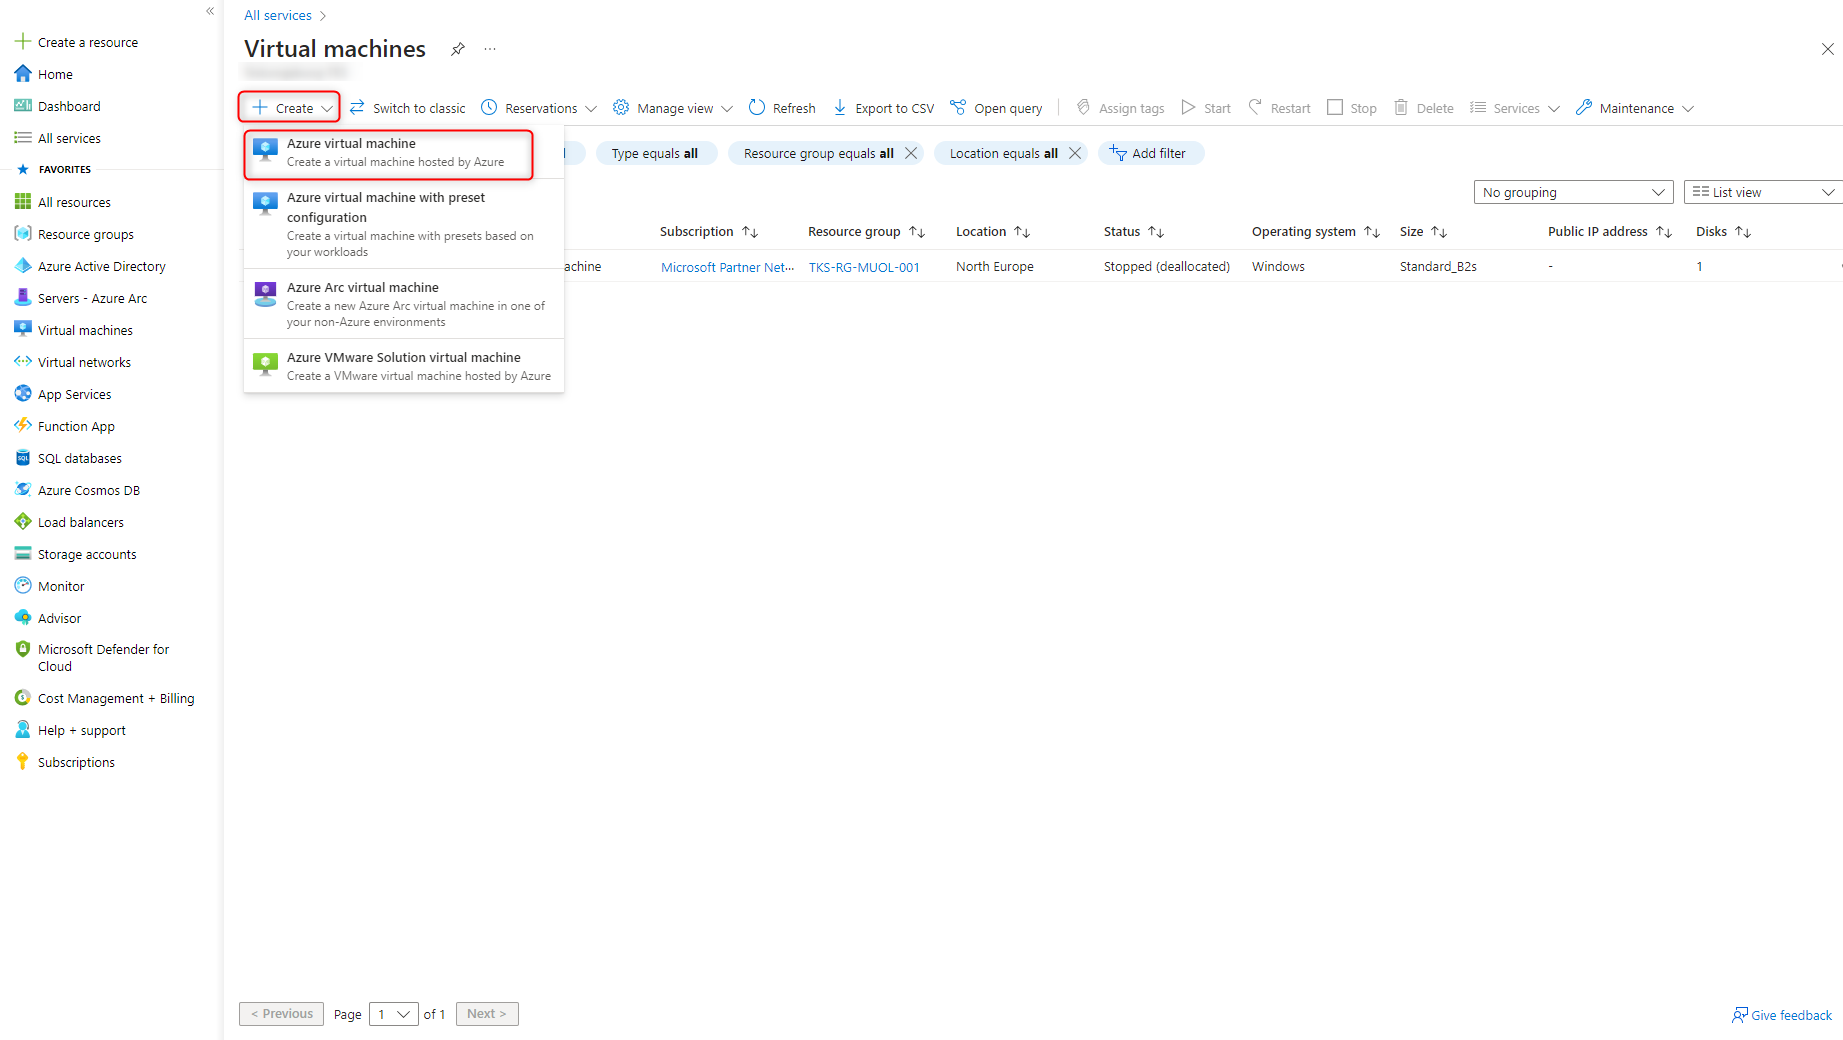
Login to the Azure Portal (https://portal.azure.com).

Click on Create > Azure Virtual machine
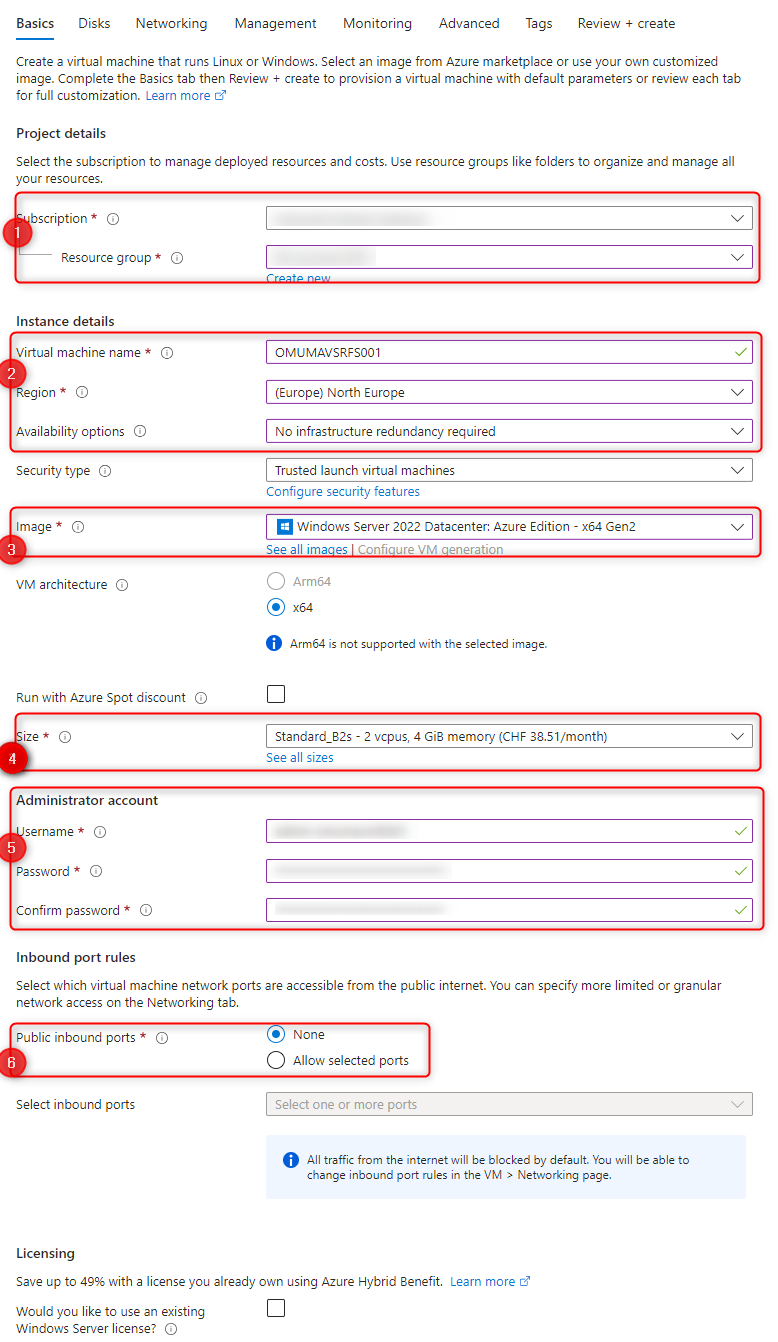
Configure Azure Virtual Machine:
- Select Subscription and Resource group
- Enter instance name and select Azure Region.
Select availability options according to your own requirements - Select Image Windows Server 2022 Datacenter: Azure Edition
- Virtual Machine ressources according to your own needs
- Type in local credentials
- This server is managed with the Windows Admin Center (WAC). When installing the server, there is no need to forward an incoming port from the Internet.
Tabs Disk and Networking are self-explanatory.
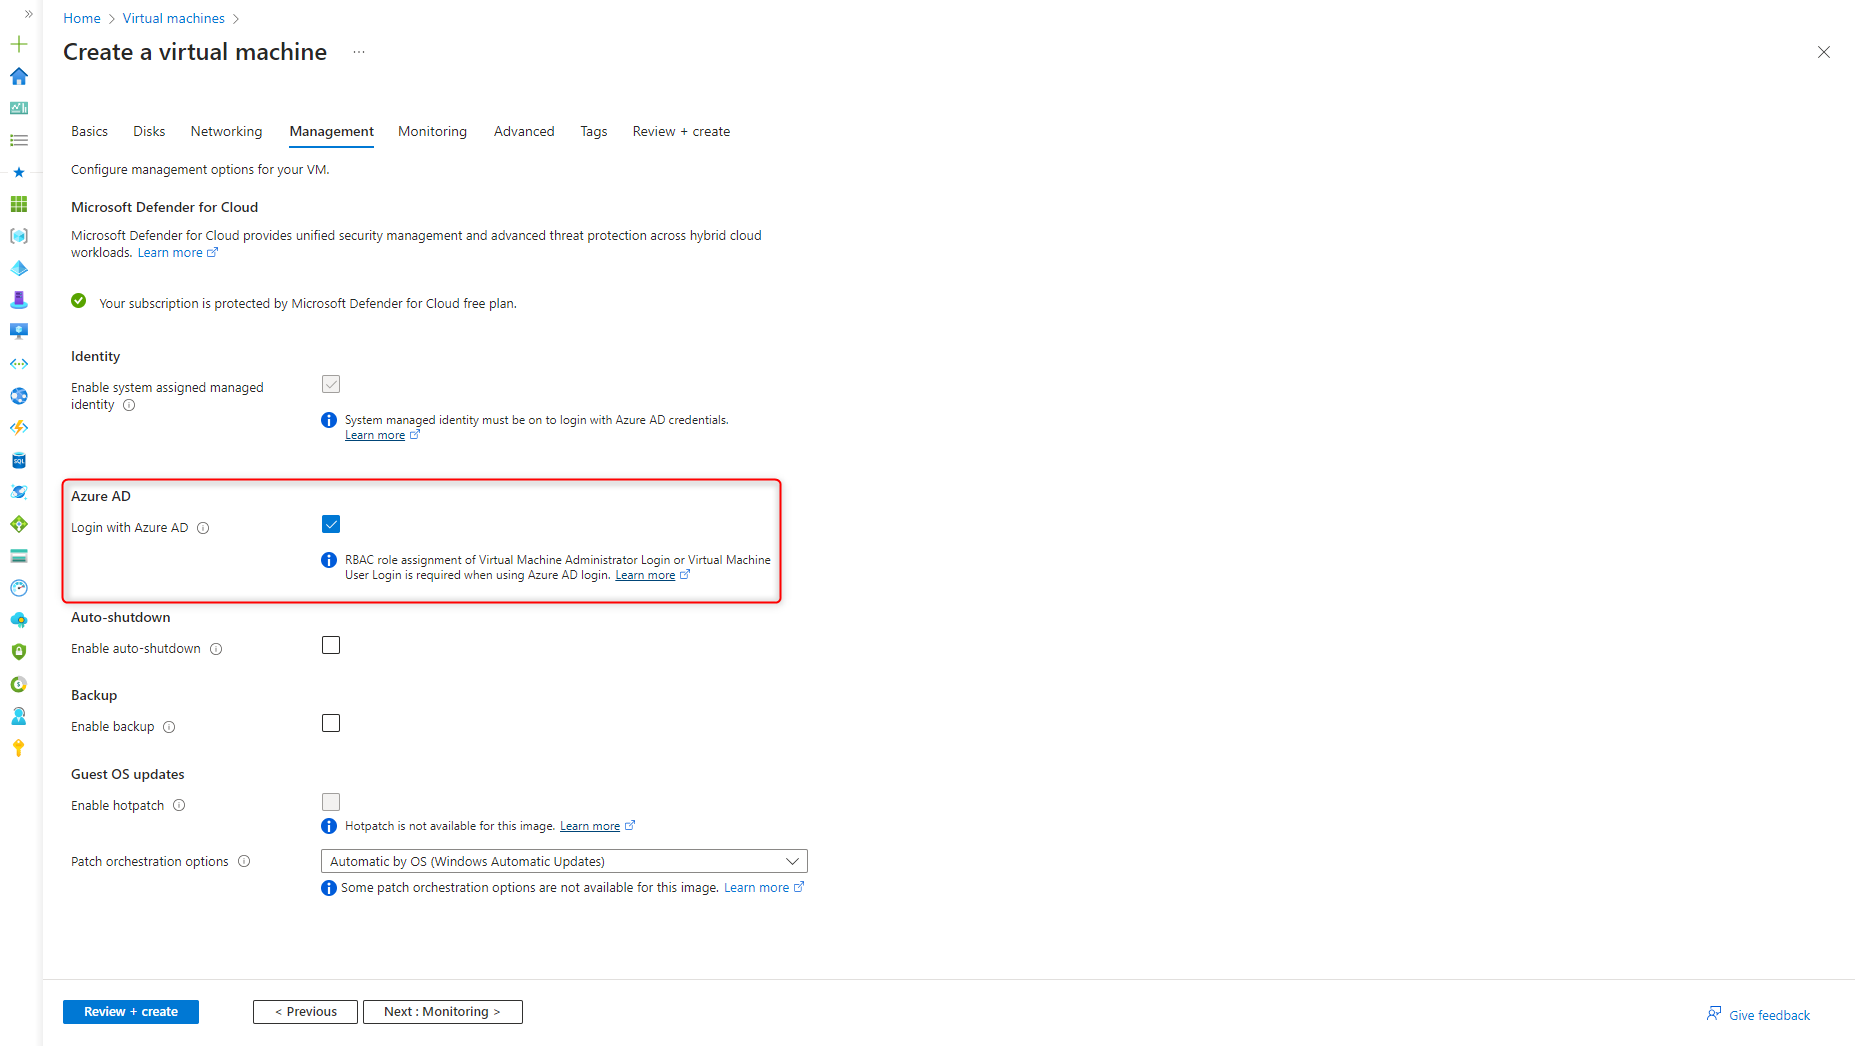
If Azure AD is used to authenticate the data shares, the Login with Azure AD option must be selected in the Management tab.
Tabs Monitoring, Advanced and Tags are self-explanatory again.
After successful review click on Create under Review + create.

The virtual server is deployed within a few minutes.

Configure Windows Admin Center (WAC)
Add Azure Role
Users who need access to Windows Admin Center must have the Azure role Windows Admin Center Administrator Login assigned to them.
Open Access control (IAM) and click on Add > Add role assignment.
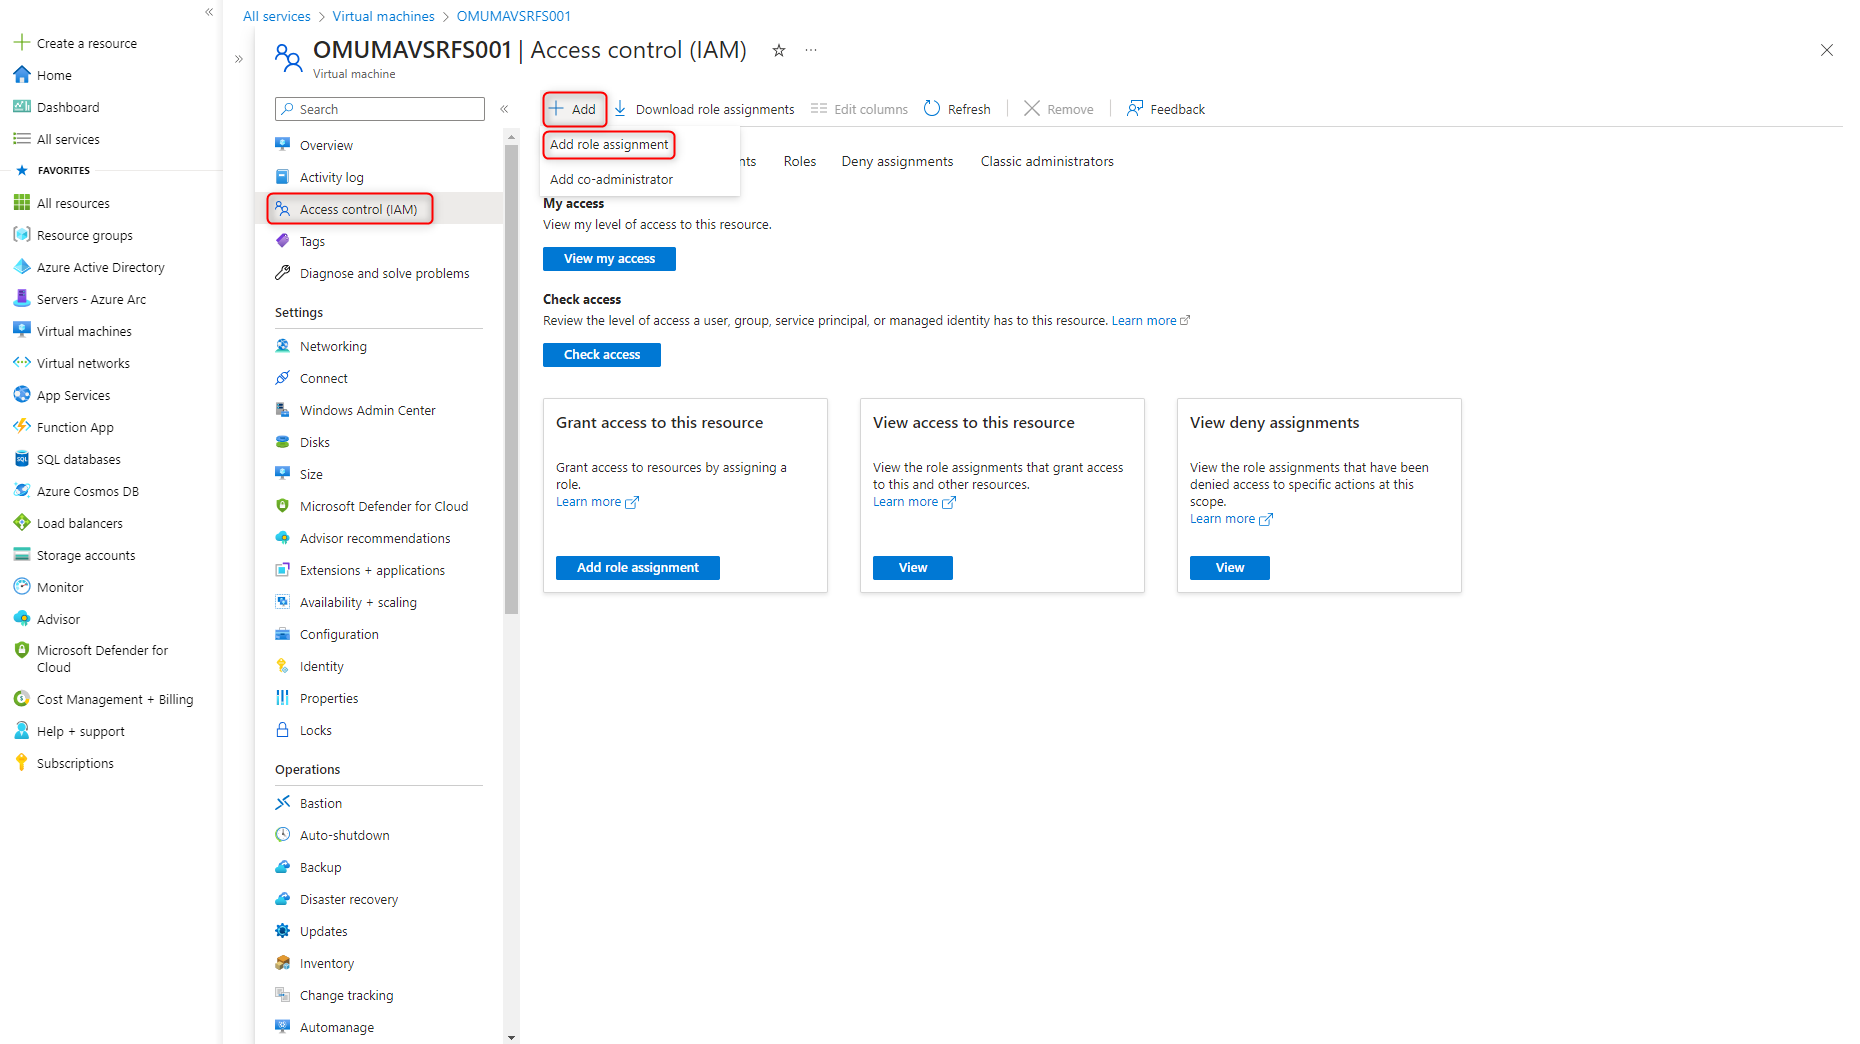
Select role Windows Admin Center Administrator Login and click Next.

Add authorized accounts to the role and click Next.
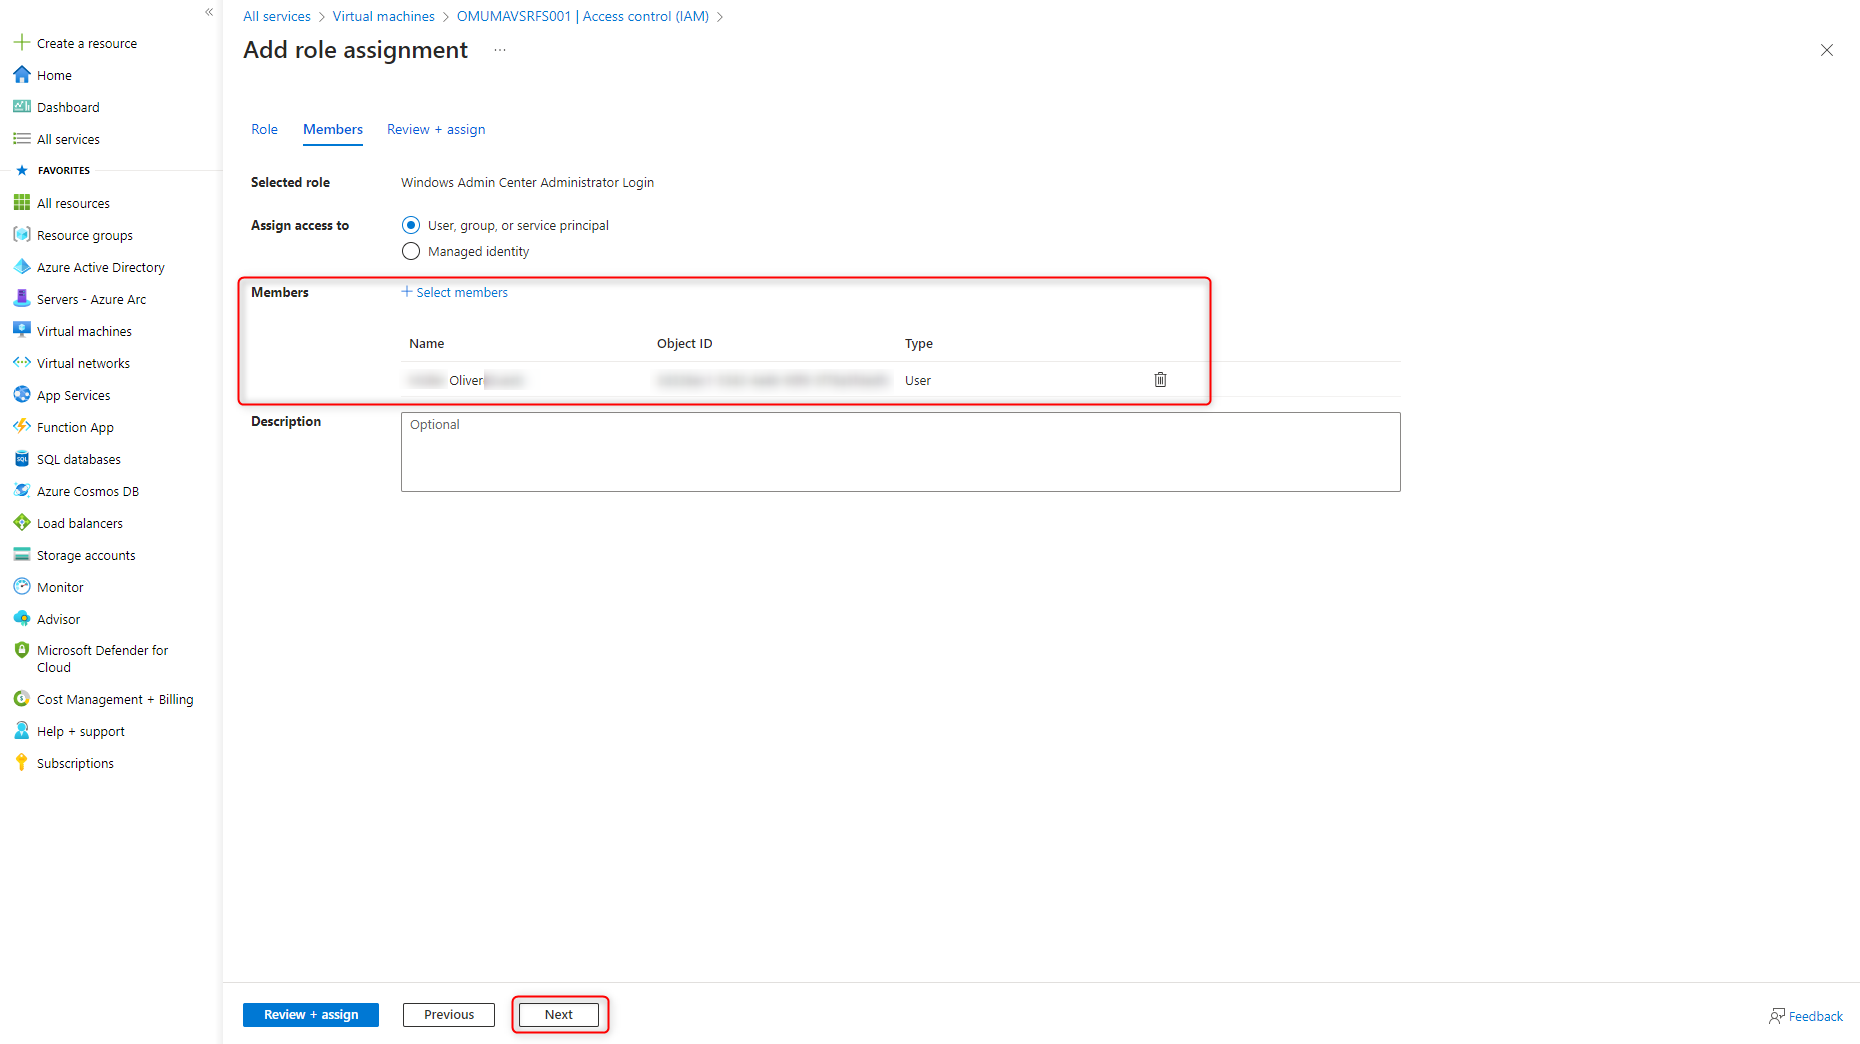
Save configuration with Review + assign.

Install Windows Admin Center (WAC)
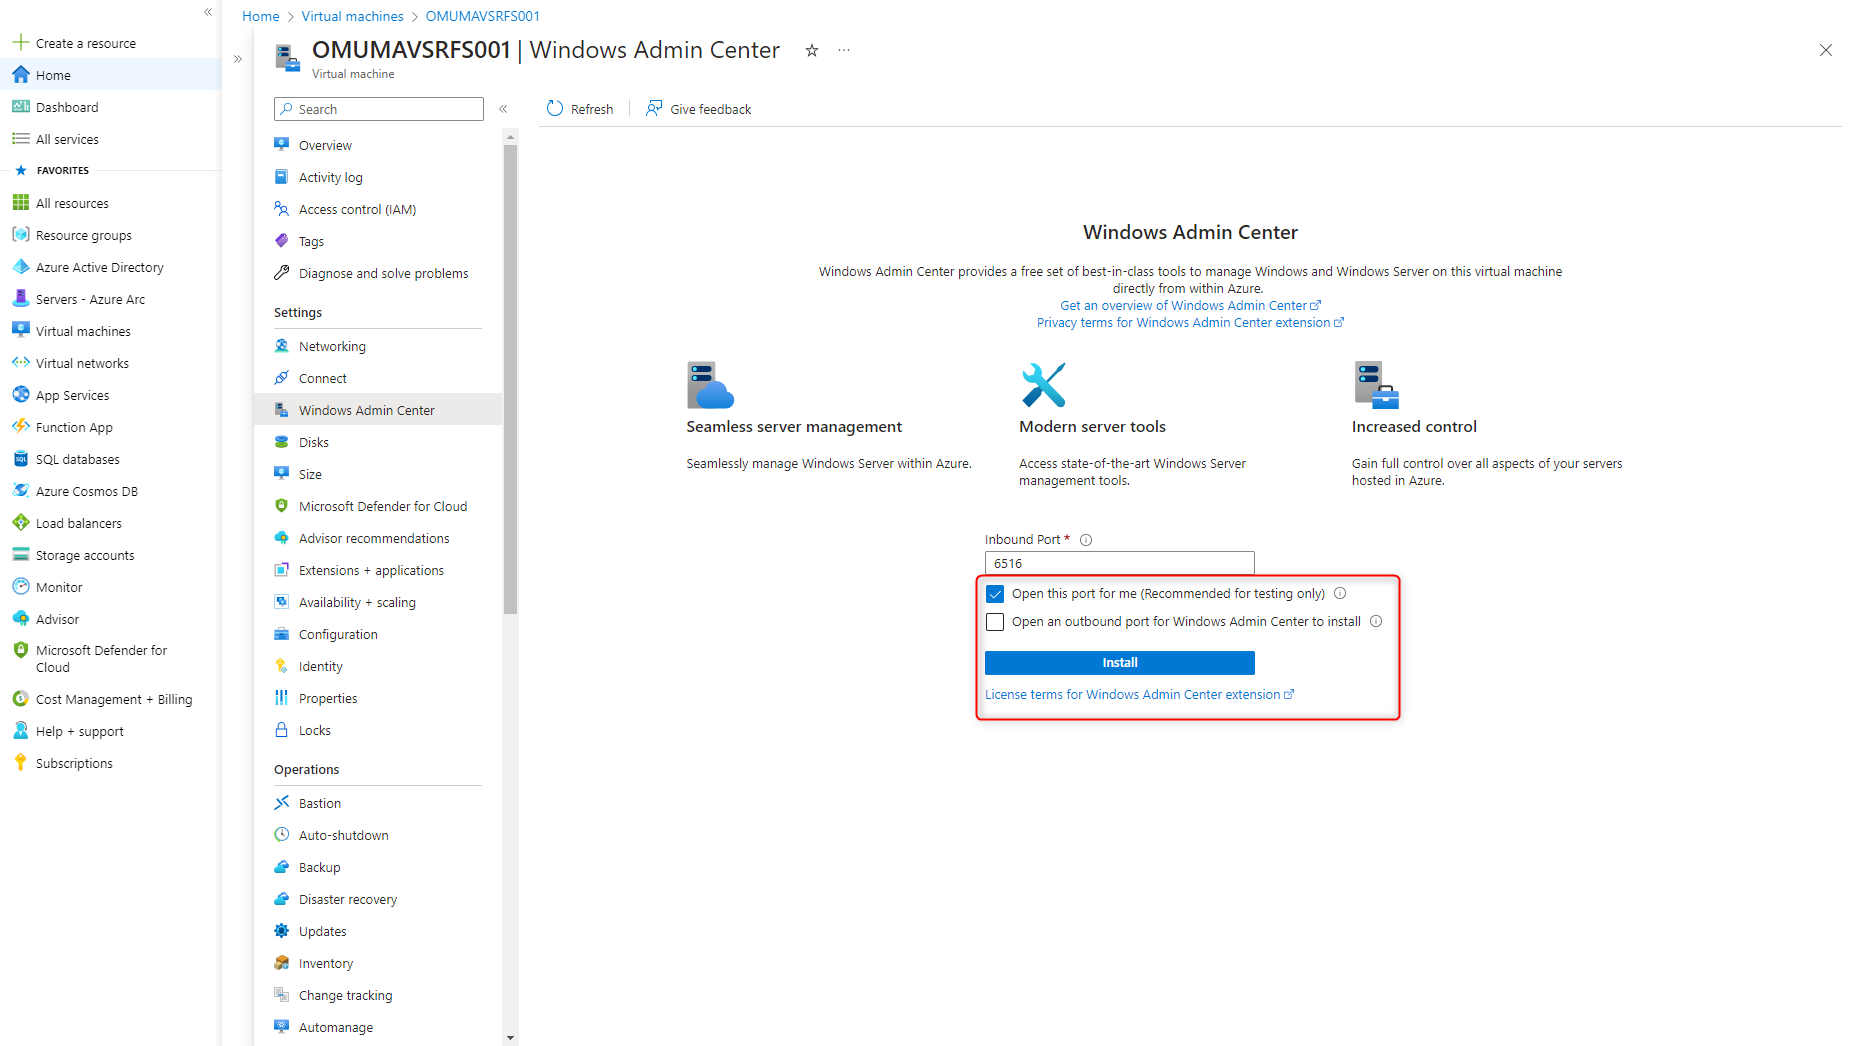
Open the virtual server and click on Windows Admin Center under Settings.
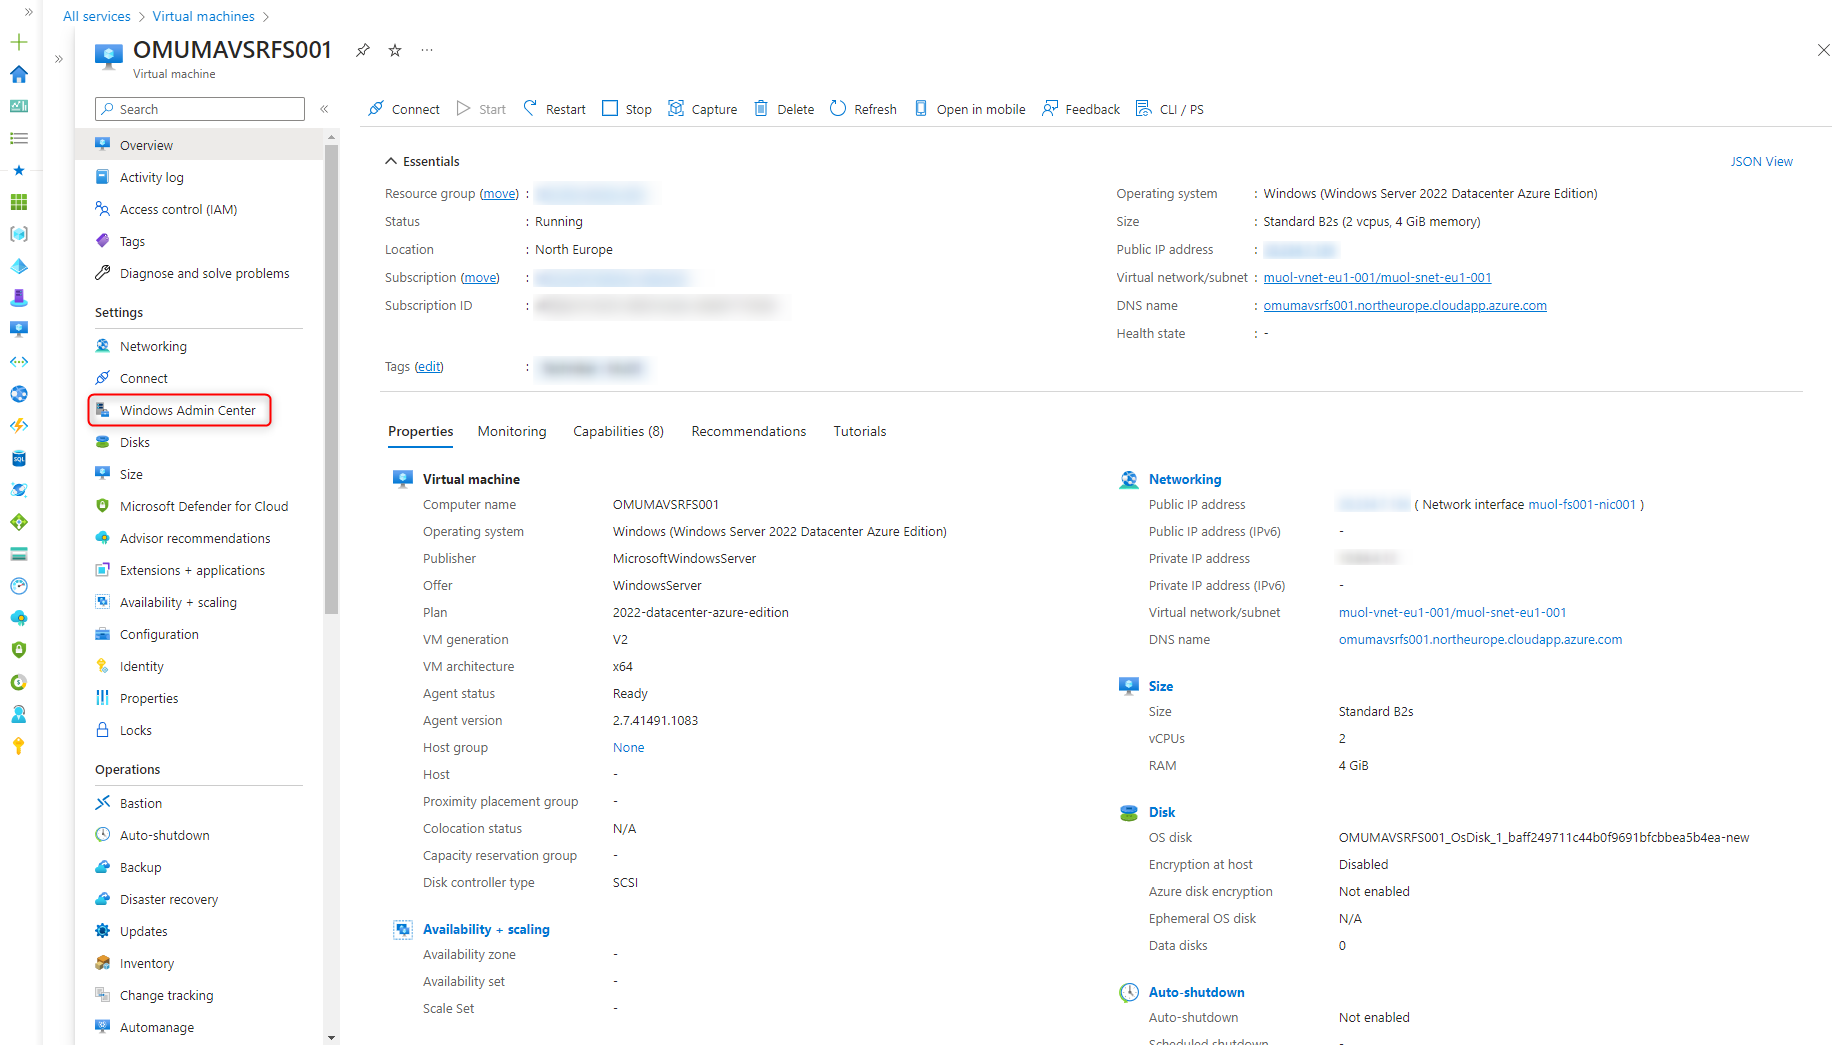
The necessary incoming TCP port 6516 is opened for test purposes only. In productive environments, secure access, e.g. via VPN, is preferable. Start the installation of the Windows Admin Center by clicking Install.
After a few minutes, Windows Admin Center is ready to manage the virtual server.
Issue and bind Lets Encrypt certificate
SMB over QUIC needs a public SSL certificate. In this tutorial a free certificate from Lets Encrypt is issued and binded. This requires a public DNS record pointing to the virtual server, e.g. fs9.cloudcoffee.ch.
For the installation and configuration of Lets Encrypt, Remote Desktop is used via Windows Admin Center.

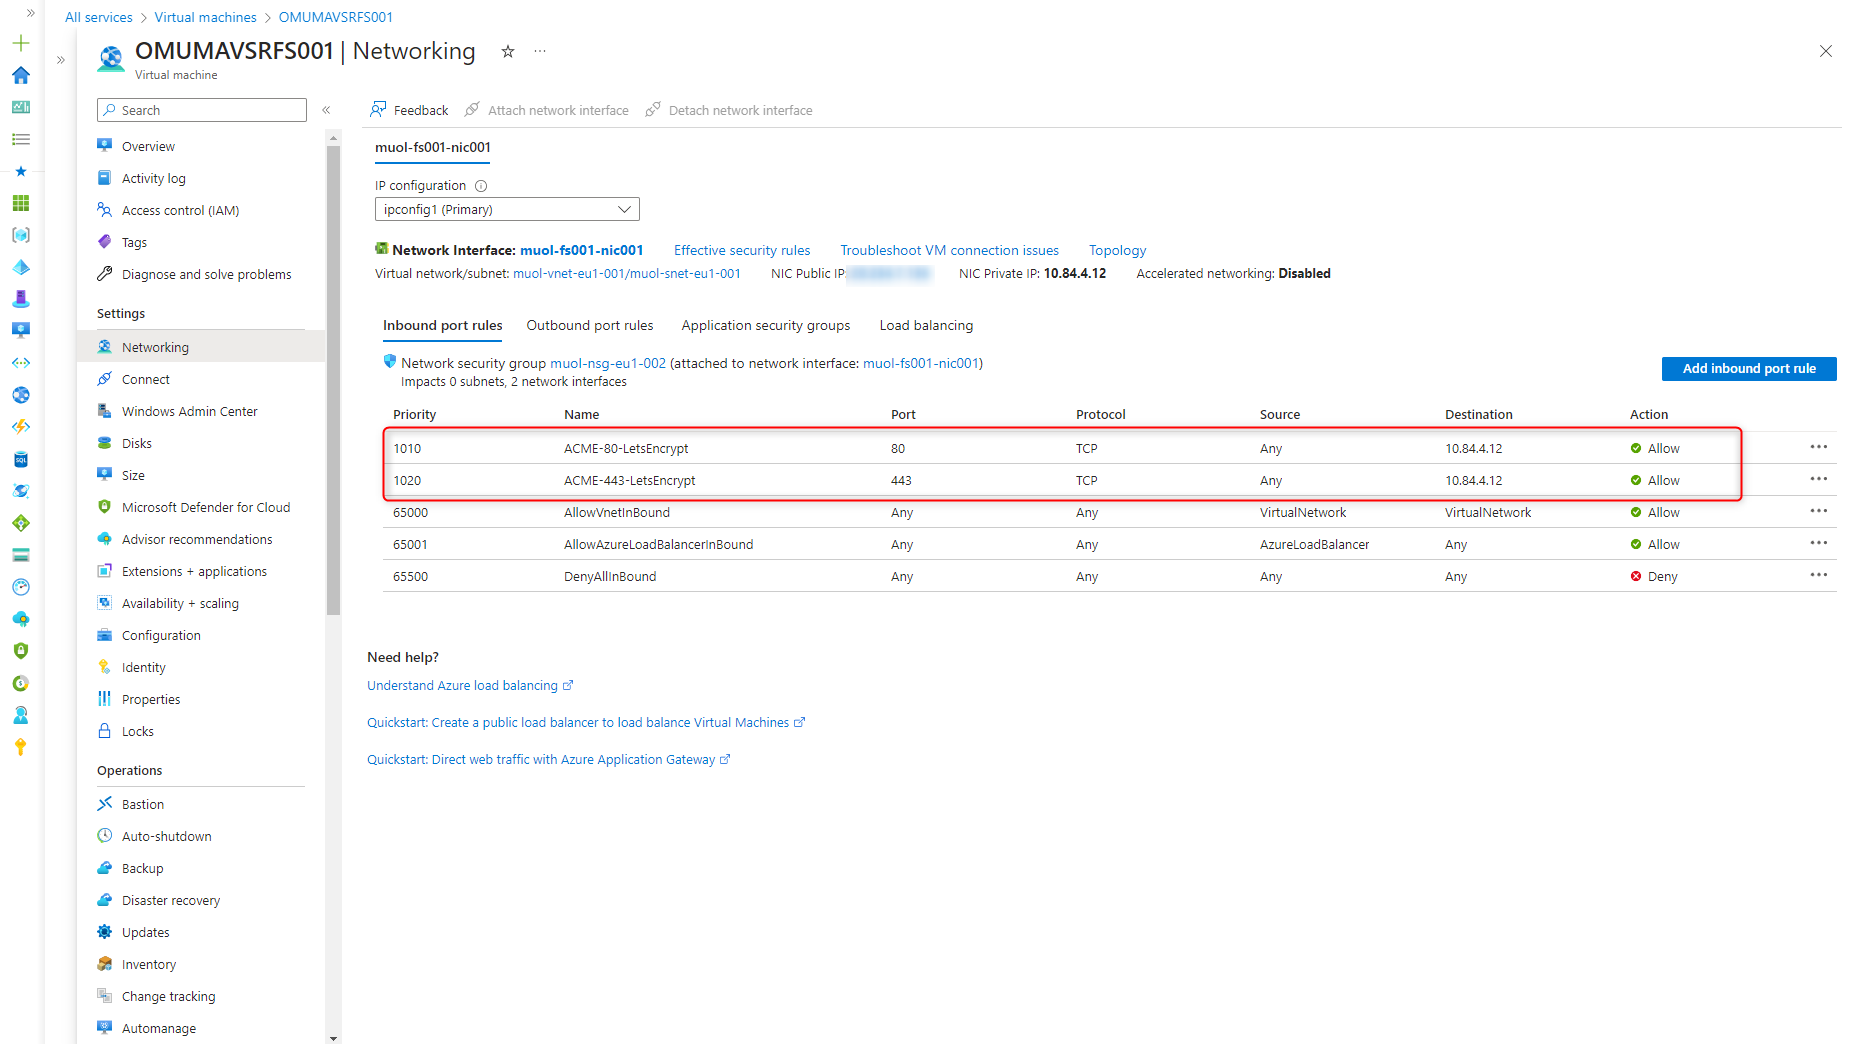
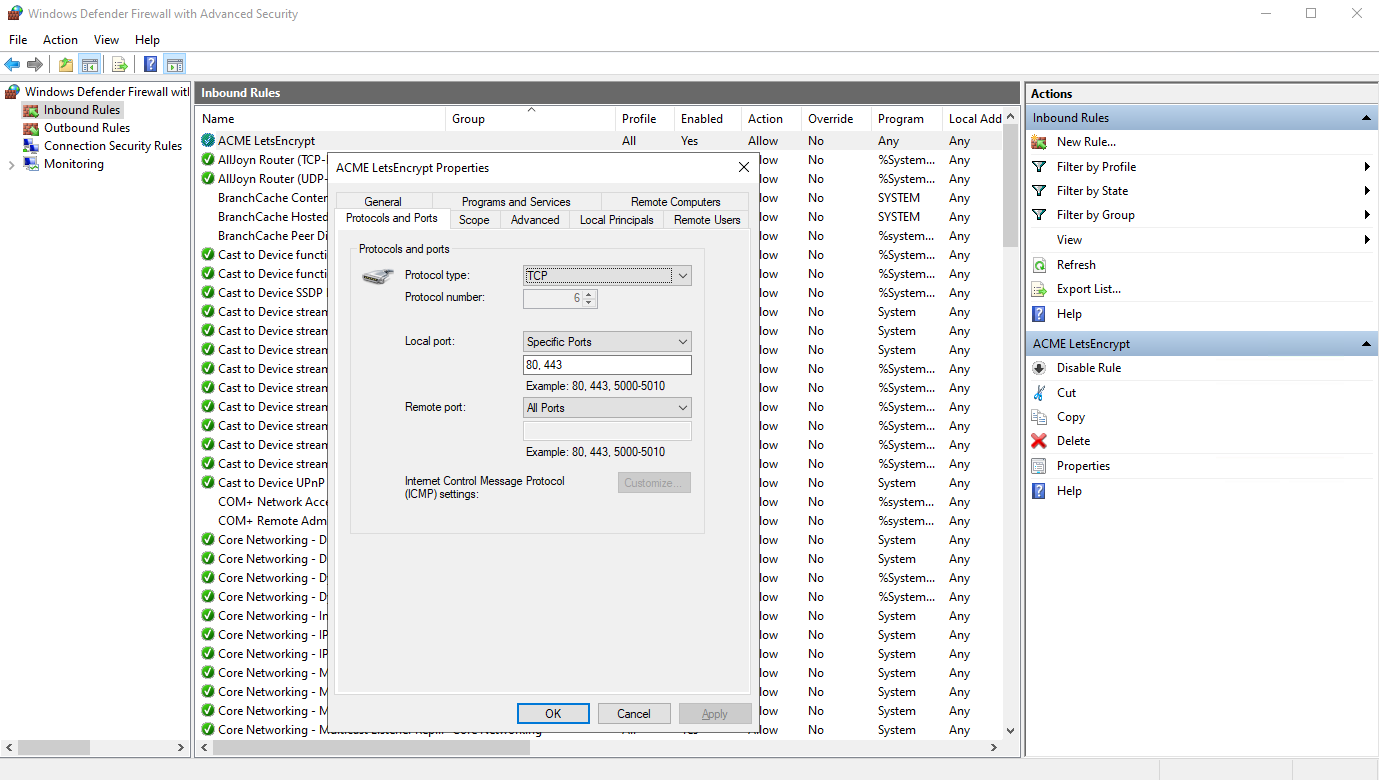
Configure Network Security Group (NSG) for ACME
ACME (Automatic Certificate Management Environment) traffic must be forwarded to the server for TCP port 80 and 443 in the Network Security Group (NSG).
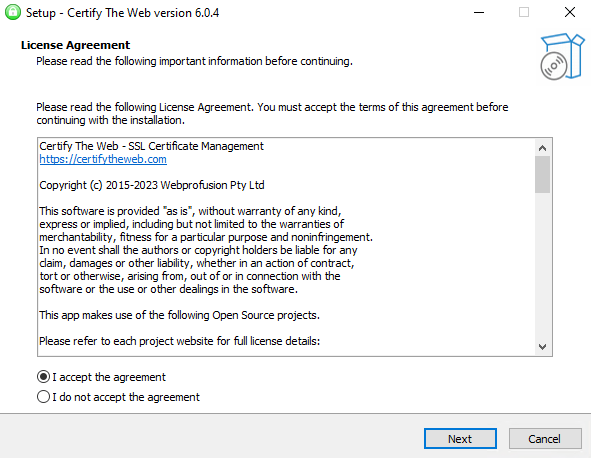
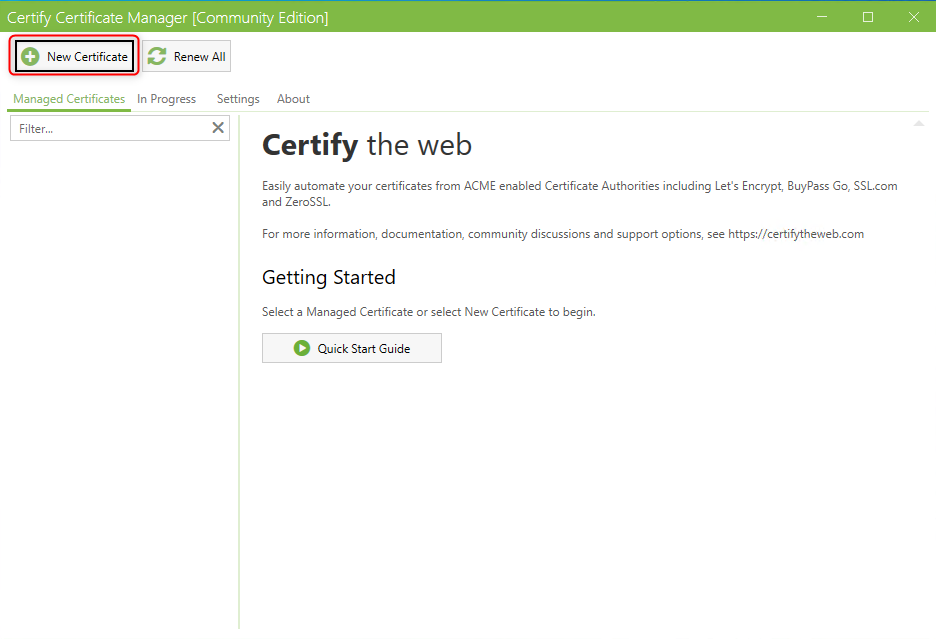
Install Certify The Web
Certify The Web is an open source project, with which free certificates can be issued from Lets Encrypt and managed fully automatically.
Download Certify The Web and start the installation.
https://certifytheweb.com/home/download
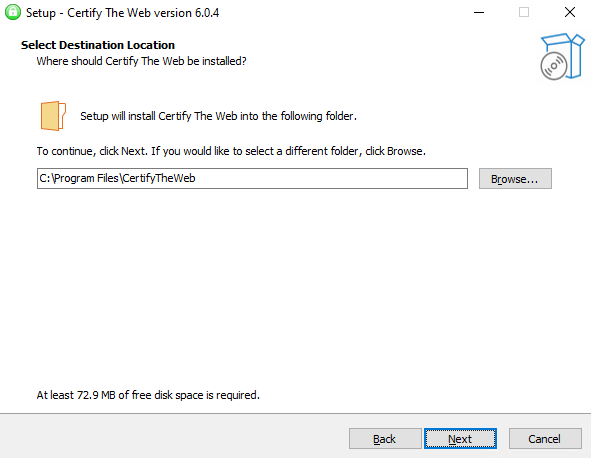
Select Destination Location
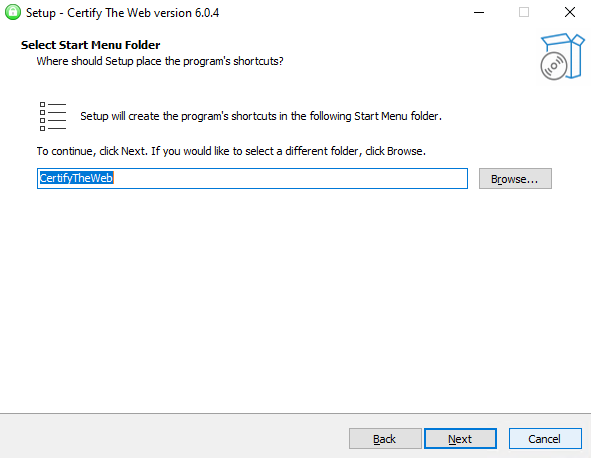
Select Start Menu Folder
Installation is progress
Certify The Web is now successfully installed.
Issue Lets Encrypt certificate and set up AutoRenew
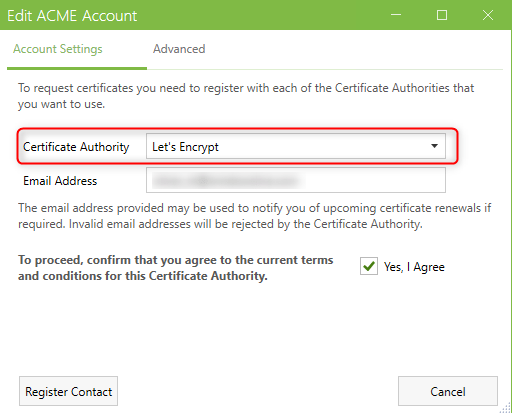
SMB over QUIC requires a public certificate. The wizard creates the CSR (Certificate Signing Request) for issuing the new certificate after clicking New Certificate..
If no account is registered with Lets Encrypt yet, one must be created now.
Add domain name, the DNS record must have been previously created in the Public DNS.

The following PowerShell script is used to bind the issued certificate for SMB over QUIC. AutoRenewal also removes the certificate that is no longer needed from the Windows certificate store.
To run the PowerShell script after each AutoRenew, a Deployment Task is required.
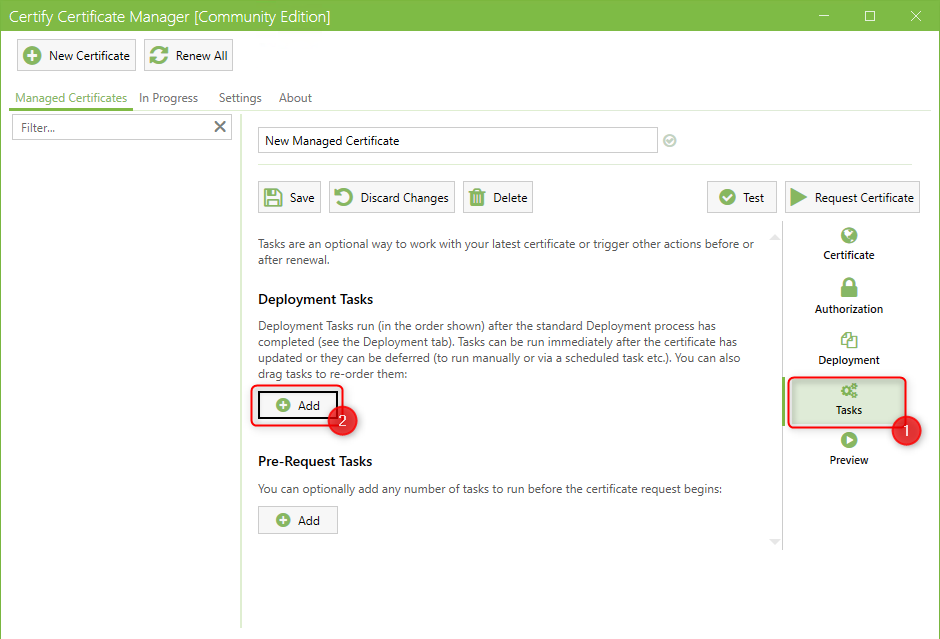
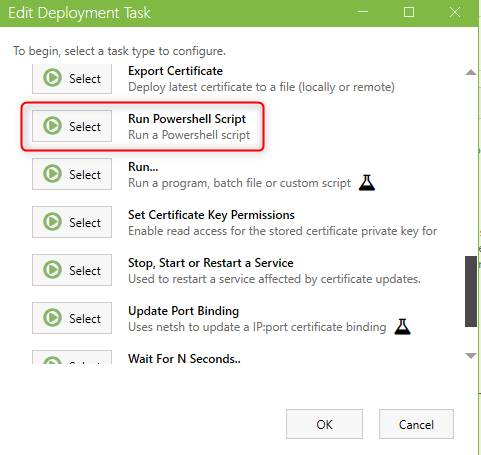
Select Run PowerShell Script
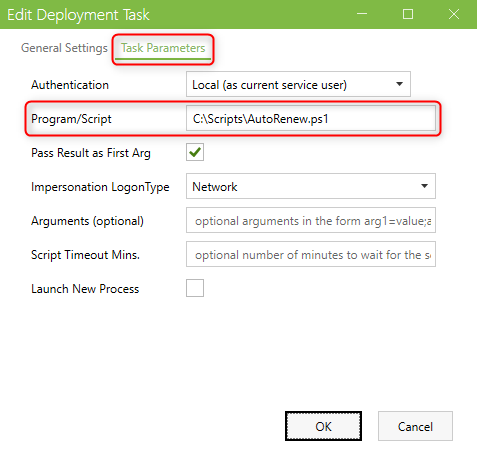
Save the following PowerShell script as AutoRenew.ps1 on the server and enter the complete path to the script under Task Parameters > Program/Script.
The script performs the following tasks:
- existing certificate is removed from SMB over QUIC and deleted from the Windows certificate store
- binding the newly issued certificate for SMB over QUIC
|
1 2 3 4 5 6 7 8 9 10 11 12 13 14 15 16 17 18 19 20 |
param($result) $CertName = $Result.ManagedItem.Name # certificate name $Thumbprint = $result.ManagedItem.CertificateThumbprintHash # thumbprint current certificate $PreviousThumbprint = $result.ManagedItem.CertificatePreviousThumbprintHash # thumbprint previous certificate, used to update smb cert binding and remove cert from store $Subject = 'CN='+$CertName # common name if ($PreviousThumbprint) { # remove smb cert binding if exist Remove-SmbServerCertificateMapping -Name $CertName -Thumbprint $PreviousThumbprint -Force } # bind new cert to smb if (New-SmbServerCertificateMapping -Name $CertName -Thumbprint $Thumbprint -StoreName My -subject $Subject -DisplayName $CertName -Type QUIC -Flags None) { if ($PreviousThumbprint) { # remove previous used cert from store gci cert:\ -Recurse | where{$_.Thumbprint -eq $PreviousThumbprint} | Remove-Item -Force } } |
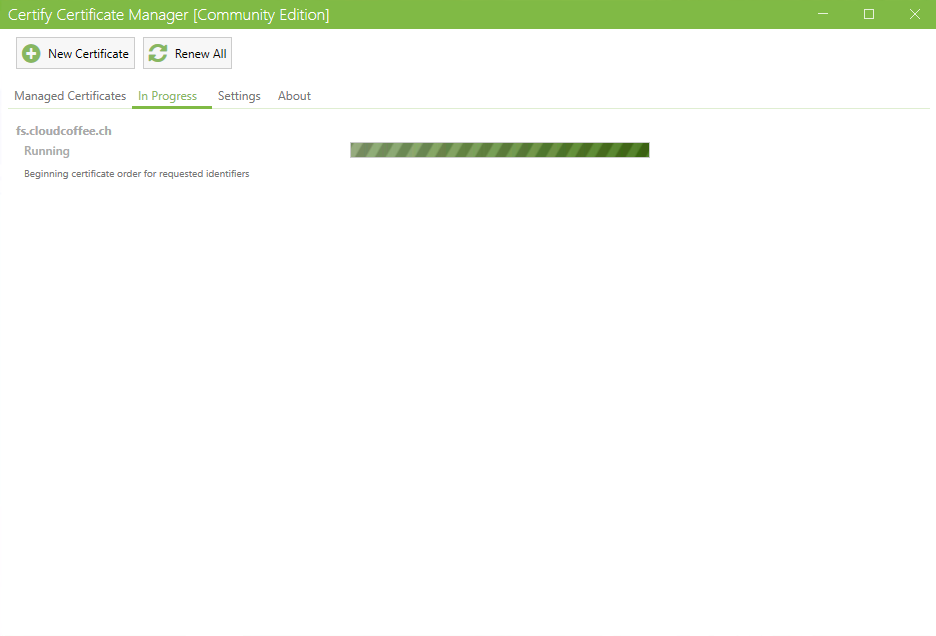
Request certificate with Request Certificate.
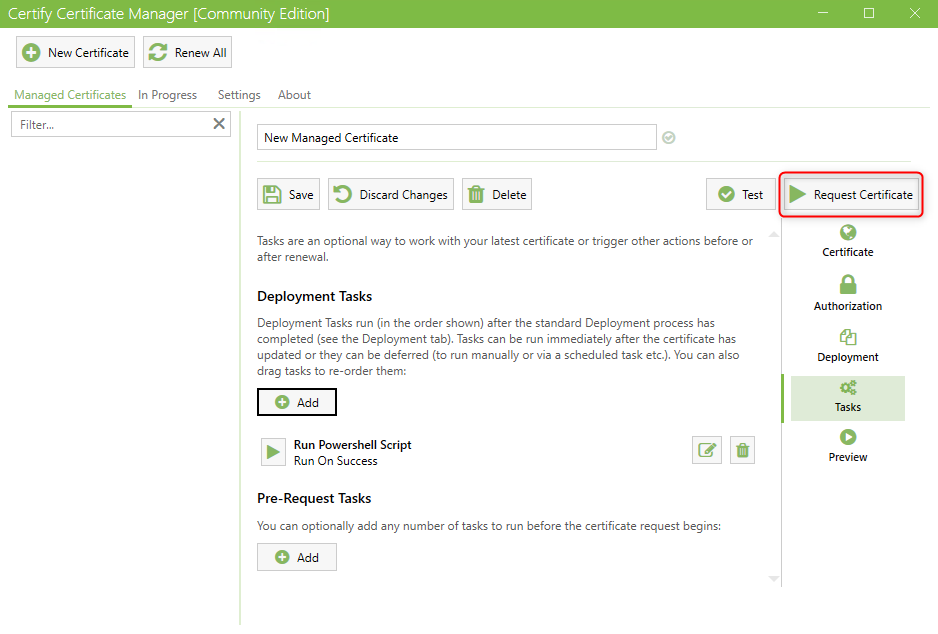
The certificate is now requested.
If an error message appears that the validation could not be performed, the cause may be an insufficiently configured Windows Firewall. See for this: Certificate validation fails
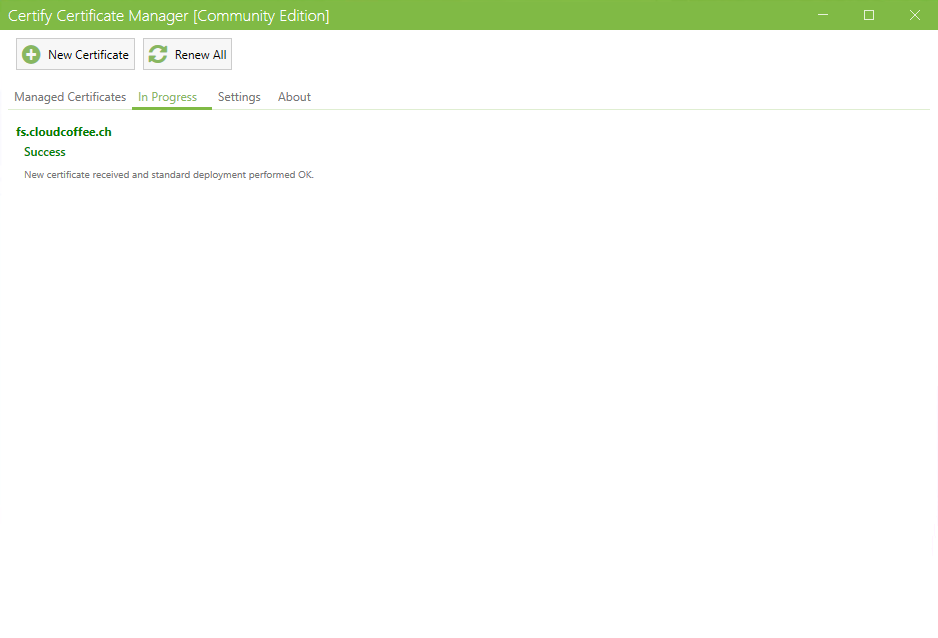
The certificate is issued after a few minutes.
Certify The Web ensures that the certificate is automatically renewed before expiration (ACME) and is binded with the PowerShell script to SMB over QUIC.
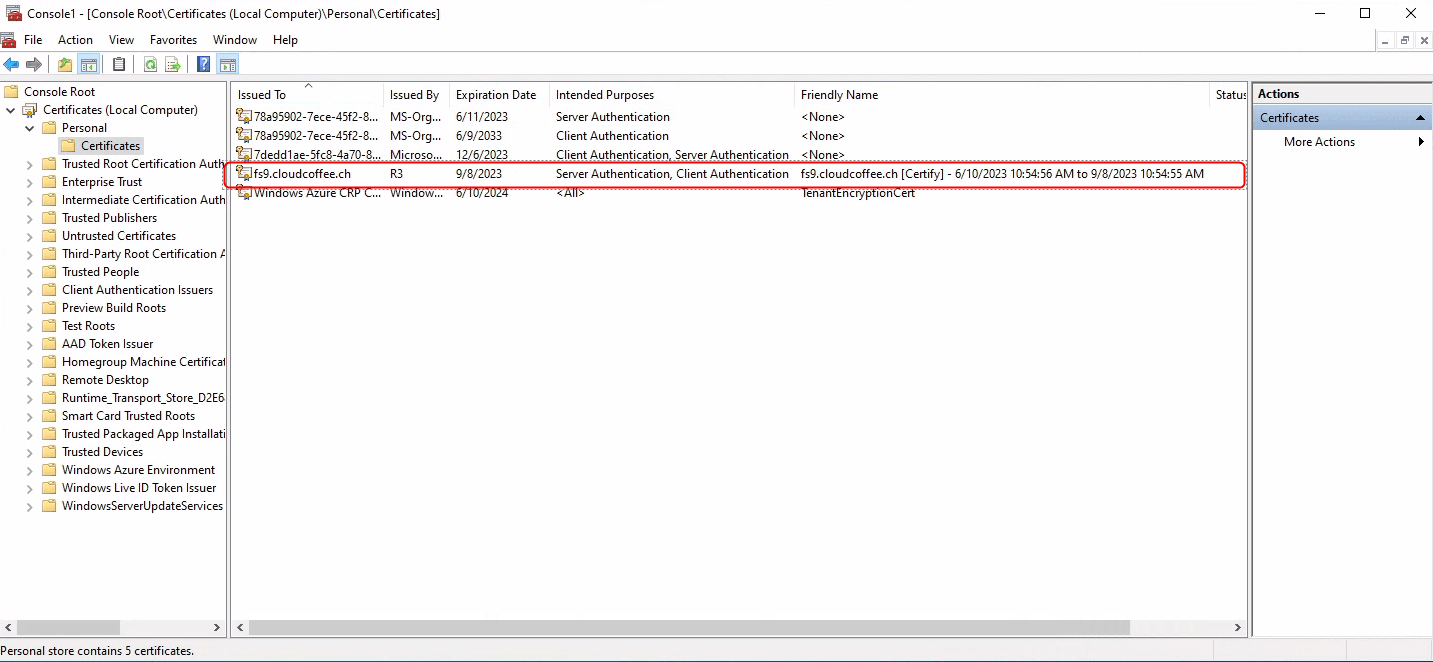
The issued certificate is shown in the Windows certificate store.
Configuration SMB over QUIC
The configuration of SMB over QUIC is done in the Azure Portal (https://portal.azure.com) and with the Windows Admin Center.
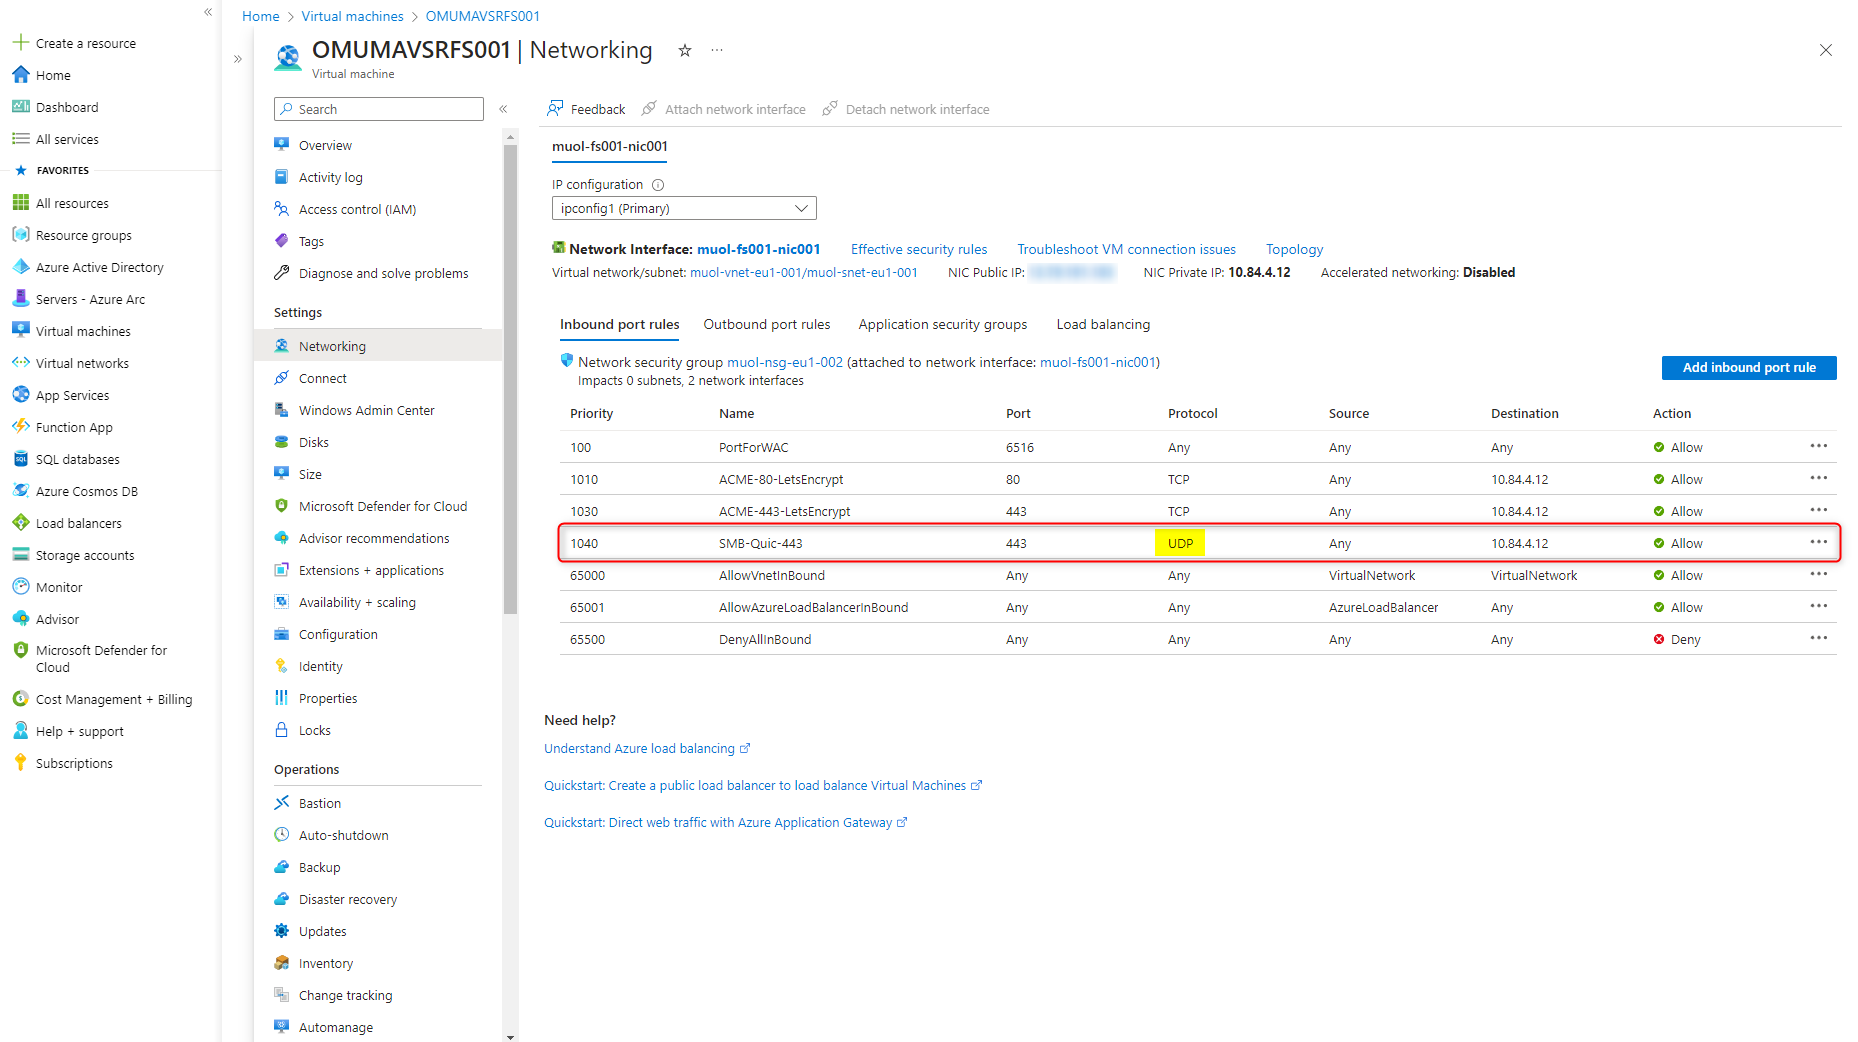
Network Security Group (NSG) für SMB über QUIC
Windows 11 clients need access to Windows Server 2022 Datacenter Azure Edition from the Internet. For this purpose, forward port 443 UDP to the Windows server in the Network Security Group (NSG).
Bind certificate to SMB over QUIC
The certificate, which was created in advance with Lets Encrypt, is already binded to SMB over QUIC with PowerShell.
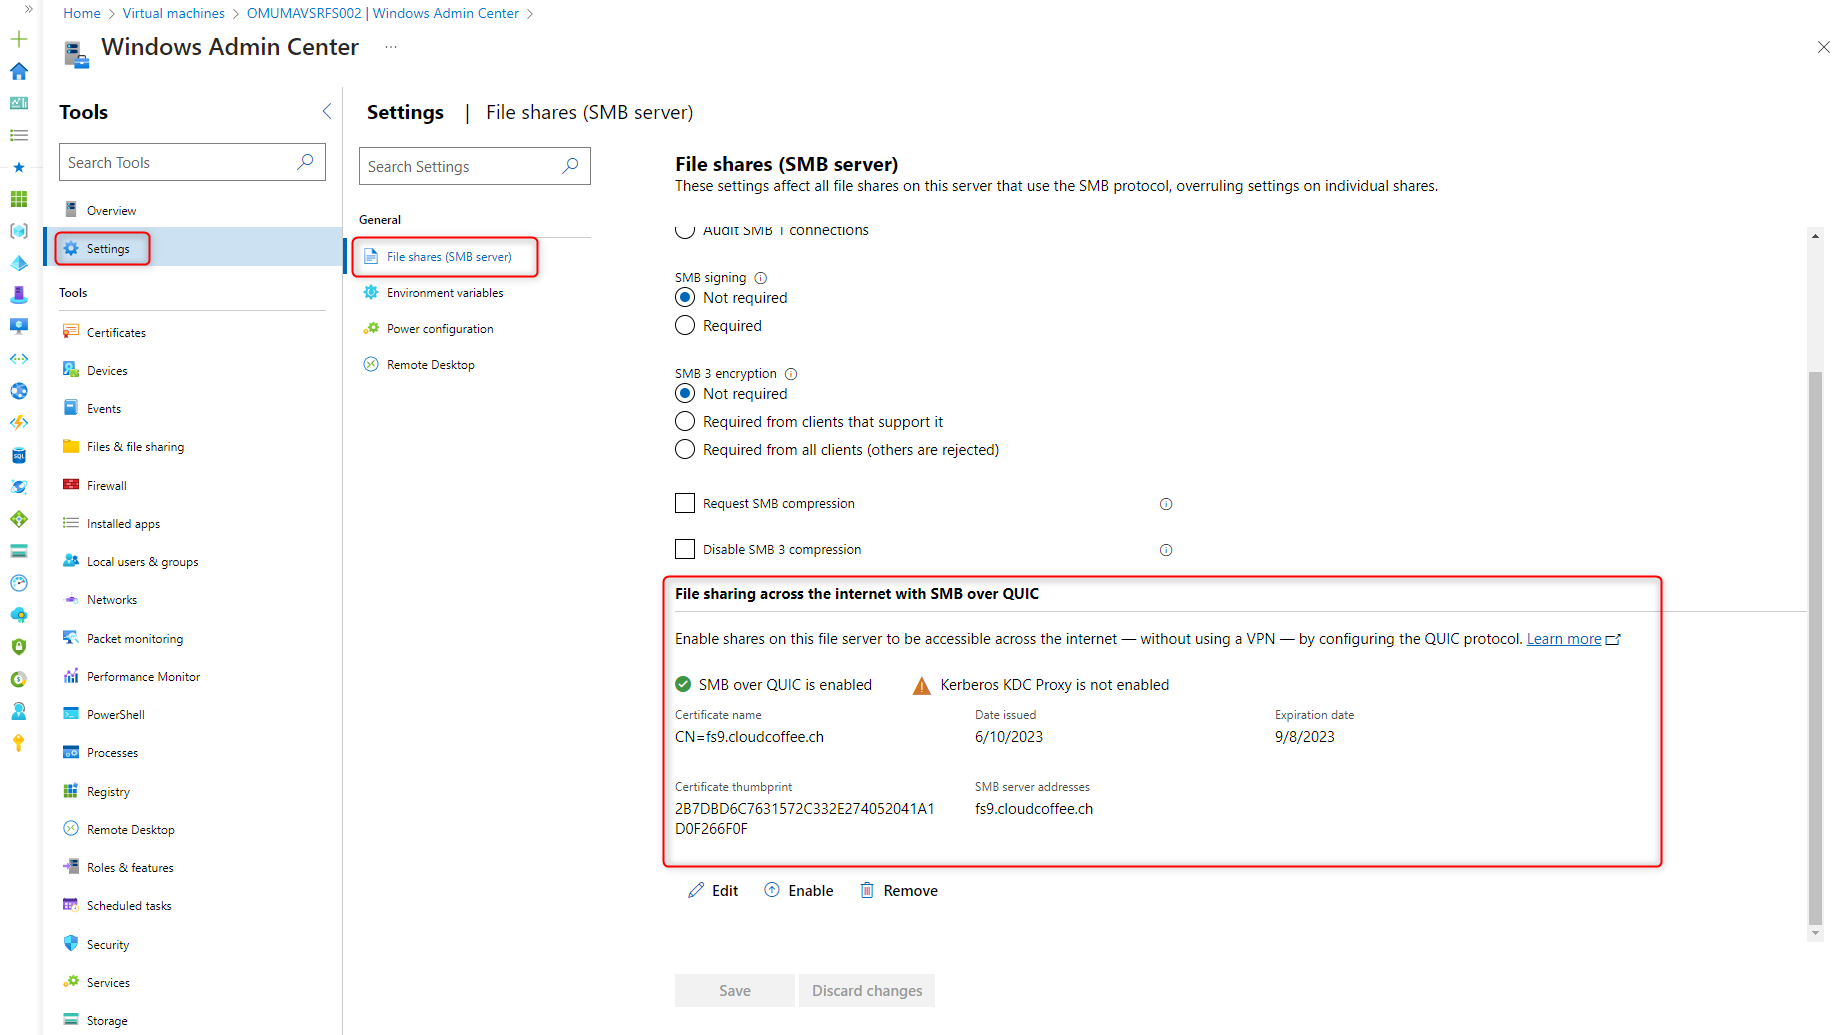
The assigned certificate is shown in the Windows Admin Center under Settings > File Shares (SMB server) > File sharing across the internet with SMB over QUIC.
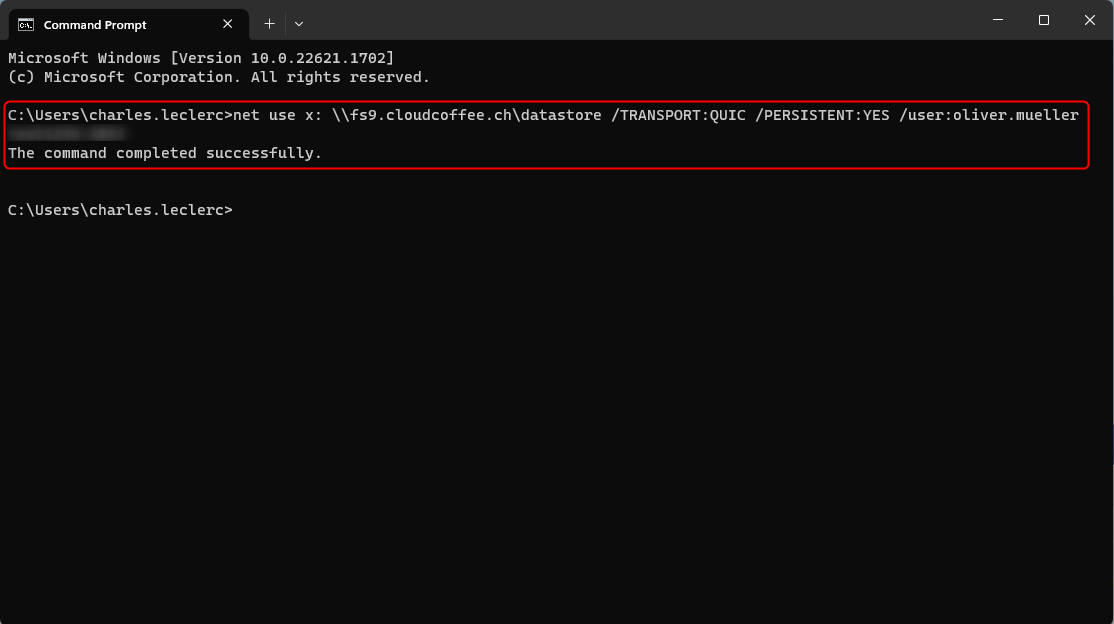
A network drive to a Windows file share can be mounted using SMB via QUIC with PowerShell, Command Prompt (CMD) or Windows Explorer. The prerequisite is that a file share is present on the Windows server and the client uses the Windows 11 operating system.
PowerShell
|
1 |
New-SmbMapping -LocalPath x: -RemotePath \\fs9.cloudcoffee.ch\datastore -TransportType QUIC -Persistent $True -Username %username% -Password %password% |

Command Prompt (CMD)
|
1 |
net use x: \\fs9.cloudcoffee.ch\datastore /TRANSPORT:QUIC /PERSISTENT:YES /user:%username% %password% |
Explorer
Open Windows Explorer and select Map network drive
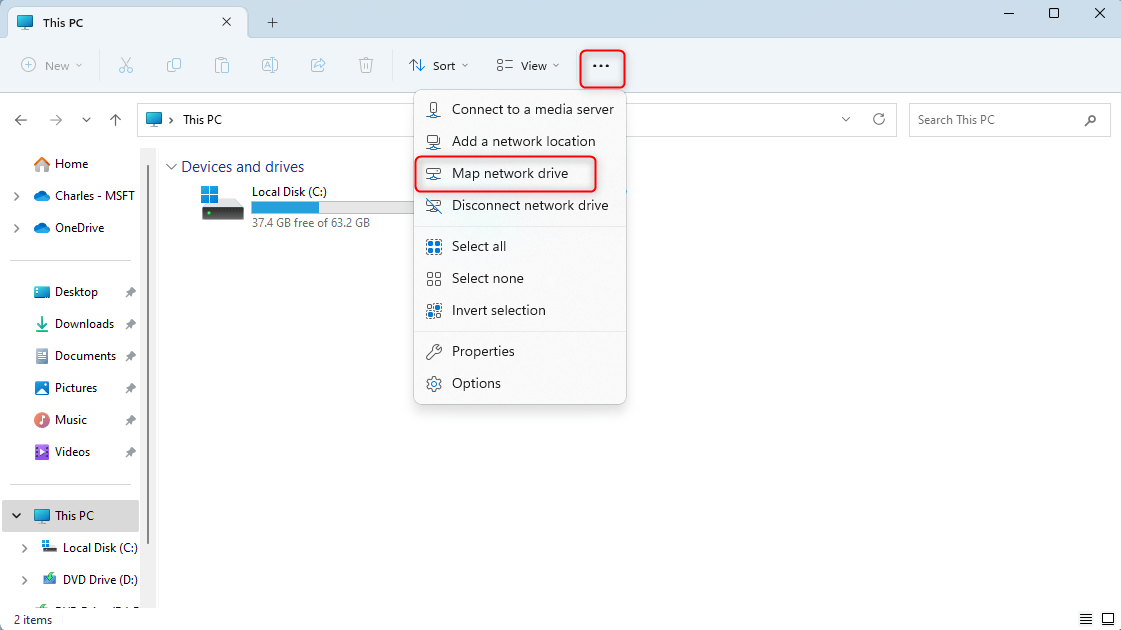
Enter drive letter, DNS address to the SMB over QUIC Share and select connection properties.
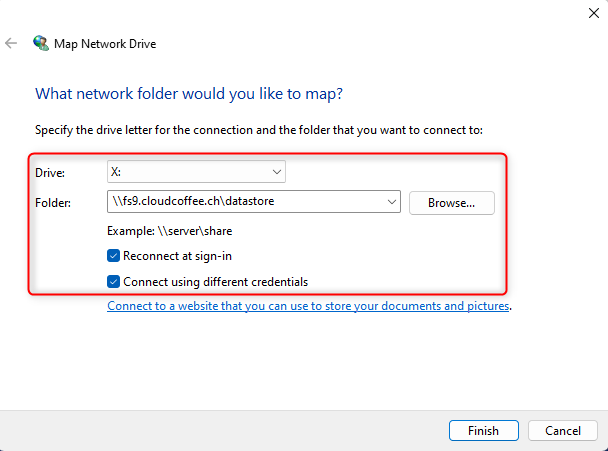
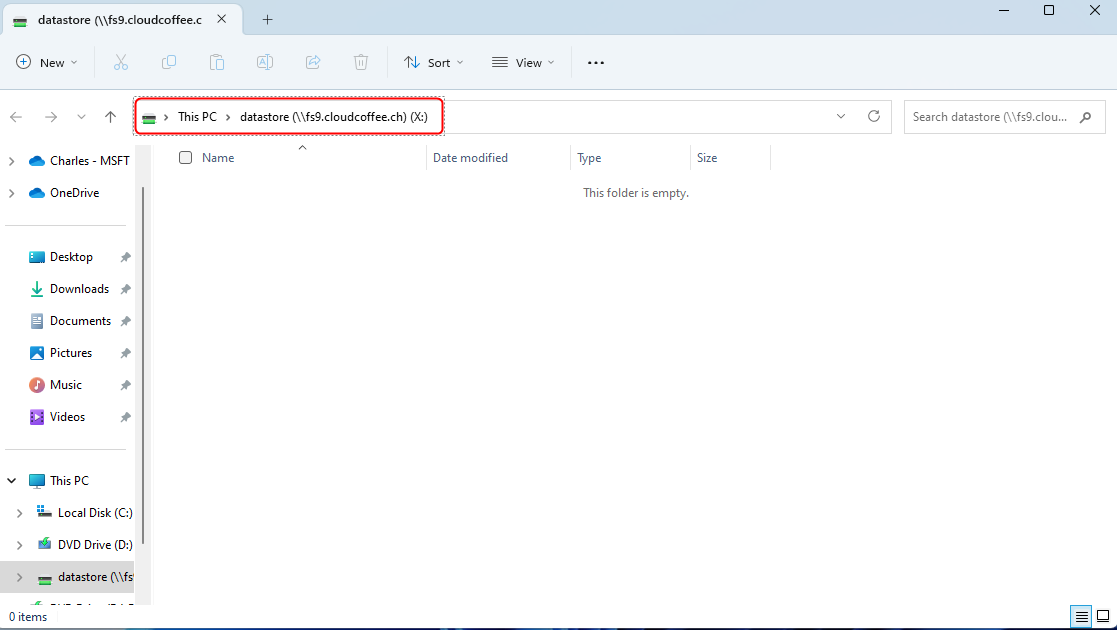
After entering username and password, the network drive is connected to SMB over QUIC.
Troubleshooting
Certificate validation fails
The validation of the required certificate challenge could not be completed successfully.
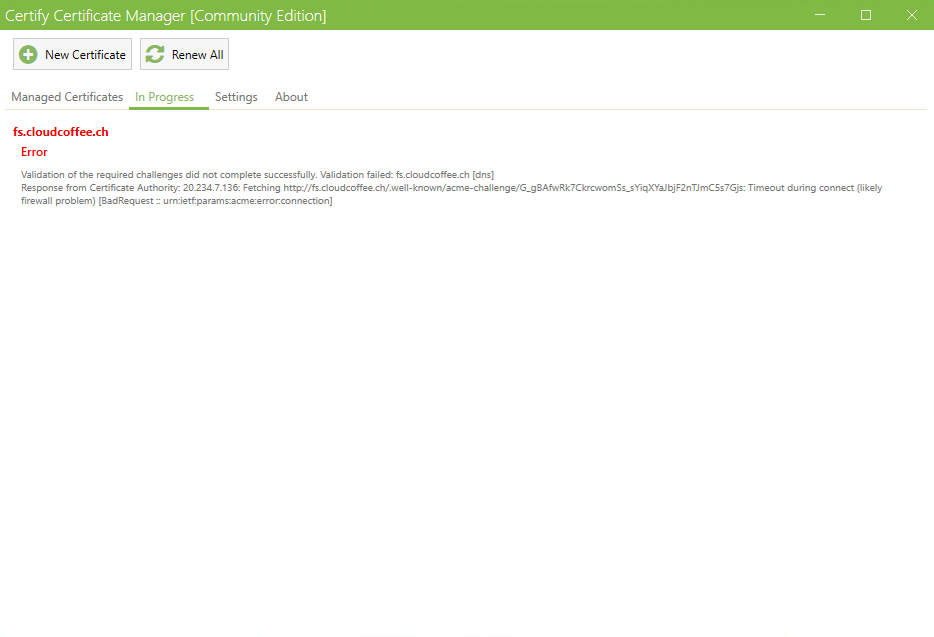
The cause is Windows Firewall on Windows Server 2022 Datacenter: Azure Edition.
Solution: Configure TCP port 80 and 443 inbound.
Fresh content, explained with practical relevance. Stay up to date via LinkedIn and Bluesky.


No marketing. No noise. Just content.
If this post was helpful, a coffee brings back the rich aroma behind the writing.